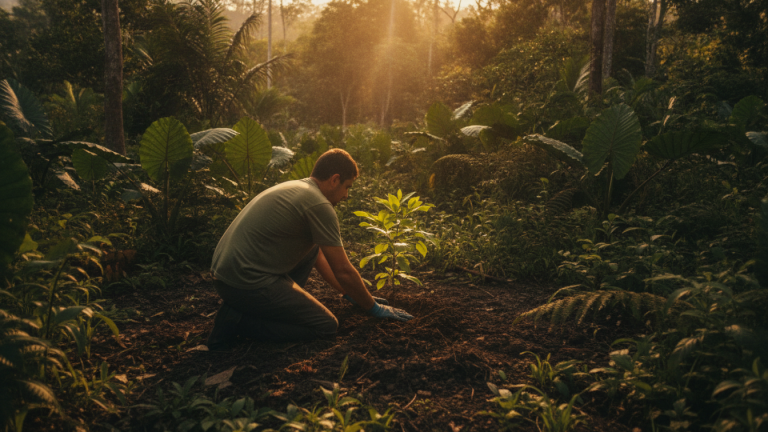
Why Most Planted Trees Die Before Growing
Have you ever stopped to think about how many seedlings are planted in reforestation campaigns and simply don’t survive the first summer? Embrapa estimates that seedling mortality rates in poorly executed plantings can reach more than half of all plants, depending on the species, soil, and post-planting care. This means that effort, money, and good intentions literally go to waste.
Planting a tree seems simple, but it involves decisions that make all the difference: which species to choose, how to prepare the soil, what time of year is right, and what to do in the weeks following planting. These details determine whether the seedling will root strongly or wither in the first drought.
The good news is that anyone can do this correctly, whether in a backyard, on a sidewalk with municipal permission, or on a larger plot of land. By the end of reading this article, you’ll know exactly what to do at each stage to ensure your tree grows healthy and fulfills the environmental role you want it to play.
What a Tree Really Does for the Place Where It Grows
Before you pick up the shovel, it’s worth understanding what’s at stake. An adult tree is much more than shade. According to UNEP, urban trees reduce local temperature by up to 8 degrees Celsius compared to areas without vegetation, a finding especially relevant for Brazilian cities dealing with increasingly intense heat waves.
Roots retain rainwater, reducing flood risk and recharging groundwater. Leaves filter air pollution particles. Branches provide shelter and food for birds, pollinating insects, and other animals. In the case of fruit-bearing species, there’s also food production for humans and local wildlife.
For apartment dwellers, a backyard may not be an option, but many municipalities accept requests for sidewalk and plaza planting. Participating in reforestation efforts in nearby preservation areas is also a concrete way to contribute, and you can preserve the environment with simple and effective actions that go beyond planting itself.
How to Choose the Right Species for the Right Place
This is the most common mistake: planting any available seedling without thinking about the space, climate, and local soil. An unsuitable species grows crooked, breaks sidewalks, attracts pests, or simply dies.
Native species are always the best choice. They’re already adapted to the regional climate, require less water and maintenance, and feed local wildlife much more efficiently than exotic species. Embrapa maintains lists of native species recommended by biome, and municipal nurseries in many Brazilian cities distribute seedlings free or at reduced cost.
Some practical criteria for choosing:
- Available space: large trees like the ipê-amarelo need at least 4 meters of clearance from walls and sidewalks
- Electrical wiring: if there are cables overhead, choose small species, such as myrtle or guava
- Local climate: in the northeastern semi-arid region, the umbuzeiro and catingueira are native examples well adapted; in the cerrado, the pequi and cagaita; in the Atlantic Forest, the jequitibá and angico
- Objective: do you want quick shade, fruit, bird attraction, or pretty flowers? Each species better serves one of these goals
Contact your municipality’s nursery or reach out to the regional Ibama office for guidance on which species to plant in your region.
Step-by-Step Guide to Planting the Right Way
Following a correct sequence ensures the seedling has the best conditions from the start. The complete process takes between two and three hours, and the cost can be practically zero if you get the seedling from a municipal nursery.
Materials needed:
- Seedling in plastic bag or root ball
- Shovel or spade
- Organic fertilizer (compost or aged manure)
- Sufficient water for the first irrigation
- Wooden stake and twine (optional, for tall seedlings)
- Mulch: straw, dry leaves, or tree bark
Estimated time: 2 to 3 hours, including soil preparation.
- Choose the right time of year: the beginning of the rainy season is ideal in most of Brazil. The seedling finds natural soil moisture and needs much less manual watering in the first weeks.
- Prepare the hole in advance: dig a hole twice the size of the seedling’s root ball, in both width and depth. For a 2-liter bag seedling, the hole should be about 40 by 40 centimeters.
- Improve the soil: mix the removed soil with organic fertilizer in a proportion of three parts soil to one part fertilizer. This enriches the soil without burning roots. Avoid chemical fertilizer at planting time.
- Remove the packaging carefully: cut the plastic bag from bottom to top without shaking or squeezing the root ball. Fine roots are fragile, and a crumbled root ball severely hinders initial adaptation.
- Position the seedling at the right height: the plant collar (where the stem meets the roots) should be level with the soil, never buried. Burying the collar kills the seedling slowly through rot.
- Fill and firm the soil: return the soil and fertilizer mixture around the root ball, pressing gently to eliminate air pockets. Form a shallow basin around the seedling to retain irrigation water.
- Water generously right after planting: the first watering should be abundant. For the next 30 days, water every two days if it doesn’t rain, preferably early morning or late afternoon.
- Apply mulch around the seedling: place a layer of 5 to 10 centimeters of straw, dry leaves, or shredded bark around the seedling, without touching the stem. This retains moisture, reduces weeds, and protects the soil.
- Install a stake if necessary: seedlings taller than 50 centimeters benefit from a support stake in the first months. Tie without pressing too hard to avoid damaging the stem.
Errors That Compromise Growth Even After a Good Start
Many people do everything right on planting day and make mistakes in the following weeks. The adaptation period, called “transplant stress” by Embrapa specialists, lasts between 30 and 90 days, depending on the species and local conditions.
Overwatering is just as harmful as underwatering. Waterlogged soil suffocates roots by cutting off oxygen. A simple way to test: stick your finger 5 centimeters into the soil. If it’s still moist, no need to water.
Weeding incorrectly is another common problem. Removing surrounding plants with a shovel too close to the stem can cut shallow roots the plant is still developing. Use your hand or a small tool in the area near the stem.
Ignoring pests early on can permanently compromise the seedling. Watch for leaf-cutter ants, which are particularly aggressive in various regions of Brazil. Ibama recommends using registered ant baits, avoiding banned products that contaminate soil.
Pruning new branches in the first year is unnecessary and weakens the plant. Let the tree grow freely in the initial phase; formative pruning only makes sense from the second or third year onward.
Planting in Small Spaces and Urban Situations
Living in a big city doesn’t prevent planting. Many Brazilian municipalities have urban tree programs where residents can request seedling planting on the sidewalk in front of their homes. The City of São Paulo, for example, has formal request channels for this.
For those with a terrace or small area, dwarf or fruit-bearing trees in pots are a real alternative. Lemon trees, orange trees, and even banana trees adapt to large pots. The secret is the size of the container, which should have at least 50 liters of volume for fruit trees, and changing the substrate every two years.
Another efficient urban option is participating in collective planting groups in municipal parks and reserves. These initiatives are usually promoted by local NGOs, environmental departments, and neighborhood WhatsApp groups. A seedling planted in a forest recovery area has much greater ecological impact than one in an apartment pot.
Frequently Asked Questions About Tree Planting
What’s the best time of year to plant trees in Brazil?
The beginning of the rainy season is the ideal period in most of Brazilian territory, which varies by region: between October and November in the Southeast and Center-West, between April and May in the semi-arid Northeast. Planting before the rains ensures the seedling receives natural water and reduces the need for manual irrigation in the first weeks.
Can I plant a tree on the sidewalk without asking permission?
No. Planting on public roads requires prior municipal authorization, which evaluates available space, electrical wiring, and the recommended species. Planting without authorization can result in fines and seedling removal. Contact your municipality’s environmental or infrastructure department.
How long does it take for a seedling to become a real tree?
It depends heavily on the species. Fast-growing trees, such as eucalyptus and Paraná pine, can reach adult size in five to ten years. Native species of medium growth, such as ipê and jatobá, take ten to twenty years. Longer-lived species, such as jequitibá, grow more slowly but live for centuries.
What if the seedling starts to wilt after planting?
Wilting in the first few days is normal; it’s transplant stress. Water moderately and protect the seedling from direct sun during the hottest hours, if possible with a temporary shade cloth. If leaves turn yellow and fall after two weeks without improvement, the problem could be excess water, nutrient deficiency, or pest attack. Observe the soil and leaves carefully before any intervention.
Start Simple: One Seedling, One Hole, One Care Step per Day
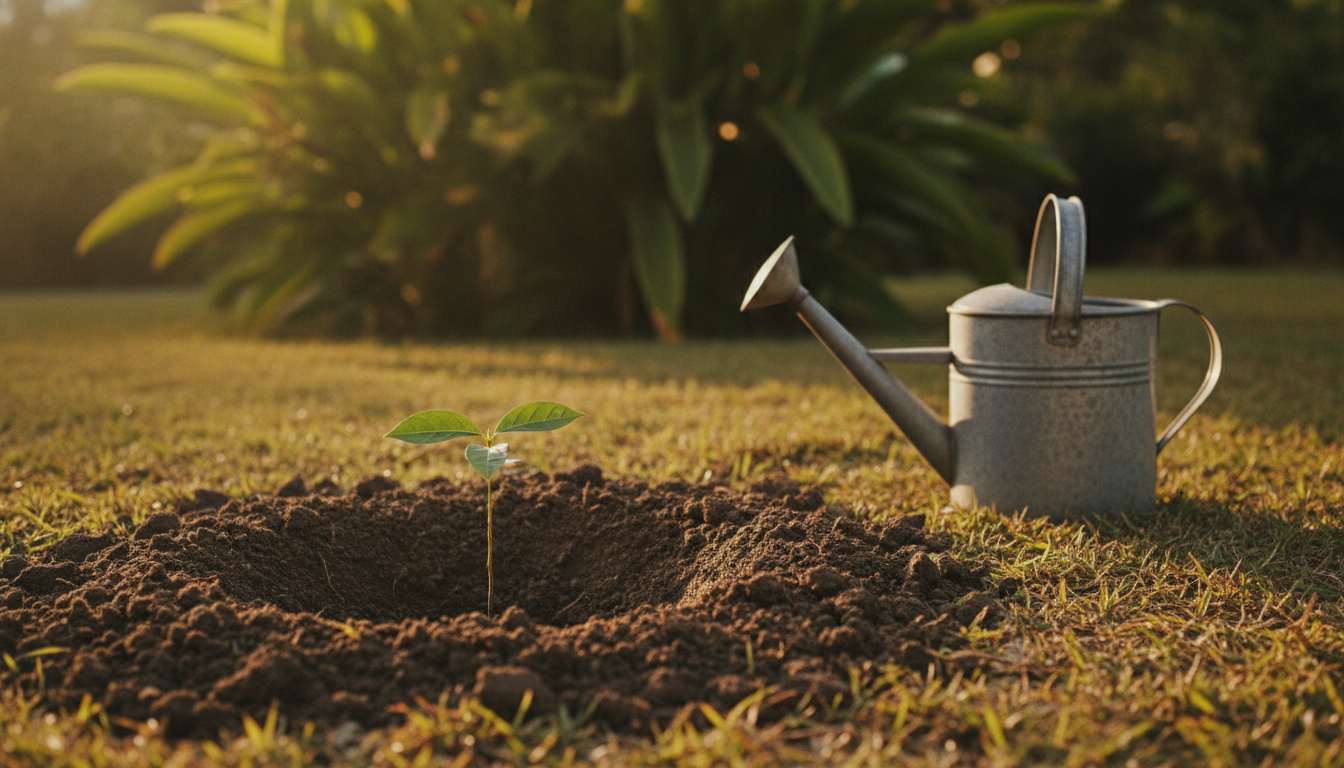
Planting a tree the right way doesn’t require deep professional technical knowledge. It requires attention to detail: choosing the right species for the right place, digging an adequately sized hole, balanced watering, and monitoring in the first weeks. These are small gestures that determine whether your effort will last for decades.
If you’re still taking your first steps toward a more sustainable lifestyle, know that tree planting connects to other daily practices, such as proper organic waste management. Understanding how to reduce organic waste in the kitchen can even generate homemade compost to use as fertilizer in planting, closing a beautiful and practical cycle.
Today’s action can be small: call your city’s municipal nursery to find out if seedlings are available. That’s it. The rest follows naturally.
