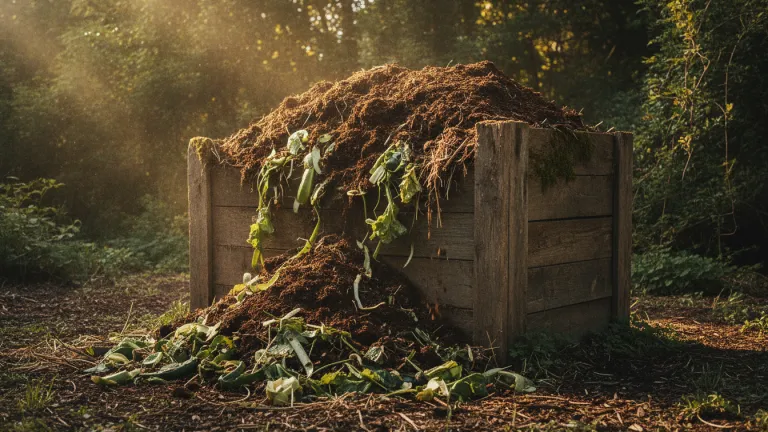
Why making compost at home is one of the most powerful steps you can take
Have you ever stopped to think about what happens to the banana peels, kale stems, and coffee grounds you throw away every week? In most households, this organic material goes straight into the trash bag, mixed with plastic packaging, paper, and other waste. The final destination is almost always a sanitary landfill — or worse, an open-air dump.
The problem is bigger than it seems. According to data from the Solid Waste Overview in Brazil, published by the Brazilian Association of Public Cleaning and Special Waste Companies (ABRELPE), organic waste represents more than half of everything Brazilians discard. When this material decomposes in landfills without adequate oxygen access, it releases methane — a greenhouse gas with warming potential far greater than CO₂ in the short term, as noted by the IPCC. Instead of becoming a problem, this same material can become a solution: quality organic compost, produced by you, right at home.
Home composting doesn’t require huge spaces, advanced technical knowledge, or significant investment. It just requires a bit of organization and the willingness to change a habit. In this guide, you’ll learn how the process works, which methods best fit your reality, and how to transform “organic waste” into a valuable input for plants, vegetable gardens, and flower beds.
What is composting and how does it work
Composting is a natural biological process through which microorganisms — bacteria, fungi, and other decomposers — transform organic matter into humus, a stable substance rich in nutrients and extremely beneficial for soil.
The process depends on four main factors:
- Moisture: the material needs to be moist but not waterlogged. The ideal consistency resembles a lightly squeezed sponge.
- Aeration: oxygen feeds aerobic microorganisms, which work faster and without generating bad odors.
- Balance between “green” and “brown” materials: greens (fruit scraps, vegetables, peels) provide nitrogen; browns (dry leaves, cardboard, sawdust) provide carbon.
- Temperature: a well-built pile can reach high internal temperatures, speeding up decomposition and eliminating pathogens.
When these elements are in balance, the result is a dark compound with a fresh earth smell and homogeneous texture — the so-called worm castings (in the case of vermicomposting) or simply mature organic compost.
Which methods exist: choose what fits your life
There isn’t just one way to compost. The good news is that there are options for small apartments, houses with backyards, and everything in between.
Pile or bin composting (ideal for those with a backyard)
The most traditional method consists of building alternating layers of organic waste in a corner of the garden or in a wooden or plastic composter. It’s the simplest and handles the largest volume, but requires some outdoor space and periodic turning.
Vermicomposting (perfect for apartments)
Uses red wiggler worms (Eisenia fetida) to speed up decomposition. Vermicomposting bins are compact, can be placed in kitchens or balconies, don’t produce odor when properly managed, and generate two products: solid humus and liquid leachate (a biofertilizer that, diluted in water, can be applied directly to plants).
Bokashi (anaerobic fermentation with effective microorganisms)
Bokashi is a Japanese-origin method that uses bran inoculated with effective microorganisms (EM) to ferment organic waste instead of decomposing it aerobically. It’s extremely fast (around two to four weeks for fermentation), accepts a wider variety of waste — including meats and dairy in small quantities — and is ideal for very limited spaces.
| Method | Space needed | Time to mature | Accepts meat? | Initial cost |
|---|---|---|---|---|
| Pile/Bin | Backyard | 3 to 6 months | No | Low |
| Vermicomposting | Small (balcony/kitchen) | 2 to 4 months | No | Medium |
| Bokashi | Minimal | 2 to 6 weeks | Yes (small qty.) | Medium |
How to make your first homemade composter: step by step
The example below focuses on vermicomposting in bins, one of the most accessible and popular methods in urban settings.
What you’ll need:
- 2 or 3 plastic bins with lids (30 to 50 liters work well)
- A drill or hot nail to make holes
- Red wiggler worms (can be purchased online or at organic farmers’ markets)
- Dry leaves, shredded cardboard, or untreated sawdust
Step by step:
- Prepare the bins: make holes in the bottom of one or two bins (for drainage and aeration) and leave the third without holes — it will go underneath to collect the liquid leachate.
- Set up the base: place a layer of dry leaves or damp cardboard on the bottom of the bin with holes — this is the worms’ “bedding.”
- Add the worms: place the worms on the bedding and let them adapt for a day or two before starting to feed them.
- Start feeding: add fruit scraps, vegetables, peels, coffee grounds, and tea bags. Always cover with dry material (leaves, cardboard) after each addition.
- Maintain the balance: if bad odor appears, add more dry material and check for excess moisture. If the mixture is too dry, spray a little water.
- Collect the leachate: every few days, empty the bottom bin. Dilute the liquid in water (approximately 1 to 10 ratio) and use as liquid fertilizer on plants.
- Harvest the humus: in two to four months, when the material at the bottom is dark and homogeneous, it’s ready to use in soil.
What can and cannot go in the composter
Knowing what to add makes all the difference between a composter that works well and one that causes problems.
You can add:
- Peels and scraps of fruits and vegetables
- Coffee grounds and paper filters
- Tea bags (without the metal tag)
- Eggshells (crushed)
- Dry leaves, grass clippings, wilted flowers
- Cardboard and non-glossy paper, torn and damp
- Sawdust from untreated wood
Avoid adding:
- Meats, fish, and dairy (except in the bokashi method)
- Oils and fats in large quantities
- Feces from carnivorous domestic animals
- Diseased plants or those with aggressive fungi
- Material treated with excessive pesticides
- Glossy, laminated paper, or paper with intense colored inks
How to use finished compost and multiply the benefits
Mature compost is a gift for any soil. It improves the physical structure of the earth, increases water retention, stimulates beneficial microbial activity, and provides nutrients gradually and in a balanced way — something synthetic chemical fertilizers cannot replicate with the same complexity.
Ways to use it:
- Home vegetable gardens: mix the compost with soil at a ratio of 1 part compost to 3 to 4 parts soil.
- Pots and planters: replace up to 30% of commercial substrate with mature compost.
- Gardens and lawns: spread a thin layer over the soil as mulch.
- Donation: if you produce more than you use, neighbors, urban garden communities, and even local producers can benefit greatly.
This last option connects you to a larger network of people who value local production and conscious consumption. If you want to learn more about strengthening these connections, it’s worth reading about how buying from local producers transforms your community — because the compost you make at home can literally feed your neighborhood’s regenerative agriculture.
Common questions about home composting
Will my composter attract insects and rats?
A well-managed composter, with good coverage of fresh waste and without meats or fats, rarely attracts pests. The smell of fresh earth isn’t attractive to rodents. If you notice excessive flies, increase the coverage with dry material.
Can I compost if I live in an apartment without a balcony?
Yes. Vermicomposting in compact bins can stay indoors — under the sink, in a ventilated cabinet, or in any corner that doesn’t receive direct sunlight. Resident communities in condominiums have also been creating collective composters in common areas, which shares the effort and amplifies the impact.
How long does it take to see results?
It depends on the method. With bokashi, fermentation begins in days. In vermicomposting, the first humus is usually ready between two and four months. In pile composting, the process can take three to six months, depending on ambient temperature and turning frequency.
Conclusion: the waste that becomes life starts in your hands
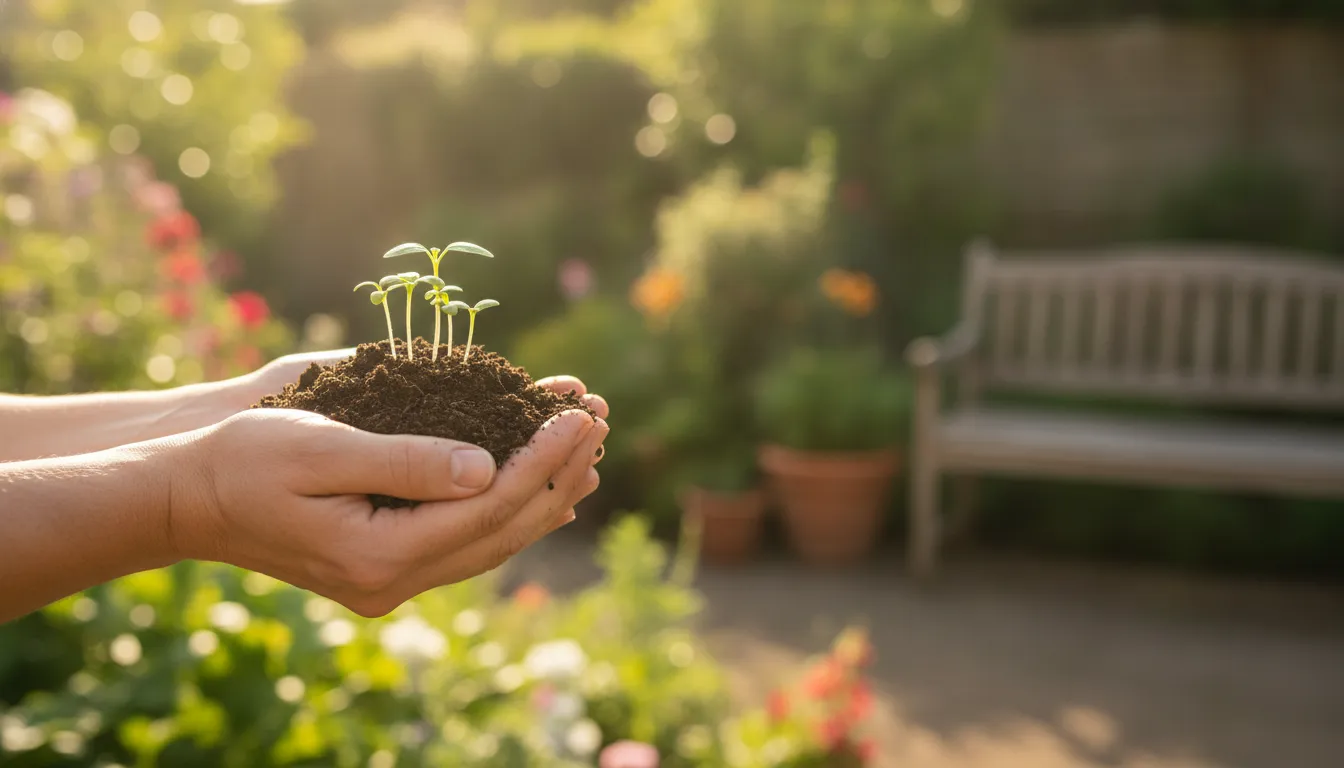
Home composting is one of the most concrete and measurable steps a person can take toward a more sustainable lifestyle. You reduce the volume of waste leaving your home, decrease pressure on landfills, stop contributing to methane emissions, and still produce a valuable input for soil — all at the same time.
You don’t need to do everything perfectly from day one. Start small: one bin, some worms, this week’s kitchen scraps. The learning curve is gentle and mistakes are easily correctable. And if you already have the habit of consuming seasonal and locally sourced foods, composting is the natural next step — because it closes the cycle between what you eat and what you return to the earth.
Choose the method that best fits your reality, try it this week, and share the experience with those around you. Every composter that starts working is a small concrete victory for the planet — and these victories, added together, make a real difference.
