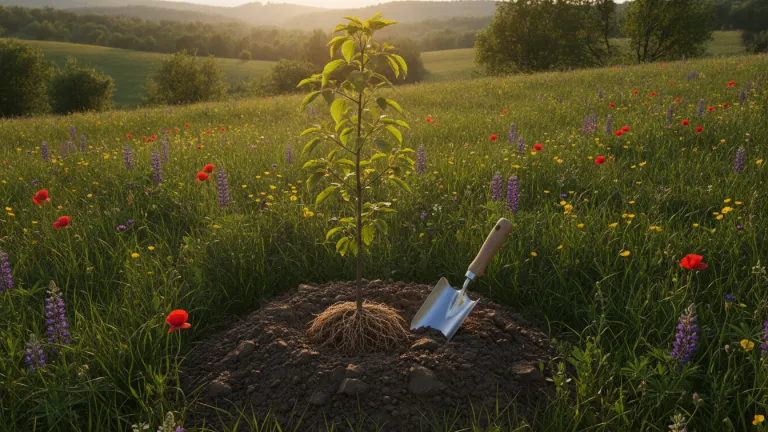
Why Planting Technique Matters as Much as Good Intentions
Every year, millions of trees are planted around the world through reforestation campaigns, community efforts, and corporate environmental offset initiatives. It’s a beautiful movement to witness — people with their hands in the soil, believing they’re making a difference. But there’s a fact that few know, and it completely changes this story: a significant portion of these trees don’t survive their first year. Not due to lack of good will, but due to lack of technique.
Planting a tree seems simple. You dig a hole, place the seedling, cover it with soil, and you’re done, right? Wrong. This thinking is exactly what leads to the silent failure of so many well-intentioned projects. Choosing the wrong species for the local climate, digging a hole that’s too small, lacking proper fertilization, or forgetting to irrigate during the first months — each of these mistakes can doom the seedling before it even has a chance to grow.
The good news is that planting correctly doesn’t require being an agronomist or having sophisticated equipment. With guidance based on solid technical knowledge, anyone — whether in their backyard, a neighborhood square, or rural land — can greatly increase the chances of planting success and truly contribute to the environment in a lasting way.
Choosing the Right Species: The First and Most Important Step
Before buying any seedling, the most important question isn’t “which tree is beautiful?” but rather: “which tree belongs in this place?”
Environmental agencies strongly recommend using native species from the local biome. This isn’t just about cultural preservation of flora — it’s a matter of ecological efficiency. Native trees are already adapted to the soil, rainfall patterns, and temperatures of the region. They have a better chance of surviving, grow in harmony with local wildlife (providing food and shelter for birds, insects, and mammals), and require less maintenance over time.
How to identify the ideal species for your biome
Brazil has six main biomes — Amazon, Cerrado, Atlantic Forest, Caatinga, Pampa, and Pantanal — and each one has a rich list of native species recommended for planting. Some practical examples:
- Atlantic Forest: yellow ipê, jequitibá, embaúba, cedar, guarantã
- Cerrado: pequi, cagaita, buriti, copaíba, cerrado pepper tree
- Caatinga: catingueira, jurema-preta, umburana, angico, juazeiro
- Amazon: andiroba, Brazil nut tree, açaí palm, mulateiro, mahogany
- Pampa: red angico, açoita-cavalo, coral tree
- Pantanal: paratudo, cambará, tarumã, bocaiuva
Avoid invasive exotic species like eucalyptus in sensitive natural environments, black wattle outside properly managed areas, and Japanese grape in riparian forests. The Hórus Institute maintains a national list of invasive exotic species that can be consulted online for free.
Soil Preparation: The Foundation of Everything
A classic mistake is digging a small hole and expecting the roots to “figure it out.” The roots of a young seedling need room to expand, and the surrounding soil needs to be prepared to receive and retain water.
Step-by-step guide to properly prepare the soil
- Choose the location carefully. Observe sun exposure (most tree species need full sun), distance from walls, sidewalks, and power lines, and proximity to water courses for riparian species.
- Dig the hole to the proper size. The standard technical recommendation is a hole of at least 40 cm × 40 cm × 40 cm for small seedlings, and 60 cm × 60 cm × 60 cm for larger ones. The generous volume allows roots to establish without resistance.
- Separate the removed soil into two parts. The topsoil layer (the first 20 cm, richer in organic matter) should be mixed with organic fertilizer and used to fill the bottom of the hole. The deeper soil goes around the edges.
- Add organic matter. Mix organic compost, aged manure, or worm castings into the bottom soil. This improves soil structure, retains moisture, and provides nutrients during the critical months of seedling establishment. If you don’t compost at home yet, check out our article on Composting: What It Is and Why the Planet Thanks You.
- Check drainage. Fill the hole with water before planting. If the water takes more than a few hours to drain, the soil may be compacted or have excess clay — adjust with coarse sand or organic matter to improve permeability.
The Planting Moment: Details That Make a Difference
With the hole ready, it’s time to place the seedling. It seems simple, but some care at this stage is decisive.
- Remove the packaging carefully. Damaged roots at this moment can compromise the entire seedling. If the root ball is very loose, moisten it before removing the packaging.
- Plant at the correct level. The root collar (the area where the stem meets the roots) should be at the same level as the soil surface, never buried. Burying the collar is one of the most common causes of seedling death.
- Lightly compact the soil around it. Press the soil gently with your hands to eliminate air pockets around the roots, but without excessive compaction.
- Build a basin around the seedling. Form a small circular berm of soil (about 30 to 40 cm in diameter) to concentrate irrigation water and rain directly in the root zone.
- Apply mulch. Dry leaves, straw, or tree bark around the seedling’s base reduce soil evaporation, control weeds, and regulate soil temperature. Keep a 5 to 10 cm gap around the stem to prevent rotting.
Irrigation and Care in the First Months: The Critical Phase
The first three to six months after planting are the most vulnerable. The seedling hasn’t yet developed roots deep enough to seek water in deeper soil layers.
Recommended irrigation routine
- First week: daily irrigation, preferably in early morning or late afternoon to avoid intense evaporation.
- Second week to first month: irrigation every two days, monitoring soil moisture.
- Second to sixth month: irrigation two to three times per week, adjusting according to the region’s rainy season.
- After the sixth month: most native species begin to become self-sufficient, especially in regions with good rainfall.
Caution: excess water also kills. Waterlogged soil deprives roots of oxygen and promotes fungi. Before watering, check moisture by inserting your finger 5 cm into the soil — if it’s still moist, wait.
Common Mistakes You Should Avoid
Even with good intentions, certain mistakes repeat frequently. Watch out for these:
- Planting invasive exotic species thinking that “any tree is good for the environment”
- Not removing the plastic packaging from the seedling’s roots before planting (this happens more often than you’d think)
- Planting under power lines — large trees pose serious risks and are aggressively pruned by utility companies
- Ignoring the planting season — in most regions, the beginning of the rainy season is the best time to plant, as it reduces the need for artificial irrigation
- Abandoning the seedling after planting without any monitoring in the first months
- Using excessive chemical fertilizer in the first weeks, which can burn young roots
Collective Planting and Community Initiatives: The Power of Working Together
Planting alone has its value, but the impact multiplies when done as a community. Groups of neighbors, schools, neighborhood associations, and environmental NGOs promote planting events that transform degraded spaces into permanent green areas.
Participating in these initiatives has practical advantages: technical guidance is available, seedlings are usually provided by partner nurseries (often free or at very low cost), and collective work ensures that planted trees receive continuous monitoring.
Many city governments maintain programs for donating native seedlings to residents. It’s worth checking with your local Environmental Department — many provide hundreds of seedlings for free throughout the year. If you also want to engage in collective environmental care actions, check out our guide on How to Participate in Cleanup Events in Your City.
Conclusion: Your Tree Can Live for Centuries
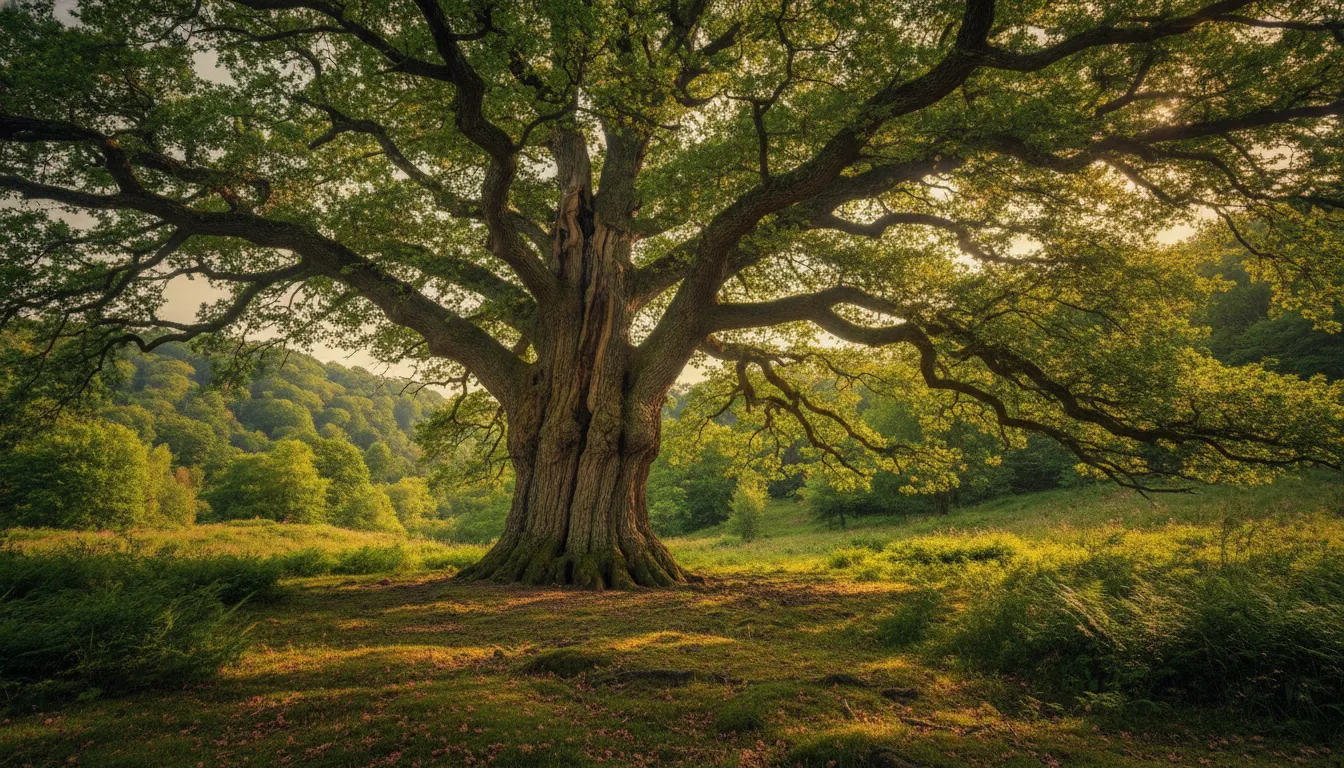
A tree planted with technique and care isn’t just a symbolic gesture — it’s a living structure that can last decades or centuries, continuously sequester carbon, shelter wildlife, protect water sources, and cool its surroundings. The impact of a single well-planted tree far exceeds that of dozens of seedlings abandoned after careless planting.
In 2026, facing the climate challenges our planet confronts, every concrete action counts. And the good news is that planting a tree the right way is within anyone’s reach, anywhere — with a well-dug hole, a native seedling, and a little attention in the first months.
Choose your species, prepare the soil, plant with care, and monitor its growth. You are literally building the future — root by root, branch by branch, leaf by leaf.
