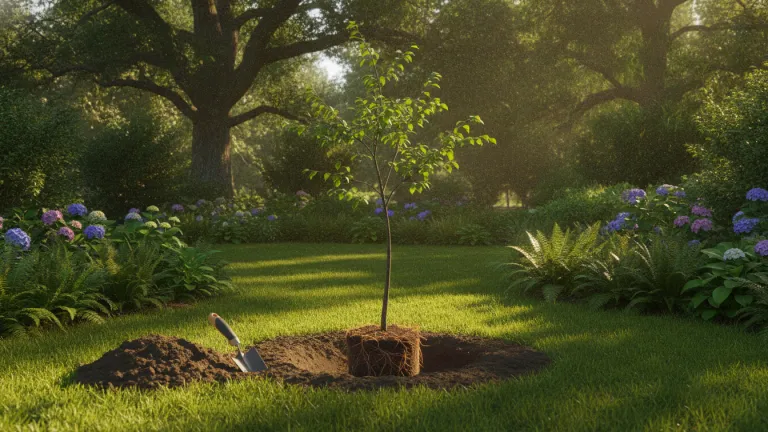
Why Planting a Tree the Right Way Makes All the Difference
Planting a tree seems simple, but the difference between doing it right and doing it wrong can be the difference between a plant that thrives for decades and a sapling that dies in weeks. Every year, reforestation campaigns around the world mobilize volunteers, companies and governments — and a significant portion of the planted seedlings do not survive the first year precisely because of avoidable failures in the process. It’s not a matter of lack of good will, but lack of practical information.
The good news is that you don’t need to be an agronomist or have a large plot of land to plant a tree that really becomes a forest. With a little planning, some basic care and the right choice of species, anyone — at home, in a condominium, in a school or in a community effort — can truly contribute to the recovery of native vegetation. And every tree counts: they regulate local climate, protect water sources, shelter wildlife and improve the quality of the air we breathe.
In this guide, you will learn, step by step, how to plant a tree the right way so it really thrives — from initial planning to monitoring it in the first few months. Let’s go?
Choose the Right Species: the First Secret to Making Your Tree Thrive
Before buying any sapling, the most important question is not “which tree is beautiful?” but rather: which tree belongs in this place?
Native species are those that evolved alongside the local ecosystem. They are adapted to the soil, rainfall pattern, fauna and flora of the region — and therefore require less maintenance, have a higher survival rate and contribute much more effectively to biodiversity. Embrapa and the Forest Research Institute (IPEF) provide lists of native species recommended by biome.
How to choose the ideal species for your biome
- Amazon: andiroba (Carapa guianensis), Brazil nut (Bertholletia excelsa), cedar (Cedrela odorata)
- Cerrado: yellow ipê (Handroanthus albus), pequi (Caryocar brasiliense), copaiba (Copaifera langsdorffii)
- Atlantic Forest: jequitibá-rosa (Cariniana legalis), aroeira (Schinus terebinthifolia), embaúba (Cecropia spp.)
- Caatinga: catingueira (Poincianella pyramidalis), umbu tree (Spondias tuberosa), jurema-preta (Mimosa tenuiflora)
- Pampa: angico-vermelho (Parapiptadenia rigida), canafístula (Peltophorum dubium), açoita-cavalo (Luehea divaricata)
Avoid invasive exotic species like eucalyptus and black acacia in preservation areas or near forest fragments — they can dominate the space and harm native flora. For gardens and urban yards, it’s possible to reconcile native species with fruit-bearing trees, such as guava, jabuticaba and araçá.
Where to Buy Quality Seedlings and How to Identify Them
A low-quality sapling compromises the result even if all other steps are executed perfectly. See where to look and what to observe:
Reliable sources of native seedlings
- Accredited nurseries: state environmental secretariats usually list authorized nurseries; some offer free seedlings for recovery projects
- Government programs: the Arpa Program, the Amazon Fund and state initiatives frequently distribute seedlings to farmers and communities
- NGOs and reforestation collectives: organizations like the Atlantic Forest SOS and the Alliance for Forest Restoration in the Amazon maintain partnerships with community nurseries
- University nurseries: many agronomy and forestry engineering colleges produce and sell certified seedlings
What to observe in the seedling before buying
- Ideal height for planting: between 30 cm and 60 cm for most forest species
- Firm root ball: the root should fill the bag well, without falling apart when removed
- Healthy leaves: without yellowing spots, visible fungi or signs of pests
- No roots coming out the bottom: indicates the seedling has passed its prime and may be “stressed”
- Upright stem without mechanical damage
How to Plant a Tree: Complete Step-by-Step Guide
Step 1 — Choose the location carefully
Before digging any hole, verify:
- Distance of at least 2 meters from walls and sidewalks for small trees, and 5 meters or more for large species
- Absence of overhead power lines (consult your municipality’s Urban Afforestation Guide)
- Proximity to water: trees needing high humidity should be near water sources, but never with roots inside pipes
- Adequate sun exposure for the chosen species
Step 2 — Prepare the soil
- Make a hole with width of 40 to 60 cm and depth of 40 to 60 cm — twice the root ball of the seedling, in all dimensions
- Mix the removed soil with organic compost or worm humus (proportion of 1 part compost to 3 parts soil)
- If the soil is very clayey and waterlogged, add coarse sand to improve drainage
- If it is too sandy and dry, add more organic compost to retain moisture
Step 3 — Remove the seedling from the bag carefully
- Lightly moisten the root ball before removing — it makes the process easier without damaging roots
- Cut the plastic bag with scissors or a utility knife (never pull the seedling by the stem)
- If there are very tangled roots coming out the bottom, gently loosen them by hand
Step 4 — Plant at the correct depth
- Place the seedling in the center of the hole so that the collar of the plant (transition point between root and stem) is at soil level — neither buried nor elevated
- Fill with the mixture of soil and compost, pressing lightly to eliminate air pockets
- Form a retention basin around the seedling (a circular elevation of soil about 20 cm away) to retain irrigation water
Step 5 — Irrigate right after planting
- Water abundantly right after planting, filling the formed basin
- In the first 30 days, water daily (preferably in the late afternoon, to reduce evaporation)
- After the first month, gradually reduce watering as the species establishes itself
Step 6 — Install a stake (if necessary)
- Species with thin stems or in windy locations need a bamboo or wood stake
- Tie the stem to the stake with rubber tape or fabric strip — never with wire, which can cut the stem
- The stake should be removed after 6 to 12 months, when the plant has established roots
Step 7 — Apply mulch
- Spread a layer of 5 to 10 cm of straw, dry leaves or shredded bark around the seedling (without touching the stem)
- Mulch retains moisture, regulates soil temperature, inhibits weeds and stimulates microbial life — one of the most effective practices to increase survival rate
Care in the First Months: When the Tree Needs You Most
The most critical period for any seedling is called the “take” — the first 60 to 90 days after planting, when the plant has not yet developed enough roots to seek water and nutrients autonomously.
List of essential care in the first 3 months
- Water regularly, respecting the rhythm of the species and the season
- Monitor weekly signs of stress: yellowing leaves may indicate excess water; wilted and fallen leaves, lack of water or shade
- Remove weeds around the seedling, which compete for nutrients and water
- Check for pests (aphids, caterpillars, leaf-cutter ants) and treat with organic solutions when necessary
- Do not fertilize with chemical fertilizers in the first months — transplant stress is enough
- Reposition the stake if necessary after rain or strong winds
- Replenish the mulch when the layer decreases
Understanding how the different elements of an ecosystem relate to each other helps you understand why each of these care practices matters: the tree does not exist alone, but in constant interaction with soil, water, air and other living beings.
Common Mistakes That Kill Seedlings (and How to Avoid Them)
| Mistake | Why it harms | How to fix |
|---|---|---|
| Planting too deep | Suffocates the collar and roots rot | Plant with collar at soil level |
| Infrequent watering at the start | The seedling dehydrates before rooting | Water daily in the first 30 days |
| Choosing wrong species for the climate | The plant cannot withstand local cold, dryness or heat | Research native species of your biome |
| Using seedling with loose root ball | Damaged roots do not recover | Choose seedlings with firm, intact root ball |
| Planting at the wrong time | Dry season requires much more irrigation | Prefer the beginning of the rainy season |
| Neglecting weeds | Competition for resources weakens the seedling | Clean the surroundings weekly |
When and Where to Plant: Timing and Context Make a Difference
The best time to plant is the beginning of the rainy season in your region — in Brazil, this varies greatly: in the Southeast and Midwest, usually between October and November; in the Northeast, between February and April; in the South, throughout the year, avoiding the coldest months.
Planting at the start of the rains ensures that nature “waters” for you in the first months, reducing irrigation effort and significantly increasing the seedling’s chances of survival.
If you live in an urban area and don’t have a yard, consider other ways to participate:
- Reforestation efforts in parks and conservation units
- Tree adoption projects on public roads (check your municipality’s regulations)
- Support for community nurseries with donations or volunteer work
- Collective pressure for afforestation in neighborhoods with a vegetation cover deficit
Conclusion: Your Tree Has the Power to Last Centuries
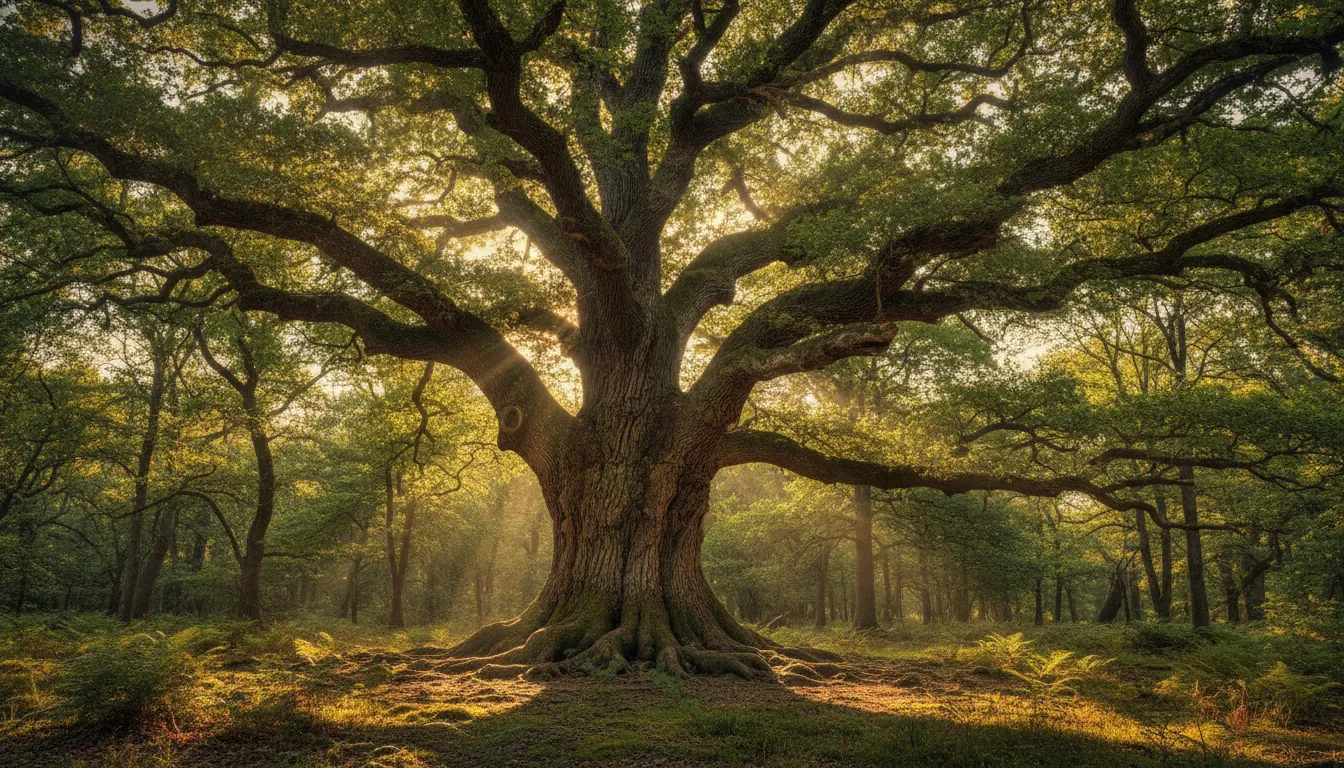
Planting a tree is one of the most concrete and lasting gestures a person can make for the planet. A tree planted today, the right way, can be standing a hundred years from now — offering shade, carbon sequestration, shelter for birds and insects, and microclimate regulation for generations yet to be born.
You don’t need to wait for a big campaign or a special date. With a native seedling, a shovel, water and the information from this guide, you already have everything you need to start. And if you want to go beyond your garden, know that adopting sustainable habits daily — such as reducing food waste — multiplies the positive impact of your choices even more.
Plant a tree. Care for it in the first months. And watch life multiply all around you.
