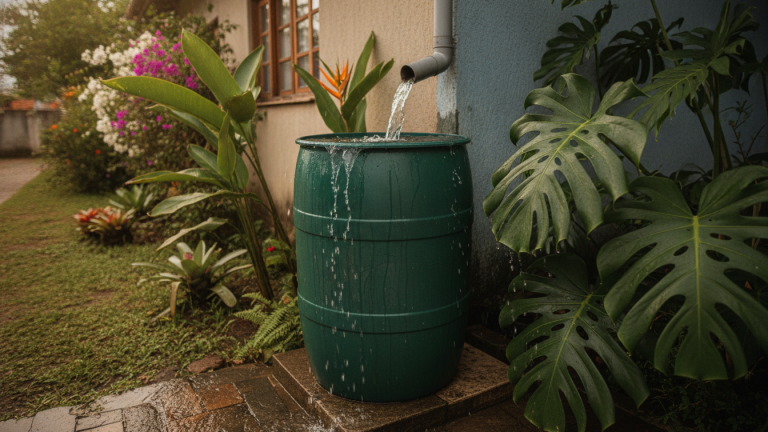
Cut Your Water Bill in Half with a Rainwater Tank in Your Backyard
Did your water bill shock you this month? You’re not alone. According to data from Brazil’s National Sanitation Information System (SNIS), average per capita consumption in Brazil is around 150 liters per day, and a family of four can easily spend over 30 cubic meters monthly on basic domestic uses. Much of this volume goes to toilet flushing, laundry, floor cleaning, and plant watering—tasks that don’t require treated water.
Rainwater harvesting solves exactly this problem: it replaces water from the public supply for activities that don’t need potability, reducing your billed consumption and relieving your wallet. With a well-designed system, you can capture a significant portion of the water that falls on your roof and currently goes straight down the drain.
By the end of this article, you’ll know how to build a rainwater collection system suited to your house or apartment, how much it costs, what’s legally permitted, and which mistakes to avoid so your tank doesn’t become a mosquito breeding ground.
Why Rainwater Harvesting Makes Sense in Brazil
Brazil has one of the planet’s largest freshwater reserves, but this water isn’t distributed equally or at the same cost to all regions. The semi-arid Northeast experiences prolonged droughts, while the Southeast saw reservoirs collapse in the last decade. According to IBGE, over 30 million Brazilians still lack regular access to treated water.
Rainfall irregularity is real, but across much of Brazilian territory, annual rainfall is abundant. In São Paulo, for example, the historical average recorded by the National Meteorology Institute (INMET) exceeds 1,400 millimeters per year. In Manaus, that number surpasses 2,200 millimeters. Even in the semi-arid Northeast, harvesting technologies have been used for decades by rural communities with support from Embrapa and federal programs like the Cisterns Program.
For city dwellers, rainwater harvesting is a concrete way to reduce pressure on the supply system and pay less. It’s not a solution for direct human consumption without proper treatment, but for non-potable uses—which represent a large share of household consumption—it works very well.
What Brazilian Law Says About Rainwater Harvesting
Before diving into tools and techniques, it’s worth understanding what’s permitted. In Brazil, there’s no federal law prohibiting rainwater harvesting for domestic use. The National Water Resources Policy (Law 9,433/1997) addresses surface and groundwater management but doesn’t prevent rainwater use on private properties for non-consumptive or low-impact purposes.
Some states and municipalities have gone further. São Paulo passed State Law 12,526/2007, which encourages installation of harvesting systems in new developments. The city of Curitiba has its own legislation requiring retention reservoirs in projects above a certain impervious area. If you live in a condo, check your bylaws, as some assemblies have already approved specific regulations.
An important point: harvested rainwater cannot be used for human consumption without proper treatment and regular monitoring, according to Health Ministry guidelines. For drinking, cooking, or brushing teeth, continue using water from your utility company.
How to Set Up Your Harvesting System Step by Step
A basic harvesting system has three parts: the collection surface (usually the roof), gutters and a first-flush diverter, and a reservoir (cistern or tank). Here’s how to build one from scratch.
Materials needed for a simple system:
- PVC or aluminum gutters (if your roof doesn’t already have them)
- First-flush diverter tube (also called a “discharge valve”)
- Polyethylene water tank of 500 to 1,000 liters, or an underground cistern
- Float valve for level control
- Fine mesh screen to keep out insects and leaves
- Simple pressure pump (if the tank sits below the usage point)
Installation step by step:
- Calculate your roof area. Multiply length by width (in meters). A 60 m² roof in a city with 1,200 mm of annual rainfall can theoretically capture up to 72,000 liters per year. In practice, accounting for evaporation loss and initial discharge, you’ll harvest about 50-60% of that volume usefully.
- Install or inspect gutters. Clogged or poorly sloped gutters waste water before it reaches the reservoir. The ideal slope is about 0.5% per meter of linear length, or 0.5 cm of drop per meter.
- Install a first-flush diverter. The first millimeters of rainfall carry dust, soot, and debris from the roof. The diverter is a vertical tube that holds this initial volume (it’s recommended to discard the first 1-2 mm per square meter of roof) before directing clean water to the cistern. This is the component most ignored by DIY system builders and the most important for water quality.
- Choose and position your reservoir. Polyethylene water tanks are the most accessible and widely available. Place it in a shaded area to prevent algae growth. If burying a masonry or fiberglass cistern, hire a professional to ensure proper waterproofing.
- Cover the reservoir with fine mesh. The mesh prevents mosquitoes, leaves, and animals from entering. This step eliminates the main health risk of poorly maintained systems.
- Connect the outlet to the usage point. For toilet flushing, garden taps, or laundry tubs, installation is straightforward. If the tank sits lower than the usage point, you’ll need a pressure pump.
- Do an initial cleaning and establish a maintenance routine. Clean the reservoir every six months, check screens monthly, and flush the first-flush diverter after any prolonged dry spell.
Approximate cost of a basic system:
| Component | Cost Range (R$) |
|---|---|
| 500L water tank | 300 to 500 |
| First-flush diverter | 80 to 200 |
| Screens and PVC fittings | 50 to 150 |
| Simple pressure pump (optional) | 200 to 600 |
| Labor (basic installation) | 300 to 800 |
| Total estimate | 730 to 2,250 |
Return on investment varies by local tariff and water harvested, but in cities where cubic meters of water exceed R$10.00, simple systems pay for themselves in under two years.
Common Mistakes That Turn a Cistern Into a Problem
The biggest mistake is building the system without a first-flush diverter. Without it, water reaching the reservoir carries everything that was on the roof, including bird droppings and particulate matter. The result is dark water, with odor, unsuitable even for washing your yard.
Another common error is using a reservoir without a cover or with damaged screening. The Aedes aegypti mosquito reproduces in any container with stagnant water. An uncovered cistern can become a breeding ground in just days, especially in summer.
Leaving the tank exposed to direct sunlight is also problematic. Solar heat warms the water and stimates algae growth, compromising quality and requiring more frequent cleaning.
Finally, many people connect harvested water to the house’s internal system without identifying the pipes. ABNT Standard NBR 15,527, which addresses rainwater harvesting, recommends that non-potable water pipes be marked in a different color (typically lilac) to prevent confusion with the potable water network.
Adaptations for Apartments and Small Spaces
Living in an apartment doesn’t mean you’re out of the game. Individual harvesting is limited without an exclusive roof, but some alternatives work well.
If you have a balcony or terrace, you can install a 100-200 liter collection barrel connected to a gutter or air-conditioning outlet. Condensation from air conditioning is considered distilled water and can be used without restrictions for watering plants.
In condos, the best strategy is to propose the idea at an assembly meeting. Collective systems installed on the building’s roof can supply garage washing, garden irrigation, and common area cleaning, reducing the water bill split among residents. This financial argument usually gets more support than environmental reasons alone.
If you’re already practicing other forms of conscious water use at home, it’s worth combining rainwater harvesting with other initiatives. Many people who start reducing water waste also begin rethinking other habits, like the proper disposal of used cooking oil, which also contaminates water resources when poured down the drain.
How Much You Can Actually Save
Savings depend on three factors: rainfall volume in your city, roof area, and how much of the harvested water you can actually use. A simple calculation helps visualize the potential.
Imagine an 80 m² roof in Belo Horizonte, where INMET records a historical average around 1,500 mm of annual rainfall. With 60% harvesting efficiency, the system can provide about 72,000 liters yearly, or 6,000 liters per month. If the local tariff charges R$12.00 per cubic meter, gross savings would be approximately R$72.00 monthly, or R$864.00 annually.
This amount covers basic system installation costs in less than two and a half years. And it continues generating savings for decades, since well-maintained tanks last over twenty years.
Frequently Asked Questions About Rainwater Harvesting
Can I use rainwater for drinking?
No, not without proper treatment. Roof-collected water may contain bacteria, heavy metals, and other contaminants. For human consumption, it would need filtration, disinfection, and regular laboratory testing—a complex process for simple household use.
Does rainwater harvesting attract mosquitoes?
Only if the system is poorly installed or maintained. With a sealed cover, fine mesh at the entrance, and six-monthly cleaning, the reservoir poses no conditions for Aedes aegypti reproduction. Risk exists in any open container with stagnant water, not specifically in well-built cisterns.
Do I need city permission to install a cistern?
It depends on your municipality and the type of work. For simple systems with ground-level or elevated tanks, a license is usually unnecessary. Large underground cisterns may require a building permit. Check with your local city hall or public works department before starting major projects.
Does a cistern increase property value?
Yes, in many cases. With growing concerns about water tariffs and water scarcity, rainwater harvesting systems have appeared as a selling point in property listings, especially in regions with a history of rationing. Plus, reduced water bills are a concrete argument for buyers and renters.
The First Step Fits Into a Saturday Afternoon
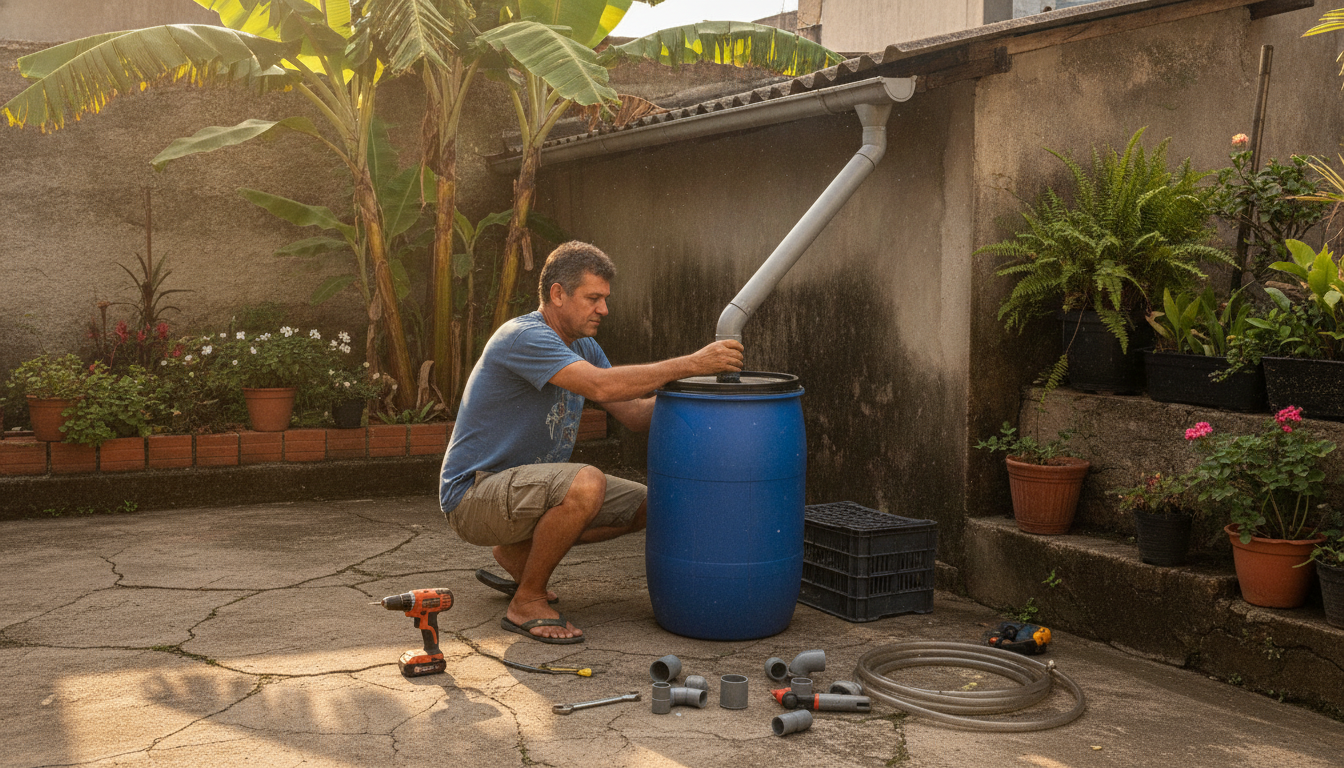
You don’t need to renovate your entire house to get started. The simplest entry point is observing where your roof water is currently going: does it fall directly into the yard, go to the gutter, or already flow through gutters? With this answer, you can identify which stage of the process you’re at and what’s missing to close the loop.
If you’re thinking about adopting a broader sustainable routine, rainwater harvesting pairs well with other practices like home composting, which also reduces landfill waste and generates fertilizer for the plants you’ll water with the rainwater you just harvested.
Start small, measure results on your next water bill, and adjust your system. The most effective change is one you can sustain.
