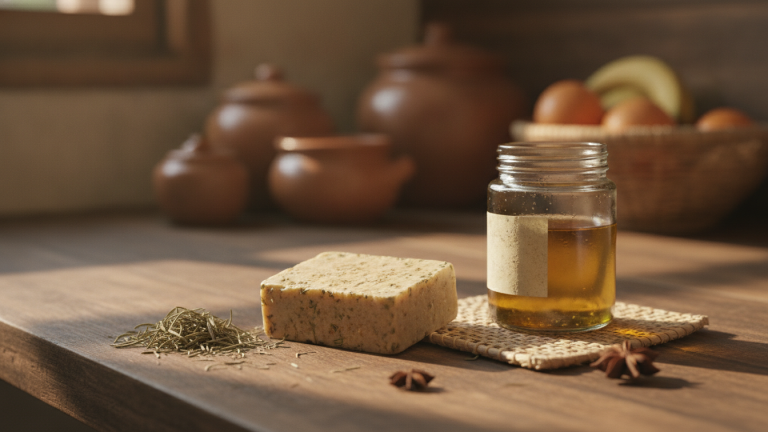
Why cooking oil you’d throw away can become soap
Have you ever stopped to think how much used cooking oil accumulates in your home each month? A Brazilian family of four can generate between one and two liters of residual oil just from everyday frying. When this liquid is discarded down the drain or toilet, it clogs pipes, contaminates rivers, and requires enormous treatment costs at sanitation stations. But when it goes into a homemade soap recipe, it becomes a real cleaning product that you’d use at home anyway.
The idea isn’t new, but it remains surprisingly efficient: transforming this waste into soap costs a fraction of what you pay in stores and also solves a concrete environmental problem. By the end of this text, you’ll know exactly how to make soap, what you can’t get wrong when handling ingredients, and how much you can save compared to buying industrialized bar soap.
Best of all: you don’t need special equipment, a laboratory, or technical knowledge. An old pot, gloves, and a little attention are enough.
What happens when oil goes down the drain
Improper disposal of cooking oil is a documented problem in Brazil. According to data from Abrelpe, an organization that monitors the solid waste sector in the country, much of domestic liquid waste still doesn’t have structured collection in most Brazilian municipalities. One liter of oil can contaminate up to 25,000 liters of water, according to technical estimates widely used by sanitation agencies and city halls in educational campaigns.
The Law 12,305/2010, known as the National Solid Waste Policy (PNRS), establishes that manufacturers, importers, and distributors of lubricating oils are responsible for the product lifecycle. For domestic cooking oil, the law encourages reverse logistics and recycling, but practice still depends heavily on local initiatives in each municipality. In other words, infrastructure hasn’t reached Brazil uniformly.
Making soap at home is a direct way to enter this reuse cycle without depending on specific collection. You solve the disposal problem, produce something useful, and reduce the waste leaving your apartment or house every month. If you want to better understand how small decisions at home reduce waste generation, it’s worth reading about how smaller household waste starts with simple choices.
What you need before starting
The basic homemade soap recipe uses three ingredients: used oil, caustic soda (sodium hydroxide), and water. The chemical reaction between the oil and soda, called saponification, is what transforms these two liquids into a solid soap bar. Simple in theory, it requires care in practice because caustic soda is corrosive.
Materials needed:
- Used and strained cooking oil (free of food residue)
- Caustic soda in flakes or powder (sold in supermarkets and building supply stores)
- Filtered or tap water
- Heavy-duty rubber gloves resistant to chemicals
- Safety glasses
- Resistant plastic container or metal bucket (never aluminum)
- Spoon or rigid plastic or wooden spatula
- Mold for solidification (cardboard box lined with plastic bag, for example)
- Kitchen scale (recommended for measuring soda accurately)
Estimated cost and time:
| Item | Typical quantity | Approximate cost (2026) |
|---|---|---|
| Caustic soda | 500 g | R$ 10 to R$ 15 |
| Used oil | 1 liter | R$ 0 (residue) |
| Rubber gloves | 1 pair (reusable) | R$ 8 to R$ 15 |
| Improvised mold | Cardboard box | R$ 0 |
Active preparation time is about 40 minutes. The soap needs 24 to 48 hours to harden in the mold and at least 30 days in a ventilated area to fully cure before use. This curing period lowers the pH and makes the soap gentler on the skin.
Step-by-step basic recipe
This recipe uses safe proportions for beginners. The ratio recommended by experienced formulators for used vegetable oil is: for every liter of oil, use approximately 140 g of caustic soda and 300 ml of water. But watch out: different oils (soy, sunflower, palm) have slightly different saponification values. This proportion works well for mixtures of common vegetable oils used in Brazilian cooking.
- Strain the oil through a strainer or old cloth to remove food residue. Oil with too much dirt interferes with soap quality.
- Put on protective equipment before any other step. Gloves and goggles are mandatory. Work in a ventilated area.
- Dissolve the soda in water (never the other way around): pour the soda slowly over cold water, stirring with the spatula. The mixture will heat up significantly and release steam. Avoid inhaling. Let it cool for 20 to 30 minutes.
- Warm the oil slightly until lukewarm (around 40 to 45 degrees). No need to boil.
- Pour the soda solution into the oil, stirring slowly and constantly. The mixture will thicken gradually, a process that can take 15 to 30 minutes depending on the oils used.
- Wait for the “trace” point: when you pass the spatula through the mixture and the groove takes time to disappear, it’s ready to go into the mold.
- Pour into the mold, cover with a cloth, and wrap to maintain heat for 24 hours.
- Unmold after 24 to 48 hours and cut into bars before it hardens completely. Let it cure in a ventilated area for 30 days.
How much you really save
In the market, a bar of powdered soap or 200 g bar soap costs an average of between R$ 4 and R$ 8, depending on the brand and region. One liter of used oil yields approximately 1.2 kg to 1.5 kg of soap, which corresponds to six to seven 200 g bars. With supplies (basically caustic soda), the cost per homemade bar is between R$ 0.80 and R$ 1.20.
The difference is significant over the year. A family that produces soap monthly with their own generated oil can save a considerable amount compared to regular purchases of industrialized soap. The exact savings vary with the volume of oil produced and the price practiced in your city, but the cost reduction per unit is real and consistent.
Common mistakes and how to avoid each one
Beginners often make some slips that compromise results or create risks. These are the most frequent:
- Not using protection: caustic soda causes burns on contact with skin and eyes. Never skip gloves and goggles.
- Using aluminum container: aluminum reacts with caustic soda and can corrode the container, contaminating the soap.
- Not straining the oil: food residue creates dark stains and can cause rancidity in the soap.
- Adding water to soda (the opposite of the correct step): this can cause splashing and violent reaction. Always pour soda into water.
- Using soap before curing: freshly made soap has very high pH and can irritate skin. Respect the 30-day curing period.
- Storing in damp location: moisture softens soap and reduces durability. Let it cure in a dry and ventilated place.
What homemade cooking oil soap is for
Soap produced with this recipe works well for:
- Hand washing clothes
- General cleaning of floors, tiles, and bathrooms
- Washing dishes (homemade soap is a good pre-wash for greasy pans)
- Sanitizing trash cans and drains
For body use (shower or face), it’s necessary to adjust the formulation with other oils and cure for a longer time. The basic recipe described here is more indicated for household cleaning. Homemade soap doesn’t contain thickeners, dyes, or artificial fragrances, which is an advantage for those with sensitive skin or who prefer products with fewer synthetic ingredients.
Frequently asked questions about homemade soap with used oil
Can I use any type of cooking oil?
Yes, most oils used in frying work: soy, canola, sunflower, corn, and blends. Palm oil also works, but changes the texture and color of the final product. What’s important is that the oil is strained, free of food residue, and doesn’t have a very strong rancid smell, which would indicate excessive oxidation.
Where can I buy caustic soda?
In larger supermarkets (usually in the heavy cleaning aisle), building supply stores, or compounding pharmacies. It’s sold legally without restriction for small household quantities. Store in a dry, closed location away from children’s reach.
Does homemade soap work as well as industrial soap?
For general household cleaning, performance is comparable. It removes grease, dirt, and can be used on floors and clothes. Industrial soap has the advantage in standardization, fragrance, and abundant foam, which is an aesthetic attribute and not necessarily a cleaning one. For those who use soap mainly to hand wash clothes or clean the house, the homemade version works well.
Can I save oil to make soap in larger quantities later?
You can. Store the strained oil in closed PET bottles, in a cool place without direct sun exposure. It can be accumulated for weeks without problem. When you have enough volume for a recipe (at least half a liter), you can already produce.
Start with the oil in your kitchen right now
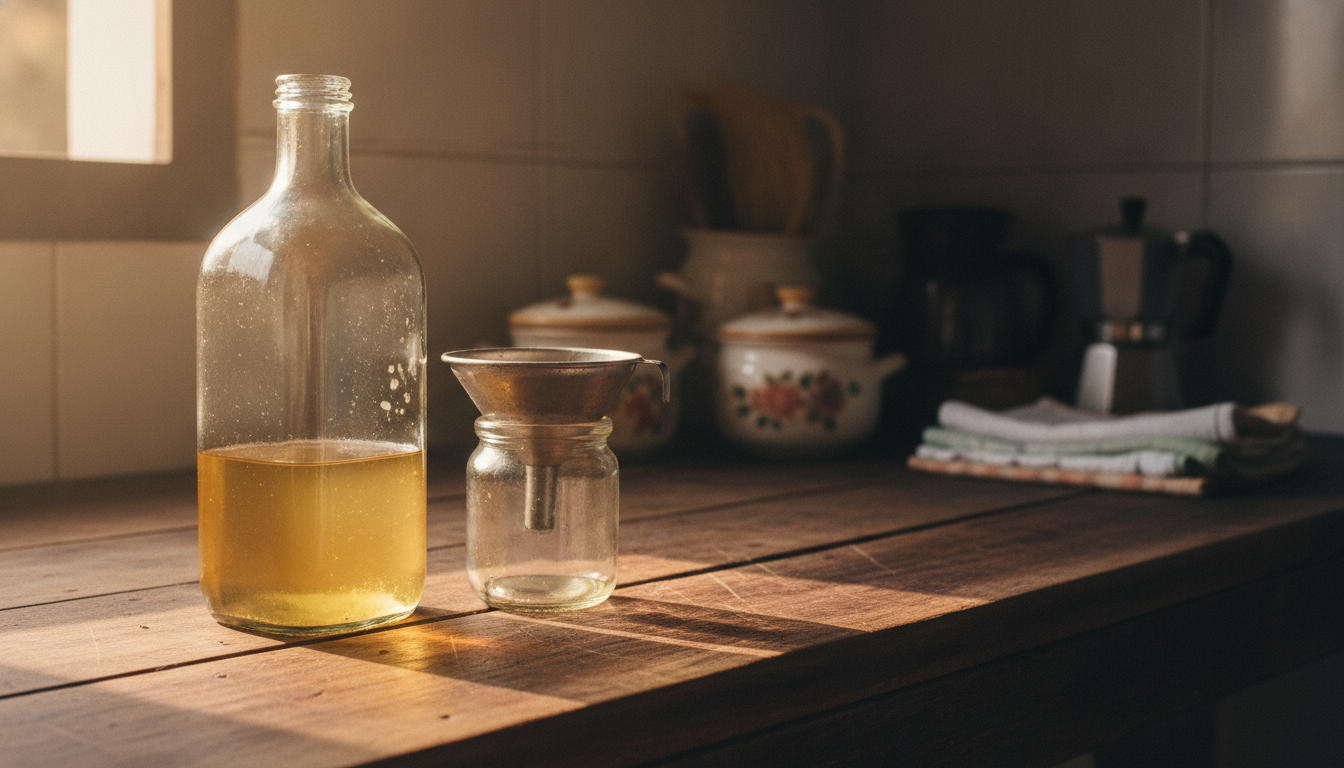
The next time you fry something, save the oil instead of throwing it away. Strain it, put it in a PET bottle, and start accumulating it. When you have a liter, you already have raw material for your first recipe. The missing ingredients cost less than a bar of soap bought at the market.
Transforming waste into useful product is one of the most direct ways to act. Without major investments, without giving up anything in daily life. Just a new habit that saves money and keeps oil away from your pipes and your city’s rivers.
