Have you ever stopped to look at your organic waste and wonder what happens to it after the garbage truck passes? Fruit peels, coffee grounds, leftover salad: according to Abrelpe data, organic waste represents more than half of everything Brazilians throw away. Most of it goes straight to landfills, where it decomposes producing methane, a gas with much greater global warming potential than CO2. It’s a waste of resources and money at the same time.
The good news is that you can solve this at home with a worm bin. You don’t need a yard, expensive equipment, or technical knowledge. A two-bedroom apartment has enough space to set up a functional system in one weekend, and in a few weeks you’ll already have worm humus to use in your garden or balcony plants. By the end of this text, you’ll know exactly what to buy, how to set it up, what to add, and what to avoid so the process works without smell and without complications.
A worm bin is one of the most practical ways to close the organic matter cycle at home, alongside conventional composting. If you want to better understand what can or cannot be recycled in your municipality before you start, it’s worth reading what cannot be recycled in Brazil and why, because the boundary between what goes to composting and what goes to regular garbage isn’t always obvious.
Why organic waste is such a serious problem in Brazil
Law 12.305/2010, known as the National Solid Waste Policy (PNRS), establishes that Brazilian municipalities must implement selective collection and encourage composting. In practice, however, most cities still send almost all organic waste to landfills. Abrelpe points out that Brazil generates tens of millions of tons of urban solid waste per year, and the organic fraction is the largest of them.
When organic matter goes to a landfill without treatment, it decomposes under anaerobic conditions (without oxygen) and releases methane. This gas contributes to climate change and also generates leachate, a liquid that can contaminate soil and groundwater when the landfill doesn’t have adequate waterproofing. Composting at home doesn’t solve the whole problem, but it removes a significant portion of that load from the public system.
From your wallet’s perspective, the humus produced by the worm bin replaces chemical fertilizer bought at a store. Those who have a small garden at home or potted plants notice the difference in seedling growth and flowering without needing to spend money on inputs.
What is a worm bin and how does it work
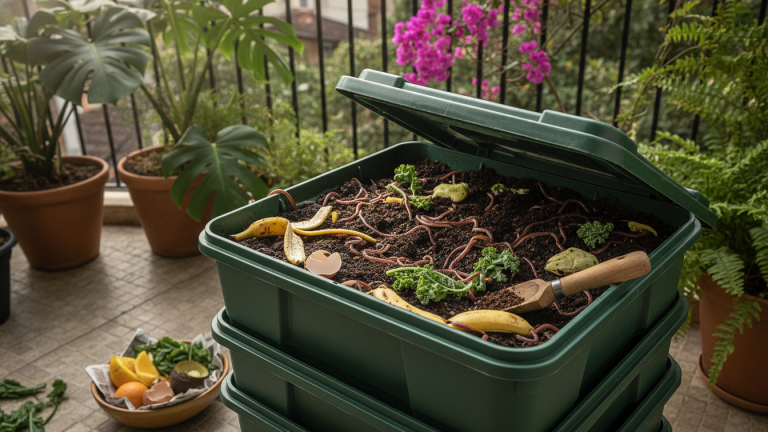
A home worm bin is a controlled system where California earthworms (Eisenia fetida) transform organic waste into humus and a dark liquid called worm leachate (or liquid biofertilizer). California earthworms are used because they adapt well to confined environments, reproduce quickly, and process organic matter efficiently.
The operation is simple: you place organic waste in a compartment, the worms eat and digest this material, and what remains is a nutrient-rich compost. The liquid that drains to the lower compartment is diluted in water and used directly on plants. The entire process is aerobic, meaning in the presence of air, which means that when done correctly, it produces virtually no odor.
Worms need moisture, mild temperature, and a balance between wet materials (fruit and vegetable scraps) and dry materials (cardboard, dry leaves, newspaper). This balance is the secret to a healthy worm bin.
How to set up your worm bin: materials, cost, and step by step
You can buy a ready-made worm bin at garden or sustainable product stores, with prices varying greatly depending on the city and model. But it’s perfectly possible to set one up at home with inexpensive and easy-to-find materials.
DIY option (polypropylene boxes):
| Item | Where to find | Approximate cost (2026) |
|---|---|---|
| 3 stackable plastic boxes (40 liters each) | Home goods stores | R$ 30 to R$ 60 each |
| California earthworms (approx. 500g) | Farm stores, markets or internet | R$ 30 to R$ 80 |
| Drill or hot iron for making holes | You probably already have one | R$ 0 |
| Cardboard and soil or initial humus | Supermarket / pet shop / garden store | R$ 0 to R$ 20 |
Step by step to set up:
- Take three opaque plastic boxes and stack them. The bottom box stays without holes and serves to collect leachate. The top two will have holes in the bottom and upper sides for ventilation.
- Make approximately 0.5 cm holes in the bottom and upper sides of the middle and top boxes. Use a drill or a heated iron. Small holes prevent worms from escaping.
- In the middle box (first working box), place a layer of shredded damp cardboard three to four centimeters thick. This material serves as an initial bed for the worms.
- Add a small layer of soil or ready-made humus on top of the cardboard. This helps create a favorable microbial environment from the start.
- Place the worms on this bed. They will bury themselves in just a few minutes.
- Add a small amount of shredded organic waste (no more than enough to lightly cover the worms). Cover everything with more cardboard or a damp cloth to maintain moisture and darken the environment.
- Put the lid on and let the worms adapt for two or three days before adding more waste.
The time until the first humus is ready varies, but under normal Brazilian temperature conditions (between 20°C and 28°C ideal for California worms), you can have visible compost in four to six weeks.
What can and cannot go into the worm bin
Knowing what to put in is as important as setting up the system properly. The following list is practical and straightforward.
Can go in:
- Fruit and vegetable peels (except citrus in large quantities)
- Coffee grounds and paper filters
- Tea bags (without metal staples)
- Salad scraps without dressing
- Shredded cardboard and newspaper (without colored ink)
- Eggshells (crushed speeds up decomposition)
- Bread scraps without fatty filling
Should not go in:
- Meat, fish and dairy products (attract flies and cause odor)
- Cooking fat and oil
- Large quantities of citrus (orange, lemon) as they acidify the environment too much
- Onion and garlic in excess (irritate the worms)
- Pet feces
- Plants treated with pesticides in large quantities
- Any non-organic material
Common mistakes and how to fix them stress-free
The worm bin seems fragile, but worms are surprisingly resilient when the environment is balanced. Most problems have simple solutions.
Bad smell: almost always indicates excess moisture or too much protein material (like very wet food scraps). Add layers of dry cardboard or dry leaves and lightly mix the contents to aerate.
Worms trying to escape: usually happens when the pH is too acidic (excess citrus) or temperature is too high. Check if the location has good ventilation and reduce acidic foods for a few days.
Too many fruit flies: the problem is almost always exposed waste. Always cover new waste with a layer of cardboard or dry material. Keeping the lid tightly closed also helps.
Dead worms: can indicate excess heat (above 35°C), lack of moisture, or poisoning from some unsuitable food. If the worm bin was left in direct sun, move it to a shaded, well-ventilated location.
A practical tip for apartment dwellers: the worm bin works very well inside a ventilated cabinet, in a service area, or on a balcony without direct sun. The size of the boxes can be smaller (20 liters) if the volume of organic waste in the house is small.
How to use the humus and liquid biofertilizer
The solid humus is the dark compost that worms produce. It has the appearance of fine soil, smells like a forest, and is full of beneficial microorganisms. Use it mixed with soil in potted plants (one part humus to three parts soil), as a surface cover at the base of garden plants, or in small gardens.
The liquid biofertilizer that accumulates in the lower box should be diluted before use. The most common ratio is one part of the liquid to ten parts of water. Apply directly to the soil around plants, never directly on the leaves, as the concentration can burn them.
If you’re producing more humus than you use, offer it to neighbors, take it to your neighborhood community garden, or donate it to urban gardening groups. In 2026 there are already exchange networks and groups on social media that connect those who produce compost with those who need fertilizer for plants.
Frequently asked questions about home worm bins
Does a worm bin smell bad?
When set up and fed correctly, a worm bin doesn’t have an unpleasant odor. The smell it produces is similar to that of damp garden soil. Bad smell appears when there’s excess wet material, fat, or lack of ventilation, and is usually resolved in a day or two by adding dry cardboard.
How many worms do I need to start?
For a family of two to four people, 500 grams of California earthworms are enough to start. They reproduce naturally and the colony grows with the amount of food available, so the system self-regulates.
Can I set up a worm bin even living in a small apartment?
Yes, without difficulty. A 20-liter box system takes up less space than a file box and can fit inside a cabinet. The secret is to control what goes in to avoid smell and keep the boxes in a cool, shade location.
How long does it take to produce the first humus?
At temperatures between 20°C and 28°C, which is common in most of Brazil, the first worms usually produce visible humus in four to six weeks. In colder regions or during winter, the process may take a bit longer because worm metabolism slows down with temperatures below 15°C.
Start today with a small step
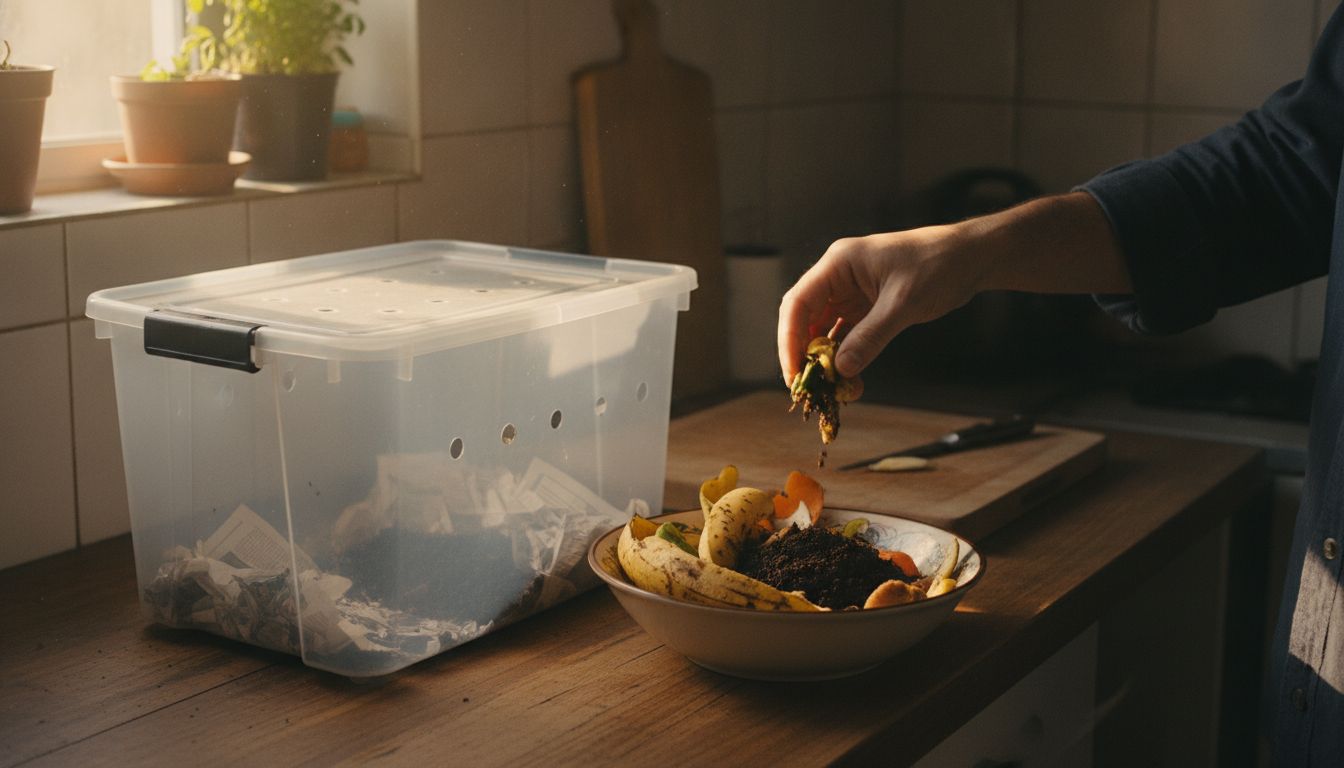
You don’t need to set everything up at once. Today, separate an old plastic box you don’t use anymore, make the holes, and research where to buy California earthworms in your city. While waiting for the worms to arrive, start storing peels and coffee grounds in a closed container in the refrigerator to avoid attracting insects.
This type of action, which seems small, is exactly what PNRS encourages: that each citizen reduces the volume of organic waste they send to the landfill. And just as sustainable fashion shows that consuming better starts with everyday choices, home composting proves that closing the organic matter cycle is within reach of anyone, with or without a yard, with or without previous experience.
The worms do the heavy lifting. You just need to give them a decent home.
