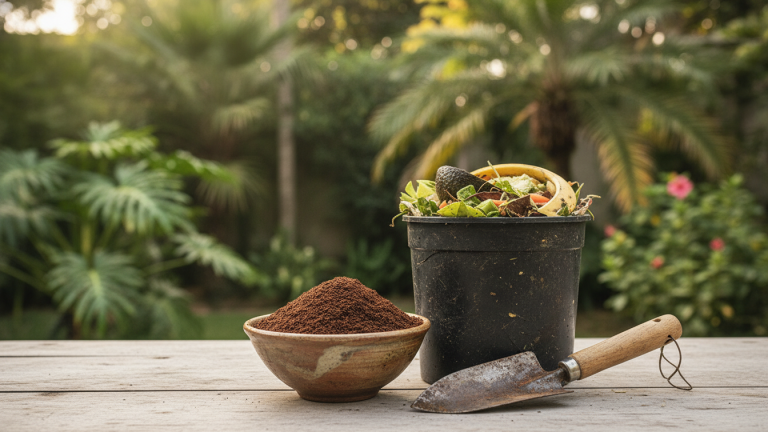
You’ve just made your morning coffee and there it is, at the bottom of the filter, that dark residue that normally goes straight to the trash. Think about how many times this happens per week in your home. Brazil is the world’s second-largest coffee consumer, according to the International Coffee Organization, and an enormous amount of grounds end up in landfills every day, decomposing without any benefit to anyone.
The good news is that this waste has a much more useful destination: your composter. Coffee grounds are rich in nitrogen, an essential nutrient for the composting process, and can transform what would be trash into quality fertilizer for your vegetable garden, pots, or garden. By the end of this article, you’ll know exactly how to add coffee grounds to your composter correctly, what quantities to use, what to avoid, and how to use the final product on your plants.
You don’t need a backyard, you don’t need to be a gardening expert, and you don’t need to spend anything beyond what you already spend on daily coffee. The process is simple, fits in an apartment, and makes a real difference in reducing the volume of organic waste your household sends to collection.
What makes coffee grounds special for composting
Coffee grounds are not just any waste. They carry with them a chemical composition favorable to the composting process, being considered a material rich in nitrogen, which places them in the category of so-called “greens” within the logic of home composting.
Nitrogen is the element that feeds the microorganisms responsible for breaking down organic matter. Without it in sufficient quantity, the composter tends to slow down, with little activity and lower quality compost. Grounds work precisely to balance this process, especially when most of the material you put in your composter is dry shells, cardboard, or leaves.
In addition to nitrogen, grounds contain small amounts of potassium and phosphorus, two other nutrients found in commercial fertilizers. Embrapa has already documented the use of organic waste such as coffee grounds in composting systems, recognizing its potential as a soil conditioner. This means you’re not just discarding less trash: you’re producing something with real value for the earth.
How home composting works in Brazil
Before getting into the details about grounds, it’s worth understanding the context in which you’re inserting this habit. Brazil generated more than 81 million tons of urban solid waste in 2023, according to Abrelpe data, and most of it still goes to landfills. The organic fraction, which includes food scraps and coffee grounds, represents a significant portion of this total and could be completely reused.
The Law 12.305/2010, known as the National Solid Waste Policy, encourages composting practices and waste reduction at the source, that is, in the citizen’s own home. Some Brazilian municipalities, such as São Paulo, Curitiba, and Florianópolis, already have home composting support programs with distribution of composters or compost drop-off points. It’s worth checking what exists in your city.
Home composting works on the basis of a balance between “green” materials (rich in nitrogen, such as fruit and vegetable scraps and coffee grounds) and “brown” materials (rich in carbon, such as dry leaves, shredded cardboard, and sawdust). This balance keeps the process active, without odors, and at the right speed. If you want to better understand how to set up a more complete waste reduction routine at home, the article on how to adopt a zero waste lifestyle at home now can be a good starting point.
Step-by-step guide to adding coffee grounds to your composter
This process works for both those who have a worm composter (vermicomposter) and for those who use conventional layered composters. The time invested is minimal and the cost is zero, since you’re reusing something you would throw away.
Materials needed:
- Used coffee grounds (filtered or from capsules)
- Home composter (plastic, wood, or improvised)
- “Brown” materials to balance (dry leaves, torn cardboard)
- A spoon or small shovel to mix
Time per addition: about 2 to 3 minutes
Cost: zero, using what’s left over from your coffee
- Let the grounds cool before adding to the composter, especially if you use a vermicomposter. Very hot grounds can stress the worms.
- Spread the grounds in a thin layer over the material already in the composter. Avoid dumping everything in a single pile in the same spot.
- Cover with a layer of “brown” material in the same proportion or slightly larger. A good reference is the ratio of 1 part grounds to 2 parts dry material.
- Mix lightly with the shovel to integrate materials and ensure aeration.
- Check moisture: the compost should feel like a slightly damp sponge to the touch. If too dry, sprinkle a little water. If waterlogged, add more brown material.
- Repeat the process whenever you have accumulated grounds, without needing to wait to accumulate large quantities.
In the case of a vermicomposter, California worms, the most commonly used for home composting in Brazil, tolerate coffee grounds well as long as they’re not added in excess. One cup per week for a medium-sized vermicomposter is a safe amount to start with.
Common mistakes you should avoid
The enthusiasm of starting can lead to some slip-ups. The biggest one is adding too much coffee ground, thinking that if a little is good, a lot is better. Grounds, while considered slightly acidic, can alter the pH of the compost if used in large quantities, harming microorganisms and, in the case of a vermicomposter, repelling or harming worms.
Another frequent mistake is adding grounds along with bleached paper filters. Non-bleached paper filters can go into the composter without problem, but very white filters go through chemical processes that can interfere with the compost. If in doubt, discard the filter in regular trash and use only the grounds.
See other points of attention:
- Never add grounds mixed with milk, sugar, or sweetener. These ingredients attract pests and create odors.
- Don’t use grounds from metal capsules directly. Remove the grounds and discard the capsule separately, following manufacturer instructions for selective collection.
- Don’t let grounds accumulate for many days outside the composter before adding them. They can develop mold quickly, especially in Brazil’s heat.
- Avoid concentrating grounds always in the same spot of the composter. Distribute across the surface to ensure uniform decomposition.
What you get in the end: quality compost
After a few weeks or months, depending on the type of composter and environmental conditions, you’ll have dark material in your hands, with the smell of wet earth and granular texture. This material, called humus in the case of a vermicomposter, can be used directly on your plants.
For pots and apartment vegetable gardens, mix the compost with the existing substrate in the ratio of approximately 1 part compost to 3 parts substrate. Plants that are already growing benefit from a thin layer of compost placed on top of the pot soil, called mulching.
In the garden or outdoor beds, compost can be incorporated into the soil before planting or spread around already established plants. The difference in plant vigor usually appears within a few weeks, especially in poor soils, which are common in many regions of Brazil.
Practical tips to maintain the habit in your daily life
Creating a sustainable habit is easier when it fits into the routine you already have, without requiring extra effort. Some simple strategies help maintain consistency:
- Keep a small container with a lid near the coffee maker to accumulate grounds during the week and take them to the composter all at once.
- If you use a moka pot or cloth filter, the process is even easier: just scrape the grounds directly into the container.
- In apartments without space for a composter, check if your building has or can have a communal collection point. Increasingly, buildings in Brazilian cities are adopting this solution.
- If you don’t have a composter yet, coffee grounds can also be mixed directly into plant pots as fertilizer in small quantities while you set up your composter.
Frequently asked questions about coffee grounds in your composter
Does coffee ground acidify the soil too much?
Used grounds have a pH close to neutral, unlike liquid coffee, which is more acidic. When used in moderate quantities within the composter, it poses no risk of significant acidification to the final compost. Plants that prefer slightly acidic soil, such as hydrangeas and blueberries, can benefit from direct addition to the pot, but even so with moderation.
Can I use grounds directly in the soil, without composting?
Yes, it’s possible to mix small amounts of grounds directly into pot substrate as a one-time supplement. However, the benefit is more complete when grounds go through the composting process, because nutrients become more available to plants after microbial decomposition.
How long does it take for grounds to decompose in the composter?
In an active and well-managed composter, coffee grounds decompose quickly, generally within two to four weeks. In a vermicomposter, worms process the material even faster. The final compost, with all materials integrated, can be ready between two and four months, depending on temperature and humidity conditions.
Do coffee grounds from capsules work the same way?
Yes, as long as you remove the grounds from the capsule before adding them to the composter. The composition of the grounds is the same regardless of preparation method. What changes is only the disposal of the capsule itself, which should follow manufacturer instructions or go to selective collection when compatible.
Start today with what you already have
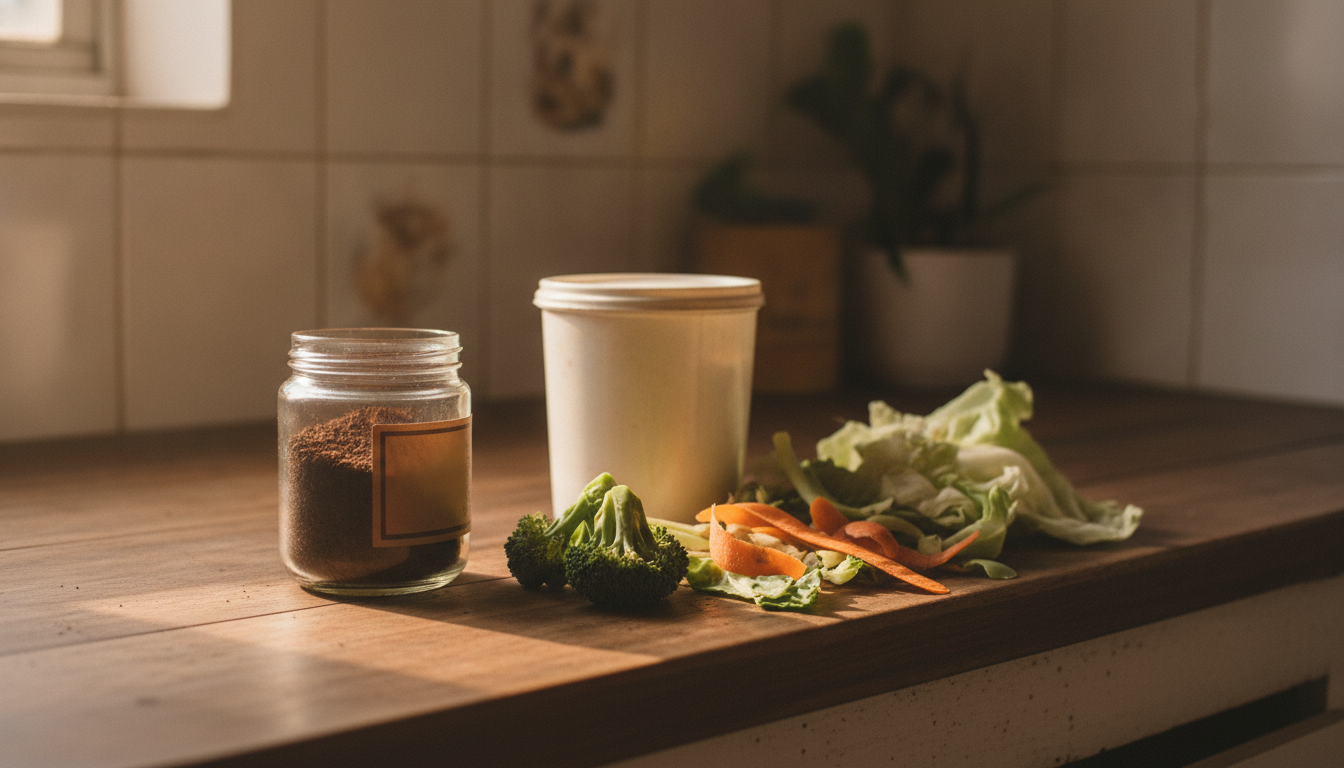
Coffee grounds are one of the easiest wastes to redirect because they’re already part of the routine of almost every Brazilian. You don’t need to buy anything, you don’t need large space, and you don’t need to wait for the perfect moment to start. Just save the grounds from your next cup of coffee and give them a better destination than the trash bag.
If you want to expand this habit to other household wastes and set up a more comprehensive routine for reducing environmental impact, exploring practices like how to adopt a zero waste lifestyle at home now can open up many other practical possibilities. For now, start with the simple: tomorrow’s coffee can already be the first step.
