Why Making a Compost Bin at Home Is Easier Than You Think
Did you know that a large portion of the trash that goes into your garbage bag every week could be transformed into nutrient-rich fertilizer for plants? Fruit peels, coffee grounds, leftover salad — all of this is organic matter that, instead of going to a landfill, can become nutrients that return to the earth. The good news is that setting up a homemade compost bin doesn’t require a large space, special money, or technical skills. Anyone, whether in an apartment or a house, can start today.
In Brazil, organic waste represents a significant portion of household garbage generated in Brazilian municipalities — according to data from the Panorama of Solid Waste in Brazil, published by Abrelpe, organic waste accounts for more than half of the total generated by Brazilian families. When this material goes to landfills, it decomposes without adequate access to oxygen and releases methane, a gas with a global warming potential much higher than CO₂ in the short term. Composting at home is, therefore, a small gesture with a real impact on the waste lifecycle.
This guide was created to be straight to the point: you’ll learn how to set up a functional compost bin spending little — or almost nothing — and you’ll understand how to keep the process simple and odor-free. Let’s go?
What Is Composting and Why Is It Worth It
Composting is the natural process of decomposing organic matter by microorganisms, worms, and other soil organisms. The final result is organic compost, a dark, moist fertilizer without an unpleasant odor that improves soil structure and provides nutrients for plants.
To understand this process and its environmental impact more deeply, it’s worth reading our article Composting: What It Is and How It Helps the Planet, which explains the fundamentals comprehensively.
From a practical standpoint, the benefits of having a compost bin at home include:
- Reduction of household waste — fewer garbage bags, less frequent disposal
- Free fertilizer production — ideal for vegetable gardens, pots, and gardens
- Savings on supplies — you stop buying fertilized soil and fertilizers
- Awareness about consumption — you start to see what you waste in the kitchen
- Real contribution to the environment — less methane generated in landfills
Types of Cheap Homemade Compost Bins: Which One Is Right for You?
Before building anything, it’s worth understanding the available options. There isn’t a single solution — there’s the one that works best for your space and routine.
Stacked Plastic Bucket Compost Bin
This is the most popular option for apartments. It uses two or three recycled plastic buckets (like paint buckets, for example, which are often discarded by neighbors or found at hardware stores for free). The cost can be zero or very low.
Wooden Box in the Backyard
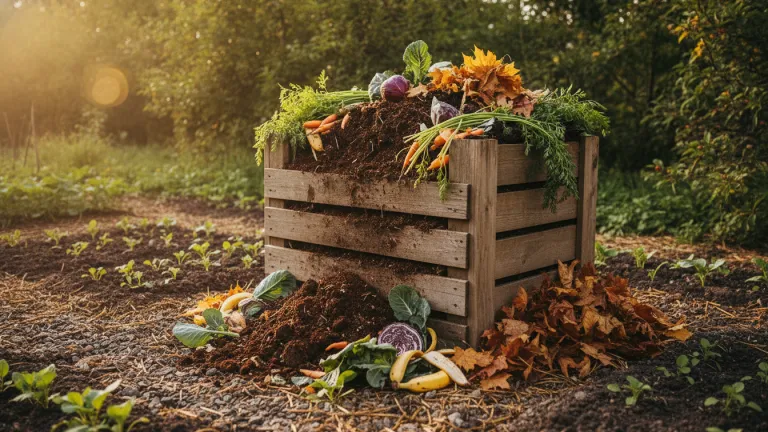
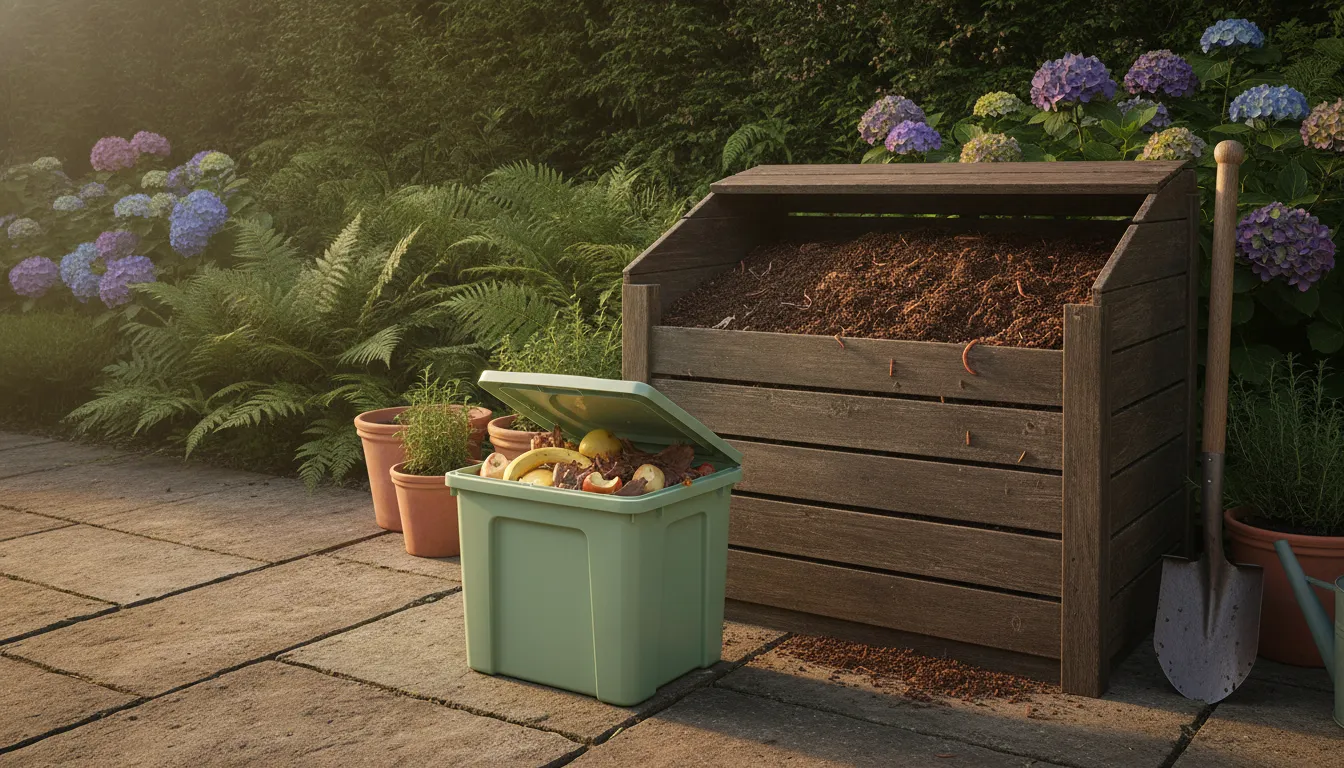
If you have a backyard or outdoor area, a simple wooden box — or even a corner delimited with pallets — works very well for larger volumes of waste. Pallets are easy to get for free at markets, distributors, and hardware stores.
Worm Bin (Vermicomposting)
This is a variation that includes California red worms (Eisenia fetida) in the process. The worms accelerate decomposition and produce excellent quality humus, as well as a liquid (the “leachate” or liquid biofertilizer) that can be diluted and used for watering plants. It’s the favorite choice for those who live in apartments and have little space.
Quick Comparison
| Type | Space Required | Approximate Cost | Time Until Compost Is Ready |
|---|---|---|---|
| Plastic buckets | Small (balcony/kitchen) | $0 to $6 | 2 to 4 months |
| Wooden box | Medium (backyard) | $0 to $10 | 2 to 6 months |
| Worm bin | Very small (indoors) | $0 to $16 | 1 to 3 months |
How to Build a Bucket Compost Bin at Home: Step by Step
This is the most accessible model and recommended for beginners. You’ll need two plastic buckets with lids (20 liters each, ideally), a drill or heated nail, and a little initial patience.
- Get the buckets — look for used paint buckets from neighbors, online donation groups, or hardware stores. Wash them well before using.
- Drill holes in the top bucket — with a drill or heated nail, make small holes (3 to 5 mm) in the bottom and sides of the top bucket. These holes ensure aeration and allow liquid to drain.
- Drill holes in the lid — the lid of the upper bucket also needs holes for air intake. Without oxygen, the process becomes anaerobic fermentation, which generates bad odors.
- Stack the buckets — the bucket with holes goes on top, fitted inside the lower bucket (which will remain closed). The bottom bucket will collect the liquid that drains, the biofertilizer.
- Add an initial layer of dry material — before adding any kitchen waste, line the bottom of the upper bucket with dry leaves, torn cardboard, sawdust, or unprinted paper. This layer is essential for process balance.
- Start adding organic waste — always alternate layers of wet material (food scraps) with dry material (leaves, cardboard). The ideal ratio is about 2 parts dry material to 1 part wet material.
- Stir the mixture every 2 or 3 days — use an old fork, a wooden spoon, or any utensil for aeration. This speeds up the process and prevents odors.
- Remove the biofertilizer from the bottom bucket — every few days, empty the liquid from the bottom bucket. Dilute in water (1 part liquid to 10 parts water) and use it for watering plants.
- When the top bucket is full, start a second cycle — stop adding waste and let the material rest for a few weeks until it becomes dark, homogeneous compost. Meanwhile, use another bucket or a separate container to continue discarding organic waste.
What Can and Cannot Go in the Compost Bin
This is the most common question for beginners. The list below is practical and straightforward:
Can go in:
- Peels and scraps of fruits and vegetables
- Coffee grounds and paper filters
- Tea bags (without the metal staple)
- Eggshells (crushed)
- Dry leaves, chopped thin branches
- Cardboard and paper without glossy ink, torn into small pieces
- Used paper napkins (without chemicals)
- Sawdust from untreated wood
Cannot go in:
- Meat, fish, and seafood
- Dairy products and foods with lots of oil or fat
- Pet feces (except in specific systems)
- Diseased plants or plants with fungi
- Mineral coal ash
- Any synthetic material, plastic, or metal
How to Avoid Common Problems: Bad Smell and Flies
The biggest fear for composting beginners is bad smell. The good news: it’s a sign of imbalance, and there’s a simple solution.
If the compost bin smells bad:
- Add more dry material (leaves, cardboard) — excess moisture is the most common cause
- Stir more frequently to ensure aeration
- Check if any non-recommended food was added (fat, animal protein)
- Reduce the amount of waste added at once
If flies or unwanted insects appeared:
- Always cover the last layer of waste with dry material
- Make sure the lid is tightly closed
- Don’t leave food scraps exposed on the surface
If composting is too slow:
- The mixture may be too dry — spray a little water
- Chop waste into smaller pieces before adding
- Increase the frequency of aeration
What to Do with the Finished Compost
When the material is dark, with a homogeneous texture and smelling like wet earth — congratulations, you made fertilizer! Now it’s time to use it.
The compost can be applied directly to the soil of pots, vegetable gardens, and gardens. It improves water retention in the soil, adds nutrients, and promotes microbial life. If you’re interested in taking a step further and creating your own garden, the article Your Own Herb Garden in 4 Simple Steps is a perfect complementary read.
If you produce more compost than you need, there are good alternatives:
- Donate to neighbors, schools, and communities that have gardens
- Offer it in local permaculture or agroecology groups
- Deliver it to municipal community composting initiatives (increasingly common in Brazilian cities)
Start Small and Progress at Your Own Pace
Setting up a homemade compost bin is one of the most concrete actions a person can take to reduce their environmental impact without spending almost anything. It doesn’t have to be perfect from day one — everyone makes mistakes with material proportions, forgets to stir, or adds something wrong. The process is forgiving, and you’ll learn quickly.
The most important thing is to start. Gather two buckets, separate tonight’s dinner scraps, throw a handful of dry leaves on top, and watch the natural cycle happen inside your home. In a few months, you’ll have quality fertilizer, less accumulated trash, and a different perspective on what “disposal” means.
If every Brazilian household took this step, the amount of organic waste sent to landfills would decrease significantly — and our country’s soil would become a little richer. You can be part of this, starting today, with what you already have at home.
