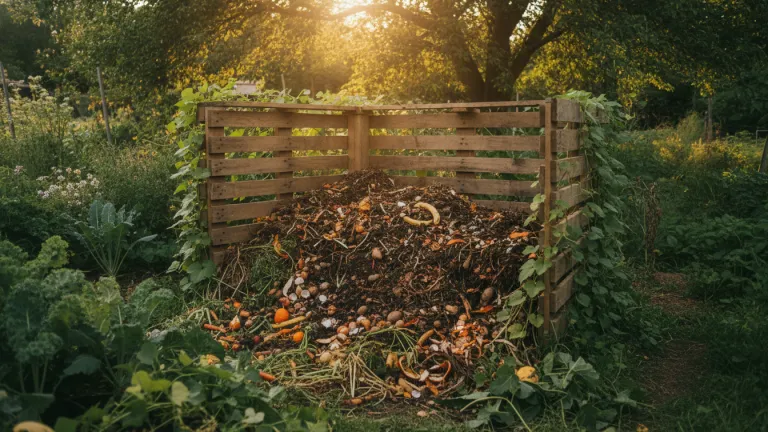
Have you ever wondered what happens to banana peels, kale stems, and coffee grounds that go into the trash every day in your home? In Brazil, organic waste represents more than half of household garbage volume — and most of it ends up in landfills, where it decomposes without oxygen and releases methane, a greenhouse gas with far greater global warming potential than CO₂. The good news is there’s a simple, cheap solution within reach of anyone: a home composter.
Composting at home transforms what would be discarded into nutrient-rich fertilizer for plants, vegetable gardens, and landscaping. It closes a cycle that nature has been doing for billions of years — a cycle we interrupted when we started packaging everything in plastic and throwing it away. Beyond environmental benefits, the practice reduces the volume of garbage your family produces, saves money on fertilizers, and improves the soil quality of your garden or vegetable patch.
In this article, you’ll learn how to build an affordable home composter from scratch, even if you live in an apartment, have never worked with soil, and think the process smells bad (spoiler: when done correctly, it doesn’t). Let’s get started.
Why composting at home makes a real difference
The problem with organic waste goes beyond the bad smell in the trash can. When food residue reaches a landfill, it becomes compacted without access to oxygen. Under these conditions, anaerobic bacteria dominate the decomposition process and produce methane (CH₄), a greenhouse gas with far more intense warming power than CO₂ over a 20-year horizon, according to IPCC data.
According to the Panorama of Solid Waste in Brazil, published by ABRELPE, organic waste historically represents more than 50% of the composition of Brazilian household garbage. This means that by composting, you can cut your household waste sent to landfills in half — a change with real, not symbolic impact.
On the other side of the equation, the compost produced works as a complete organic fertilizer. It improves soil structure, increases water retention, and provides nutrients slowly and evenly — without the risks of burning roots that concentrated chemical fertilizers pose. For those with home vegetable gardens or caring for potted plants, it’s a free gift you manufacture from your own trash.
What you can and cannot compost
Before setting up any structure, it’s essential to know what goes in and what stays out. Home composting works by balancing moist materials rich in nitrogen (called “greens”) and dry materials rich in carbon (called “browns”).
Materials that can go into a home composter
Green materials (nitrogen):
- Fruit and vegetable peels
- Leftover salad, greens, and cooked vegetables (without excessive seasoning)
- Coffee grounds and paper filters
- Tea bags (without metal staples)
- Eggshells (rinse lightly first)
- Cut grass and fresh green leaves
Brown materials (carbon):
- Dry leaves
- Cardboard and torn paper boxes (without shiny ink)
- Newspaper (in small quantities)
- Straw, sawdust, and untreated wood shavings
- Dry stems and thin branches
What should NOT go in
- Meat, fish, and bones
- Dairy products and whole eggs
- Oils and fats in large quantities
- Feces from carnivorous animals (dogs, cats)
- Diseased plants or those with aggressive fungi
- Residue with excess pesticides
Types of budget-friendly home composters: which one to choose
There’s no single model. The choice depends on available space, the volume of waste generated, and how much you want to invest — which can be virtually nothing.
| Type | Ideal for | Estimated cost | Difficulty |
|---|---|---|---|
| Bucket with perforated lid | Apartments, beginners | $0 to $30 USD | Low |
| Wooden box (pallets) | Yards and gardens | $0 to $50 USD | Low |
| Worm bin (vermicomposting) | Apartments, rich humus production | $30 to $80 USD | Medium |
| Drum composter | Larger volumes, yards | $50 to $120 USD | Medium |
For those just starting out who live in an apartment, the perforated bucket or worm bin are the most practical options. For those with a yard, a wooden box made from pallets is unbeatable in cost-benefit ratio.
How to make an affordable home composter: step by step
Let’s go through the tutorial for the most accessible and versatile option: the dual-bucket composter, which works in apartments and homes without yards.
What you’ll need:
- 2 plastic buckets with lids (can be reused paint buckets or cleaning product containers — many dry cleaners and restaurants discard these)
- Drill or thick heated nail
- Dry leaves, sawdust, or shredded paper
- Your organic waste
Step by step:
- Prepare the buckets: Make holes in the bottom and sides of the smaller bucket (about 20 to 30 holes with a 5mm drill bit or heated nail). These holes ensure air circulation. The larger bucket stays on the bottom without holes, collecting the leachate (nutrient-rich liquid that drains).
- Nest one bucket inside the other: Place the perforated bucket inside the bucket without holes. The space between them will accumulate nutrient-rich liquid that can be diluted in water and used as liquid fertilizer for plants.
- Create a base layer: Place a 5 to 8 cm layer of dry material (leaves, sawdust, shredded cardboard) at the bottom of the perforated bucket. This creates a “bed” that absorbs moisture and facilitates aeration.
- Add organic waste: Whenever you have peels, leftovers, and other green materials, add them to the bucket. Never dump everything at once without covering it.
- Cover with dry material: With each addition of green material, cover with an equivalent layer of brown material. This is the golden rule of composting: alternating moist and dry layers prevents bad smells.
- Cover and wait: Cap the bucket to prevent flies. In the first few days, the internal temperature will rise — this is a sign that bacteria are working.
- Stir every 3 to 5 days: Use a spoon, spatula, or piece of wood to gently turn the contents. This oxygenates the mixture and speeds up the process.
- Collect the leachate: Each week, empty the liquid accumulated in the outer bucket. Dilute 1 part leachate in 10 parts water and use as liquid fertilizer for plants.
- Wait for the compost to be ready: Generally, between 60 and 90 days, the older material at the bottom will already look like dark soil, without strong odor and unrecognizable original waste. This is ready-made compost.
Common problems and how to solve them
Even with all precautions, unexpected issues happen. Here’s a quick diagnostic guide:
- Bad smell (sour or rotten): excess moist material. Add more dry material and stir well.
- Appearance of flies or larvae: the composter may be receiving meat or fat, or materials aren’t being covered. Review what’s going in and always cover.
- Process too slow: lack of moisture or stirring. Add a little water if too dry, or stir more frequently.
- Material won’t decompose: large pieces take longer. Chop or crush waste before adding.
- Formation of white mold: this is normal and beneficial — indicates the presence of fungi that aid decomposition.
Extra tips for composting well in an apartment
Living in an apartment is no excuse not to compost. With attention to a few details, the process works perfectly without disturbing neighbors:
- Store waste in a closed container in the refrigerator until you have enough to add to the composter. This prevents the trash from smelling before you take the waste to the bucket.
- Use worms to speed up the process and produce superior quality humus. The worm bin is compact, virtually odorless when well-managed, and very efficient for small volumes.
- Better organize your kitchen waste: separating organics from recyclables from the start saves time and makes the process easier. This also connects to a larger shift in habits — such as reducing food waste in the kitchen when shopping and cooking.
- If you have excess ready compost, donate it to neighbors with plants, community garden groups, or even ask your condo to invest in a shared garden.
What to do with finished compost
After weeks of dedication, comes the most rewarding moment: using the compost you produced yourself.
- In pots and planters: mix 1 part compost with 3 parts conventional soil
- In vegetable gardens: apply directly to the soil as mulch or incorporate before planting
- For ornamental plants: a small amount around the pot improves growth
- As a donation: schools, parks, and community gardens love receiving ready-made compost
If you already practice or want to reduce meat consumption — a habit that also significantly lowers your food’s carbon footprint — you’ll notice that composting pairs perfectly with this lifestyle. Eating less meat and prioritizing plant-based foods generates more vegetable waste, which is exactly the best material for your composter.
Start today: your composter doesn’t need to be perfect
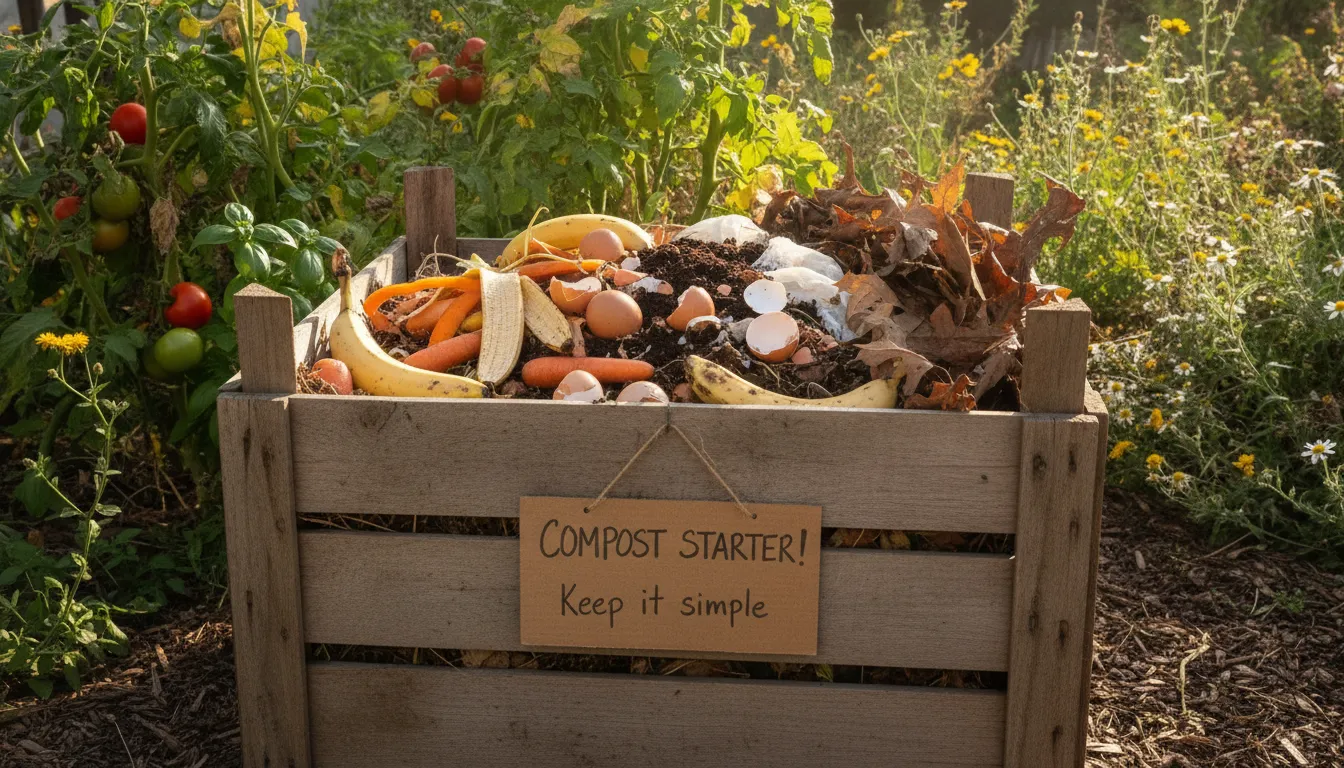
Home composting is one of the most accessible, affordable, and concrete actions anyone can take to reduce their environmental impact. It doesn’t require expensive technology, doesn’t depend on public policy, and doesn’t need to wait for the right moment — you can start today, with what you have at home.
If you have an old bucket, dry leaves from the garden, or shredded paper, that’s enough to take the first step. The learning curve is small, mistakes are easily correctable, and the satisfaction of seeing finished compost for the first time is genuinely rewarding.
Start small, observe the process, adjust when necessary, and don’t give up at the first difficulty. Nature does most of the work — you just need to create the conditions for it to happen. And when you show someone else the fertilizer you produced from your own trash, the chances of inspiring another person to do the same are high. That’s how real changes are built.
