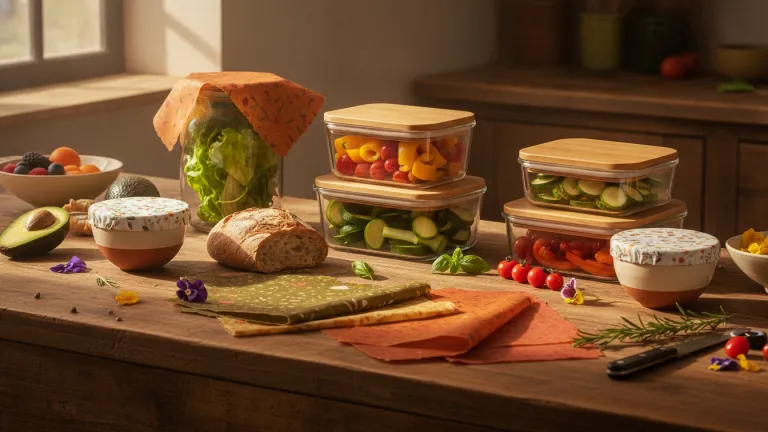
Why plastic wrap still dominates our drawers — and how to change that
Open any kitchen drawer in most homes and chances are you’ll find a roll of plastic cling wrap waiting to be used. It covers bowls of leftovers, wraps cheese, protects cut fruit, and seems, at first glance, impossible to replace. It’s cheap, transparent, and “gets the job done.” But what happens to it afterward? Within minutes of use, that piece of plastic goes straight to the trash — and from there, often to landfills or even waterways, where it can take hundreds of years to degrade, releasing microplastics in the process.
The good news is that 2026 already offers us mature, accessible alternatives that, in many cases, are more practical than traditional wrap. We’re no longer talking about improvised solutions or giving up comfort. The options available today have been tested, improved, and adopted by home cooks and professional chefs around the world. The transition is simpler than it seems — and this article will show you exactly how to make it, step by step.
If you’re already thinking about reducing disposable plastic in your routine, the kitchen is one of the best places to start. The impact is immediate, visible, and cumulative. Every roll of plastic wrap you don’t buy is a concrete gesture — and together with millions of other gestures, this change carries real weight.
The real problem with PVC plastic wrap
The most common household plastic wrap is made from polyvinyl chloride (PVC) or polyethylene (PE), materials that are not accepted in most recycling programs. This means that virtually all plastic wrap used in kitchens ends up in landfills or in nature.
Beyond disposal, there’s another concern: PVC films may contain plasticizers such as phthalates, substances that provide flexibility but are classified as potential endocrine disruptors by international health agencies. Direct contact with fatty or heated foods can increase the migration of these substances.
From an environmental standpoint, single-use plastics — a category that includes cling wrap — are at the center of global pollution discussions. The United Nations Environment Programme (UNEP) has been leading negotiations for a binding international treaty on plastics, a process with global participation. Reducing household consumption is part of the solution that starts at home.
The best plastic wrap alternatives: a practical comparison
Before choosing where to start, it’s helpful to understand what each alternative offers. The table below summarizes the main options available in 2026:
| Alternative | Ideal for | Durability | Dishwasher safe? | Initial cost |
|---|---|---|---|---|
| Airtight container with lid | Leftovers, liquids, grains | Years | Yes (most) | Medium |
| Stretchable silicone lid | Covering bowls and pots | 2–5 years | Yes | Medium |
| Beeswax wrap | Fruits, bread, cheese | ~1 year | No (cold water) | Medium |
| Vegan wax wrap (carnauba or soy) | Same, without animal products | ~1 year | No (cold water) | Medium |
| Silicone or elastane bowl cover | Covering bowls | Years | Yes | Low |
| Parchment/kraft paper | Wrapping, baking | Single use, compostable | — | Low |
| Reusable fabric bag | Sandwiches, dry snacks | Years | Yes | Low–medium |
None of these alternatives solves every use case for plastic wrap — and that’s okay. The idea is to combine two or three options to fully cover your routine.
How to make the transition: stress-free step by step
The most successful transition is gradual and intentional. Here’s how to do it without frustration:
- Observe your habits for a week. Note what you use plastic wrap for: covering bowls, wrapping leftovers, protecting food in the fridge, packing lunches? Each use has a specific alternative.
- Start with the most frequent uses. If you mainly use wrap to cover bowls, start with stretchable silicone lids or elastic bowl covers. They’re affordable and work immediately.
- Replace gradually, without throwing away what you already have. Don’t throw away the roll you already have. Use it up. The goal is not to buy the next one.
- Invest in quality airtight containers. Glass containers with sealing lids are the most versatile, durable, and safe solution for storing leftovers. They work in the freezer, microwave, and dishwasher.
- Try making beeswax wraps at home before buying. You can make them at home with beeswax or carnauba wax — see the section below. This way you can test before spending money.
- Keep a silicone lid near the stove. The convenience of plastic wrap comes from immediate availability. Keeping alternatives visible and accessible changes the habit effortlessly.
- Evaluate after 30 days. What worked? What do you still miss? Adjust without guilt.
How to make homemade beeswax wraps: complete tutorial
The beeswax wrap is one of the most popular alternatives to plastic wrap. It adheres to surfaces through the warmth of your hands, is flexible, reusable, and biodegradable. You can buy them ready-made or make them at home with just a few materials.
Ingredients and materials for homemade beeswax wraps
- 100% cotton fabric (muslin, cotton print, or any clean natural fabric)
- Beeswax pellets or grated beeswax (sold at natural product stores and beekeeping suppliers)
- Parchment paper
- Clothes iron
- Scissors
Instructions
- Cut the fabric to your desired size. Useful sizes: 8×8 in, 12×12 in, and 14×14 in.
- Place the fabric on a sheet of parchment paper on a flat, heat-resistant surface.
- Spread the beeswax over the fabric in small pieces or shavings. Use about 1 level tablespoon for a 10×10 in square.
- Cover with another sheet of parchment paper and run a hot iron (medium temperature) over it in circular motions. The wax will melt and penetrate the fabric fibers.
- Carefully remove the top parchment paper while still warm and lift the wrap quickly. Wave it in the air for a few seconds to cool and set.
- Reuse the parchment paper for the next wraps — it can be used multiple times in this process.
To care for your wrap: wash with cold water and mild soap. Never use hot water — it melts the wax. Air dry. With proper care, it lasts about a year with regular use.
Vegan version: replace beeswax with carnauba wax (produced from the leaves of the carnauba palm, native to Brazil) mixed with a small amount of coconut oil for flexibility. The most commonly used ratio is 3 parts carnauba wax to 1 part coconut oil.
Specific situations and the best solution for each
Some situations seem to require plastic wrap almost inevitably. Here’s how to work around them:
- Covering bread or pizza dough that needs to rise: use a stretchable silicone lid or simply a damp cotton cloth over the bowl. It works perfectly.
- Wrapping raw meat for the freezer: reusable silicone bags with zippers are the best option. They can go in the freezer and dishwasher.
- Protecting halves of lemon, avocado, or onion: beeswax wraps work very well. For very moist or acidic foods, a small container with a lid is safer.
- Covering a plate in the microwave: use an inverted plate, a microwave-safe cover (sold in silicone), or a damp paper towel. Plastic wrap shouldn’t go in the microwave anyway.
- Packing lunch containers: airtight glass or stainless steel containers are superior in every way — they don’t leak, don’t absorb odors, and last for decades.
To learn more about replacing other disposable plastics beyond wrap, check out Plástico descartável tem substitutos melhores para você.
How much does the transition cost?
A legitimate question: will this change be hard on your wallet? The honest answer is that there’s an initial cost, but the long-term balance is positive.
A 100-foot roll of plastic wrap costs between $3 and $8 in the US, depending on the brand. A family that uses one roll per month spends between $36 and $96 per year — indefinitely, without ever stopping to buy.
A set of three good-quality stretchable silicone lids costs between $10 and $20 and lasts several years. Good-quality airtight glass containers can be found from $5 to $15 each and last for decades. Homemade beeswax wraps cost less than $15 in materials for a set of four pieces.
In other words: within six months to a year, the transition pays for itself — and after that, you save every month.
Conclusion: your kitchen can be a place for real change
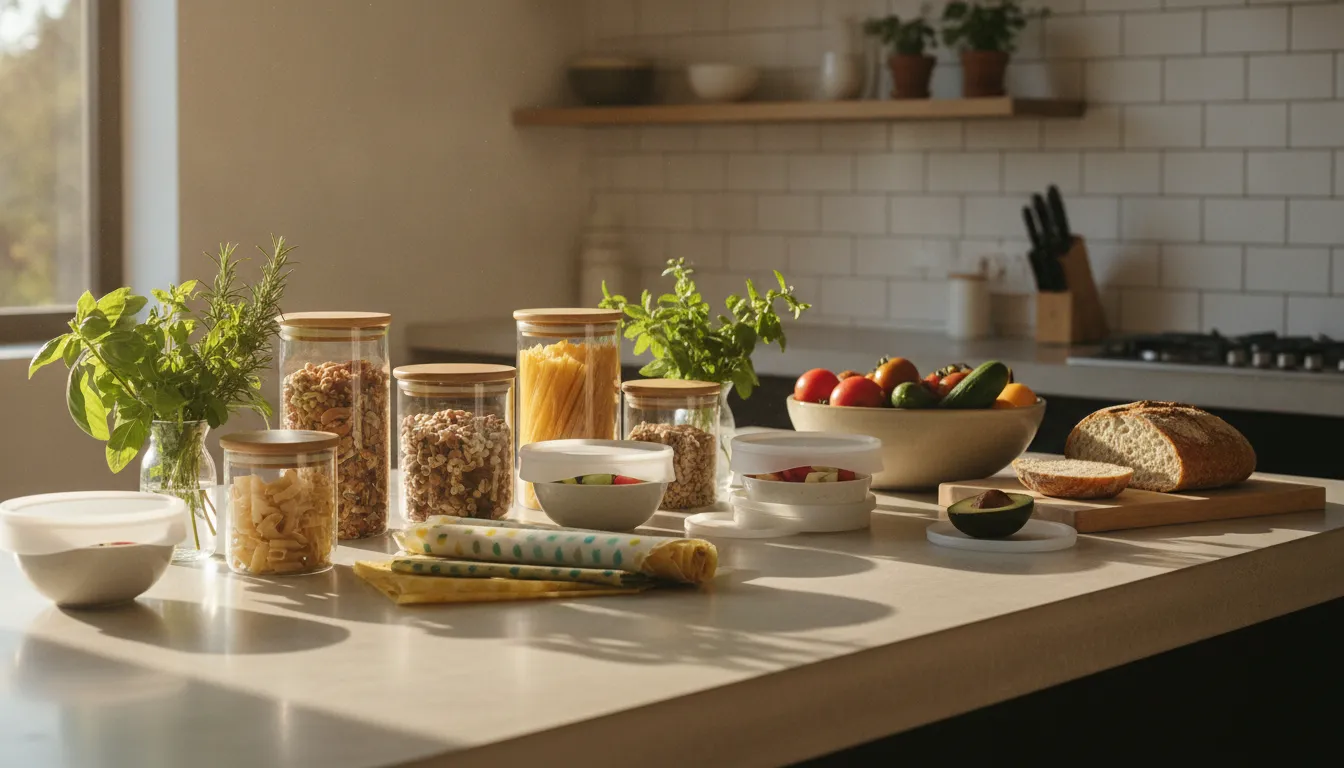
Replacing plastic wrap doesn’t require sacrifice. It just takes a little attention, an initial choice, and a few days of adjustment. Once the containers are organized, the beeswax wraps are in the drawer, and the silicone lids are within reach, the new routine flows as naturally as the old one — often better, because food stays fresher and you don’t waste time looking for the beginning of the plastic roll.
Each alternative adopted is a concrete gesture of care: for your health, your wallet, and the environment. And concrete gestures, multiplied by millions of kitchens, carry real weight in the world.
Start with just one use — just to cover the bowl of leftovers tonight. That’s already enough to begin.
