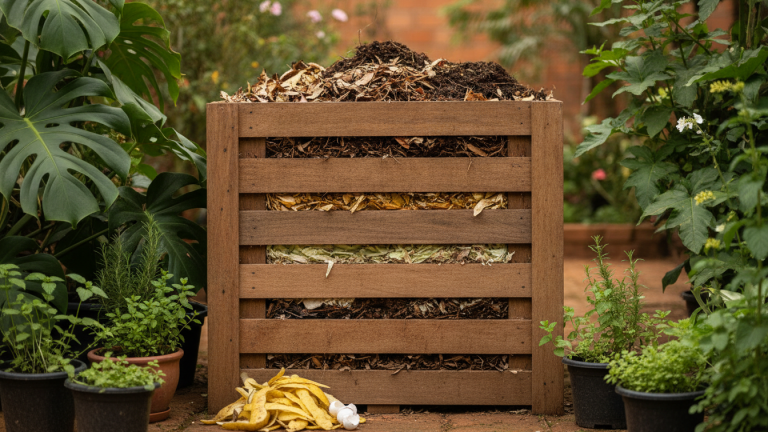
Have you ever stopped to think about what happens to banana peels, cabbage stems, and coffee grounds that go into your trash every week? In most Brazilian homes, these residues go straight into a plastic bag, mix with other materials, and end up in a landfill. According to Abrelpe data, organic residues represent more than half of everything Brazilians discard, and most of it still receives no adequate treatment before being buried.
The good news is that you can transform much of this material into quality fertilizer inside your home, without bad smells, without pests, and without needing a huge backyard. By the end of this article, you’ll know exactly how to set up your compost bin, which residues to use, which to avoid, and what to do with finished compost. And you’ll realize the process is simpler than it seems.
Home composting isn’t just a symbolic gesture. It’s a concrete way to reduce the volume of trash you generate, decrease fertilizer costs if you have a small vegetable garden, and help prevent less methane from being released into the atmosphere by landfills. Real gains in several ways.
Why organic waste is such a serious problem in Brazil
When organic residues go to landfills, they decompose without access to oxygen. This process releases methane, a gas with much greater global warming potential than carbon dioxide, according to the IPCC. The solid waste sector is a relevant source of greenhouse gas emissions in Brazil, and organic residues have significant weight in this.
Law 12.305/2010, known as the National Solid Waste Policy (PNRS), has been predicting for over a decade that municipalities should create separate collection systems for organic waste. In practice, implementation is still slow. Selective collection of organic materials exists in few Brazilian municipalities, and home composting emerges as a practical response to what the government hasn’t yet managed to solve.
If you throw away peels, leftover vegetables and fruits, know that you’re discarding material rich in nitrogen, phosphorus, and potassium—nutrients that plants love. Instead of paying for synthetic fertilizer at the neighborhood store, you can produce it at home with what you’d throw away.
What is composting and how does it work
Composting is the process of controlled decomposition of organic matter by microorganisms, such as bacteria and fungi, which transform food scraps and other materials into humus, a dark, loose substance rich in nutrients.
The secret of the process lies in the balance between two types of material: green materials (moist and rich in nitrogen, like food scraps, coffee grounds, and fruit peels) and brown materials (rich in carbon, like shredded cardboard, dry leaves, and sawdust). Without this balance, the pile either gets too wet and smells bad, or dries out and stops working.
Decomposition happens faster when there’s adequate moisture, aeration, and a balanced ratio between carbon and nitrogen. You don’t need to understand the chemistry behind it to make it work: just follow a few simple steps and observe what happens.
How to set up your compost bin at home: step by step
There are different compost bin formats. For apartments, a worm bin or stacked bucket composter works very well. For houses with a backyard, a larger box or a pile in a corner of the garden already solves the problem. Here’s how to start:
Materials needed:
- 2 to 3 plastic buckets or boxes with lids (volume between 20 and 50 liters each)
- Drill or heated nail to make holes
- Cardboard, dry leaves, or sawdust without chemicals
- Your daily organic residues
Approximate cost: between R$ 40 and R$ 120 to set up with purchased buckets, or practically zero if you reuse market crates or clean paint buckets.
Initial setup time: about 30 minutes.
Step by step:
- Make holes in the sides and bottom of two buckets (for ventilation and drainage). The third bucket, without holes, serves as a base to collect leachate, a liquid that can be diluted in water and used as liquid fertilizer.
- Stack the perforated buckets on top of the base bucket.
- Place a layer of dry material at the bottom of the first bucket: shredded cardboard, dry leaves, or sawdust.
- Add your organic scraps on top.
- Always cover with a layer of dry material after each addition of residue.
- When the first bucket fills up, start using the second one. The contents of the first will continue decomposing while you use the next.
- In 2 to 4 months, the material from the first bucket will be transformed into dark compost, without unpleasant odor and with the appearance of moist soil.
What can and cannot go into the compost bin
Knowing what goes in is just as important as any other step. A wrong list of materials can attract animals, create bad odors, or contaminate the compost.
Can:
- Fruit and vegetable peels (banana, orange, potato, onion)
- Salad scraps and vegetable leaves
- Coffee grounds and paper filters
- Open tea bags
- Eggshells (help balance pH)
- Cardboard and paper without glossy ink, torn into small pieces
- Dry leaves, cut grass, straw
- Sawdust from untreated wood
Cannot:
- Meat, fish, and bones (attract animals and create strong odor)
- Dairy products and fats
- Pet feces (unless it’s a specific worm bin for this)
- Diseased plants or those treated with strong pesticides
- Synthetic materials, plastics, glass, or metal
If you’re unsure about a specific item, the practical rule is: if it came from something that grew in soil and wasn’t heavily processed, it probably can go in.
Common mistakes and how to fix them without stress
The biggest fear for beginners is smell. But bad odor almost always has a simple cause and solution.
- Rotten or ammonia smell: excess of moist material (green). Add more cardboard or dry leaves and mix lightly with a fork or stick.
- Not decomposing: lack of moisture or excess of dry material. Add some water or more moist food scraps.
- Flies or ants appeared: the dry material cover isn’t being applied correctly. Always cover scraps after adding them.
- Took longer than expected: lower temperatures slow down the process. In winter, it can take longer, especially in cold cities in the South and Southeast.
Composting forgives mistakes. Just observe and adjust. Nobody learns to do it in the first week, but in a month you’ll get the hang of it.
What to do with finished compost
When the material is dark, loose, moist, and smells like soil, it’s ready to use. You won’t recognize the original ingredients anymore, which is a sign that the process went well.
If you have a vegetable garden at home, this compost is gold. Embrapa recommends home composting precisely because the humus produced improves soil structure, retains moisture, and provides nutrients gradually, without the risk of burning roots like some synthetic fertilizers do. If you want to start planting along with composting, the guide to growing herbs at home can be the next natural step.
Even without a vegetable garden, you can use the compost in pots, building gardens, street flower beds, or offer it to neighbors, schools, and community projects. Many organic fairs and exchange groups are spread throughout Brazilian cities and love receiving homemade compost.
The leachate, dark liquid collected in the base bucket, should be diluted in water (generally one part leachate to ten parts water) before using on plants. Too concentrated it can harm the soil.
Frequently asked questions about home composting
Can I compost in an apartment without a balcony?
Yes. Small worm bins fit inside homes, without odor, and can be placed under the sink or in a kitchen corner. The California red worm, used in this process, transforms organic residues into humus much faster than conventional composting and doesn’t require much space.
How long does it take to have the first compost ready?
It depends on the method, temperature, and volume of material added. In compost bins with good ventilation and balanced materials, the process takes between two and four months. Well-managed worm bins can produce compost in less time.
Does composting attract rats or cockroaches?
When done correctly, no. Problems appear when meat, fat, or dairy are added, or when residues are left exposed without a cover of dry material. Following the list of allowed materials and always covering scraps, the risk is very low.
Can I use homemade compost on any plant?
Most plants benefit from organic compost. But plants that prefer acidic soil, like some orchids, may react differently depending on the compost composition. For general use in gardens, flower beds, and pots, homemade compost works very well.
Start small and see the difference
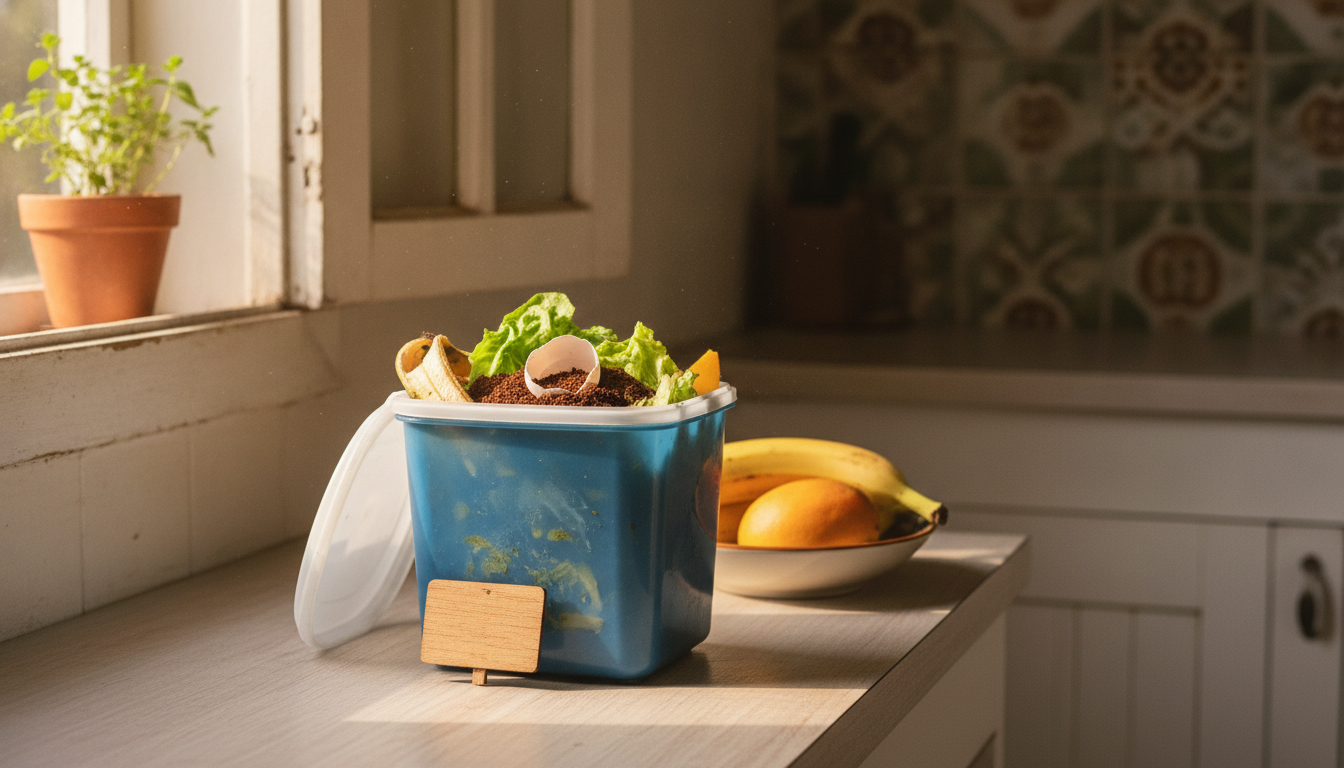
You don’t need to set up a perfect system on day one. Start with one bucket, collect the week’s scraps, cover with shredded cardboard, and observe what happens. This is the most concrete action you can take today to reduce the trash leaving your home.
Day-to-day sustainability doesn’t require perfection, it requires a start. And the compost you’ll produce over the next few months will be concrete proof that transformation is possible within your home, with what you already have.
