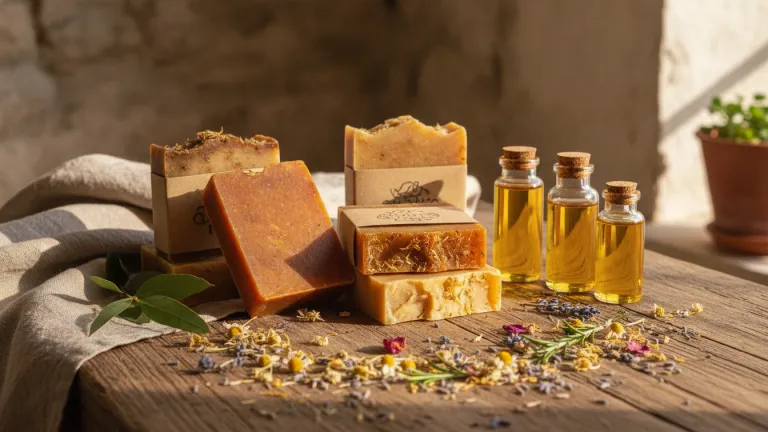
Every time you fry an egg, sauté vegetables, or roast a chicken, you’re left with a residue that most people discard without a second thought: used cooking oil. This dark, viscous liquid ends up down the drain, in rivers, in the soil, and eventually contaminates groundwater and entire ecosystems. The problem is real and it’s in virtually every kitchen.
The good news is that there’s a simple, time-tested, and surprisingly effective solution to give this waste a noble purpose: turning it into soap. The process, known as saponification, is accessible to anyone, doesn’t require sophisticated equipment, and actually saves money on your household budget. In times when sustainability has gone from being a luxury to a necessity, learning how to make homemade soap from used oil is a small gesture with concrete impact.
In this guide, you’ll find everything you need to know to start today: from safety precautions to the complete step-by-step recipe, along with the real environmental benefits of this practice and tips for turning artisan soap into extra income. Put on your apron and let’s get started.
Why Reusing Cooking Oil Is an Urgent Environmental Issue
Improper disposal of cooking oil is one of the most underestimated environmental problems in daily urban life. When poured down the sink or toilet, oil forms an impermeable film on the inner surfaces of the sewer system, contributing to pipe blockages and overwhelming water treatment plants. When dumped directly into the soil or bodies of water, the effect is even more severe: it creates a barrier that prevents water oxygenation, harming the entire aquatic food chain.
Oil collection programs exist in many municipalities and are essential, but participation is still limited in many areas. Transforming oil into soap at home is a practical alternative for those without accessible collection points nearby — and it works as a circular economy solution applied at the most basic scale possible: your own home.
Beyond the direct environmental impact, there’s a relevant economic dimension. Homemade soap made from recycled oil is a functional product, effective for cleaning floors, clothes, and surfaces, and virtually free considering that the main ingredient would otherwise be discarded.
Understanding Saponification: The Chemistry Behind Homemade Soap
You don’t need a chemistry degree to make soap, but understanding the basic principle helps ensure a safe, quality product. The process is called saponification: a chemical reaction between fat (in this case, used oil) and an alkaline base (lye, also called sodium hydroxide, NaOH).
During the reaction, fat molecules are broken down and reorganized, forming soap itself and glycerin as a byproduct. The result is a molecule with one end attracted to water and another attracted to grease — exactly what allows soap to remove dirt and oil from surfaces.
Important points to understand before starting:
- Lye is a corrosive reagent and must be handled with protective equipment
- After the complete saponification reaction, no free lye remains in the final soap — the cured product is safe to use
- The ratio between oil and lye must be respected to ensure all the lye reacts and the soap doesn’t become too alkaline
- Curing time (resting after preparation) is essential for the reaction to complete and the soap to become safe and effective
Materials Needed to Make Soap from Used Oil
Before starting, gather all items. Improvising mid-process can be dangerous.
Ingredients:
- 1 liter of used cooking oil, strained (no food residue)
- 200 ml of cold water (preferably filtered or mineral)
- 100 g of lye in flakes or micropearls (NaOH — found in cleaning supply stores, hardware stores, or online)
Equipment and protection:
- Heavy-duty rubber gloves (not thin disposable ones)
- Safety goggles
- Apron or old clothes
- Heat-resistant plastic or stainless steel container for mixing lye with water (never use aluminum — it reacts with lye)
- Plastic or stainless steel spoon or spatula for stirring
- Mold for shaping the soap (milk carton, plastic-lined cake pan, plastic containers)
- Kitchen scale (recommended for precision)
- Cooking thermometer (optional but useful)
Step by Step: How to Make Homemade Soap from Used Oil
Preparing the Reused Oil
First things first, the oil needs to be clean. Strain it through a fine sieve or old cloth to remove food residue. Very dark oil or oil with a strong smell may result in soap with an unpleasant odor — in that case, mix it with a larger portion of lighter oil.
Complete Recipe: Step by Step
- Put on your protective equipment before touching the lye. Gloves and goggles are mandatory. Work in a well-ventilated area.
- Measure the ingredients precisely: 1 liter of oil, 200 ml of cold water, and 100 g of lye.
- Dissolve the lye in water — not the other way around. Add the lye to the water slowly, stirring with the spoon. Never pour water onto lye. The mixture will heat up significantly and release vapor — keep your face away and stir carefully. Let it cool to about 40–50°C (104–122°F) (when touched with gloves, it should feel warm, not hot).
- Gently heat the oil until it also reaches a similar temperature (40–50°C or 104–122°F). This facilitates mixing and the reaction.
- Add the lye solution to the oil slowly, stirring constantly. Never the other way around.
- Stir continuously for about 20 to 40 minutes, until the mixture reaches “trace” — when you lift the spoon and let a stream fall, it leaves a visible trail on the surface for a few seconds, like soft pudding.
- Pour into your chosen mold and cover with a cloth to retain heat. Let it rest for 24 to 48 hours without disturbing.
- Unmold and cut into bars after the first 48 hours. The soap will still be soft — handle with gloves.
- Cure the soap for at least 4 weeks in a dry, ventilated place away from direct sunlight, with bars separated to allow air circulation. This time is crucial for saponification to complete and the product to become safe.
- Test before using: after curing, quickly touch the soap to your tongue. If you feel intense tingling, cure longer. If you feel nothing or just a soapy taste, it’s ready.
Tips to Improve Your Artisan Soap Results
The basic soap is already functional, but small adjustments make a big difference:
- To soften the smell: add a few drops of fragrance or essential oil (lavender, orange, eucalyptus) at “trace,” before pouring into the mold
- For laundry soap: the recipe above is already excellent for this use; you can grate the cured soap and use it as powder detergent
- For heavy-duty cleaning soap: add a tablespoon of baking soda before pouring into the mold
- To increase quantity: always maintain the proportions — for every liter of oil, use 100 g of lye and 200 ml of water
- For firmer soap: use coconut oil for part of the mixture, if available
- About the oil: mix different types (soybean, sunflower, corn) without any problem; avoid excess fish oil or animal fat, which intensify odor
Safety First: Essential Precautions When Handling Lye
This is the point that scares beginners most — and rightfully so. Lye is a corrosive product that demands respect. But by following the correct guidelines, the process is safe.
- Never use aluminum containers: lye reacts with aluminum and can cause serious accidents
- If it contacts skin: wash immediately with running water for at least 15 minutes and seek medical advice if irritation occurs
- If it contacts eyes: flush with abundant running water and go to the emergency room
- Keep children and pets away during preparation and for the first 48 hours after preparation
- Store lye in a closed, dry location out of children’s reach
- Uncured soap should not be used: before the 4 weeks of curing, it may still contain free lye and irritate skin
Homemade Soap as a Source of Income and Community Building
Many community groups, women’s cooperatives, and social projects have already turned recycled soap production into supplemental income. The practice is especially relevant in contexts of economic vulnerability, where artisan soap represents both direct savings and the possibility of commercialization.
If you master the technique, consider:
- Teaching neighbors and family — multiplied knowledge has a much greater environmental effect
- Creating an oil collection group in your building or neighborhood to ensure a constant supply of raw material
- Producing on a larger scale and selling at artisan or sustainable product fairs
- Connecting with local cooperatives that already do this work and need more participants
Just like conscious consumption choices — like those we explore in the article about Sustainable Wardrobe: Choices That Make a Difference — homemade soap production is a decision with real and immediate impact, both for the environment and for your wallet.
Frequently Asked Questions About Recycled Oil Soap
| Question | Answer |
|---|---|
| Does homemade soap clean as well as store-bought? | Yes, for general cleaning of floors, clothes, and surfaces, performance is comparable |
| Can I use any type of oil? | Yes, as long as it’s strained. Avoid excess animal fat to reduce odor |
| Where can I buy lye? | At cleaning supply stores, hardware stores, some supermarkets, and online |
| Can expired soap be remade? | Rancid soap can be remelted with new lye, but the process requires care |
| Can I use the soap on my face? | The standard recipe has a high pH — for facial use, you need a specific formulation with more oils and less lye |
Conclusion: A Small Gesture, A Real Impact
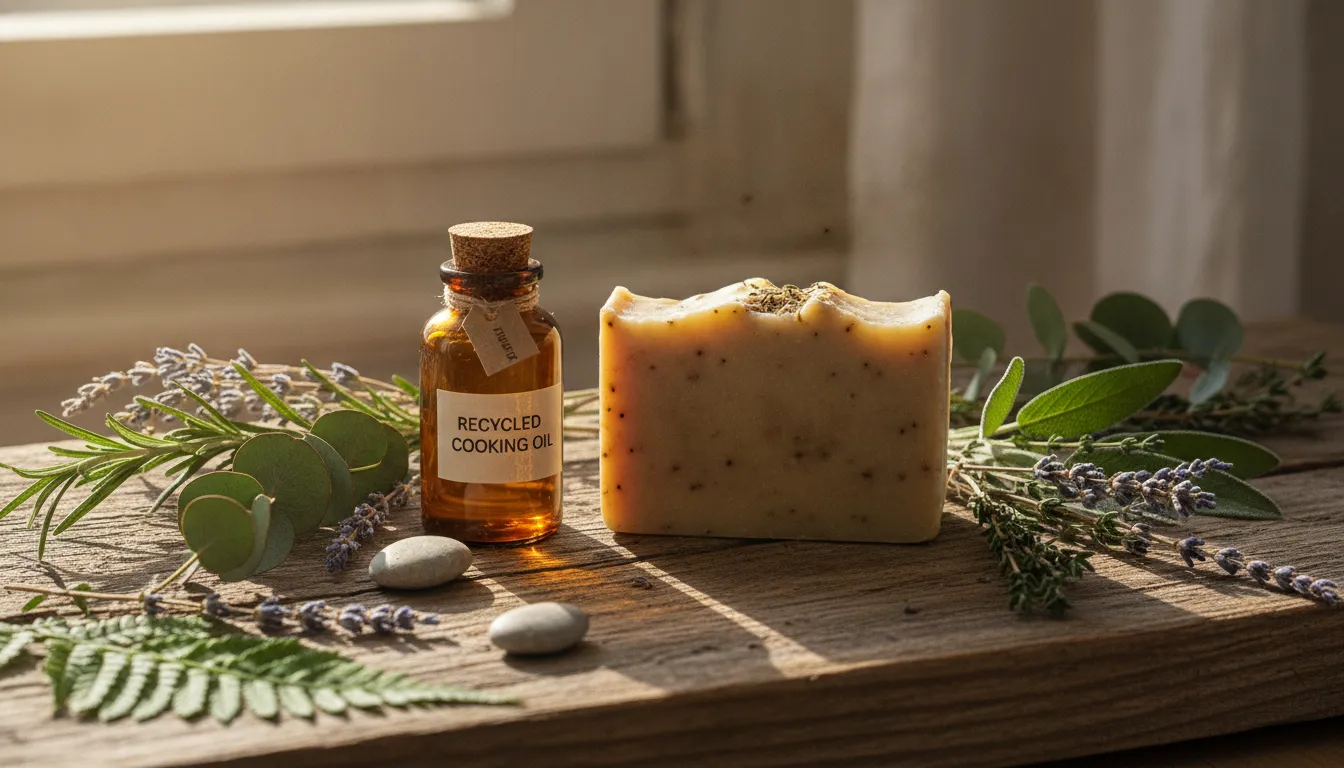
Making soap from used oil won’t solve the environmental crisis on its own — no single action does that. But it’s a concrete, accessible, and immediate practice that transforms polluting waste into a useful product, saves money, and can even create community bonds. And it’s exactly this type of action — multiplied across thousands of kitchens — that creates real change.
You don’t need a laboratory, lots of money, or deep technical knowledge. You need a liter of oil that would have gone down the drain, 100 grams of lye, patience to wait four weeks for curing, and the willingness to transform waste into a resource.
If you want to continue exploring practical ways to reduce your environmental impact in daily life, also check out our article on What Causes Global Warming Explained Simply — understanding the problem is the first step to acting with more awareness and purpose.
Change starts in the kitchen. Literally.
