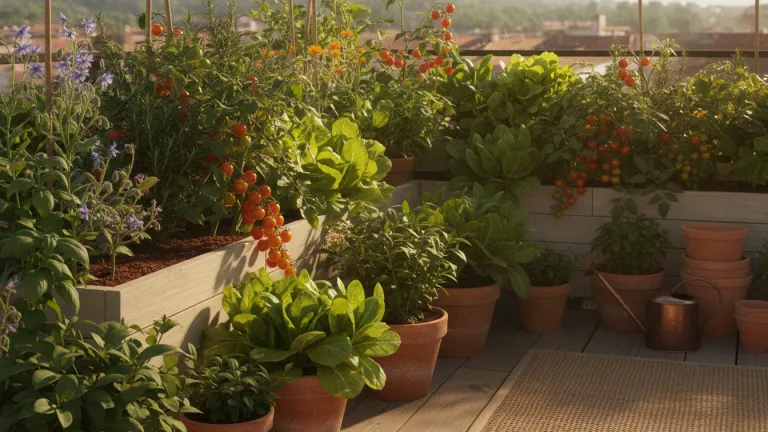
Imagine harvesting your own lettuce, seasoning lunch with basil grown on your windowsill, or giving a child the joy of watching a cherry tomato grow from nothing. Planting at home is no longer the privilege of those with farms or huge backyards—today it’s an accessible, rewarding practice increasingly present in apartments, balconies, and even compact kitchens in big cities. In 2026, with ultra-processed foods dominating shelves and vegetable prices still pressured by climate instability, cultivating a home garden is a simple gesture with real impact on your health, your wallet, and the planet.
You don’t need experience, huge space, or expensive equipment to start. Most mistakes that discourage beginners—overwatering, insufficient light, wrong plant choice for the environment—can be solved with basic information. This guide was created exactly for that: to give you a clear path, step by step, from your first pot to your first harvest.
And the benefit goes beyond your plate. Growing at home reduces the need for plastic packaging, decreases food transportation, and reconnects people with natural cycles that urban life tends to erase. It’s sustainability you can touch, smell, and eat.
Why Planting at Home Benefits the Planet (and You)
The food production chain is one of the biggest consumers of natural resources and emitters of greenhouse gases. According to data from the Food and Agriculture Organization of the United Nations (FAO), food systems account for about one-third of global greenhouse gas emissions—and much of that footprint comes from transportation, refrigeration, and packaging of fresh products that reach us.
When you grow herbs and vegetables at home, you eliminate that entire chain for that specific amount of food. There’s no truck, no cold storage, no styrofoam tray. The leaf goes from pot to plate in minutes.
Beyond the environmental aspect, studies in environmental psychology consistently indicate that regular contact with plants reduces stress levels and improves mental well-being. And from a financial standpoint, herbs like basil, chives, and parsley—which are typically sold in small quantities at proportionally high prices in supermarkets—yield continuous harvests for months when properly grown in pots.
Choosing the Right Plants to Start
The biggest trap for beginners is wanting to grow everything at once, or choosing plants that don’t match the available environment. The first decision, therefore, is to assess what you have.
Assess the natural light available at home
Light is the most determining factor for the success of a home garden. Observe which direction your windows and balconies face:
- North: receives less direct light. Prefer shade or partial shade plants, like mint, cilantro, and some edible ferns.
- South: good brightness, especially in summer. Suitable for most vegetables.
- East: soft morning light. Great for herbs like basil and chives.
- West: strong afternoon sun. Good for tomatoes, peppers, and Mediterranean herbs like rosemary and thyme.
The best plants for beginners
| Plant | Light needed | Difficulty | Time to harvest |
|---|---|---|---|
| Chives | Partial shade to full sun | Very easy | 30–40 days |
| Basil | Full sun | Easy | 30–45 days |
| Lettuce | Partial shade | Easy | 40–60 days |
| Mint | Partial shade | Very easy | 30 days |
| Arugula | Partial shade | Easy | 30–40 days |
| Radish | Full sun | Easy | 25–35 days |
| Cherry tomato | Full sun | Moderate | 60–90 days |
Start with two or three plants from the “very easy” or “easy” column. Initial success builds confidence to advance.
What You Need to Buy (and What You Can Reuse)
One of the biggest advantages of planting at home is that the initial investment can be very low—and part of the material can come from what you already have at home.
Essential materials
- Pots or containers with drainage holes: can be plastic, ceramic, or even old cans and jars with holes drilled in the bottom.
- Quality substrate: avoid using pure garden soil in pots. Buy horticultural substrate or mix soil with organic compost and a little coarse sand to improve drainage.
- Seeds or seedlings: seeds are cheaper and come in larger quantities; seedlings speed up the process. For beginners, starting with chive and mint seedlings makes learning easier.
- Saucer or tray under the pot: to retain draining water and not dirty the floor.
- Small watering can with fine spout: makes it easier to water without waterlogging.
What you can reuse
- Long-life milk cartons (washed and with holes): great for small seedlings.
- Cut PET bottles: work well for herbs.
- Tires, wooden crates, and even styrofoam boxes can become vertical gardens with creativity.
Reusing packaging is doubly sustainable: you save money and prevent the material from going straight to the trash.
Step by Step: How to Plant Your First Herb or Vegetable
Let’s use the example of basil, one of the most versatile, aromatic, and easy plants to grow in apartments.
- Choose the pot: a container at least 15 cm deep with a drainage hole. Basil doesn’t like waterlogged roots.
- Prepare the substrate: fill the pot with horticultural substrate to about 2 cm below the rim. If you want to enrich it, mix a small amount of worm castings into the substrate.
- Plant the seedling or sow: if using seeds, make a shallow furrow (0.5 cm), place 3 to 4 seeds, cover lightly, and press with your fingertips. If using a seedling, dig a central hole, position the seedling, and firm the soil around it.
- Water carefully: moisten the substrate without waterlogging. The soil should be moist, not soaked. A practical tip: stick your finger 2 cm into the soil—if it’s still moist, don’t water.
- Position in the right place: place the pot in a location with at least 4 to 6 hours of direct sun per day. A window facing east or south usually works well.
- Water regularly: basil likes slightly moist soil. On hot days, it may need daily water; on cold or cloudy days, every two days.
- Prune to stimulate growth: when the basil reaches about 15 cm, pinch the tips (remove the top shoots with your fingers). This prevents early flowering and stimulates new leaf growth—your plant will become bushier and more productive.
- First harvest: between 30 and 45 days after planting, you can already harvest leaves. Always remove from top to bottom, leaving at least two pairs of leaves at the base of the stem.
Watering and Fertilizing: The Two Most Important Care Tasks
Overwatering is the number one cause of death for potted plants. Excess water prevents root oxygenation and facilitates fungal growth.
Practical watering rules
- Finger test: as described above, insert your finger 2 cm into the substrate. Water only when it’s dry.
- Prefer watering in the morning: water is absorbed throughout the day and the soil doesn’t stay wet in the cold night, preventing fungi.
- Observe the leaves: wilted leaves with moist soil indicate too much water (root rot). Wilted leaves with dry soil indicate lack of water.
Simple and sustainable fertilizing
Plants in pots consume the nutrients from the substrate in a few weeks. To replenish them organically:
- Worm castings: the most complete and easy-to-use organic fertilizer. Apply a 1 cm layer on the pot surface every 30 days.
- Coffee grounds: rich in nitrogen, stimulates leaf growth. Sprinkle small amounts on the substrate weekly.
- Vegetable cooking water (without salt): rich in minerals, can be used for watering after cooling.
Avoid synthetic chemical fertilizers on plants you’ll consume. Besides the health risk, they compromise the microbial life of the soil—which is exactly what keeps the plant healthy long-term.
Vertical Planting and Small Spaces: Solutions for Apartments
Those living in apartments without balconies aren’t excluded. There are creative and efficient solutions for any space size.
Options for very small spaces
- Windowsill planters: fixed on windows with grilles or wide sills, ideal for herbs and lettuce.
- Tiered stands: allow stacking pots in height, taking advantage of the verticality of a wall near a window.
- Vertical PET bottle: cut PET bottles in half, use the bottom part as a pot and hang in rows on the window.
- Simple hydroponics: for those without space or soil mess, homemade hydroponic systems (like the kratky method, which doesn’t use a pump) work very well for lettuce and herbs in indoor environments with good light or artificial lighting with appropriate spectrum LED lamps.
If you’re already thinking about optimizing your home’s energy consumption while cultivating your garden, it’s worth learning how solar energy can truly reduce your electricity bill—especially if you’ll use artificial lighting for plants.
Common Pests and How to Combat Them Naturally
Even at home, plants can be attacked by aphids, mealybugs, or whiteflies. The good news is there are effective organic solutions.
- Neutral soap solution: dissolve one tablespoon of grated coconut soap in a liter of water. Spray on infested leaves (especially the underside). Repeat every three days until gone.
- Garlic solution: crush three garlic cloves in a liter of water, strain, and spray. Repels aphids and some caterpillars.
- Neem (Neem oil): available at gardening stores, it’s a broad-spectrum natural insecticide. Dilute according to package instructions and apply weekly as a preventive.
- Isolation: when you notice an infested plant, isolate it immediately from others to prevent contamination.
Never use chemical insecticides on plants you’ll consume. Besides the direct health risk, the impact on pollinating insects is proven to be harmful—and in urban environments, bees and butterflies already face enough pressure.
Conclusion: Your Garden, Your Impact
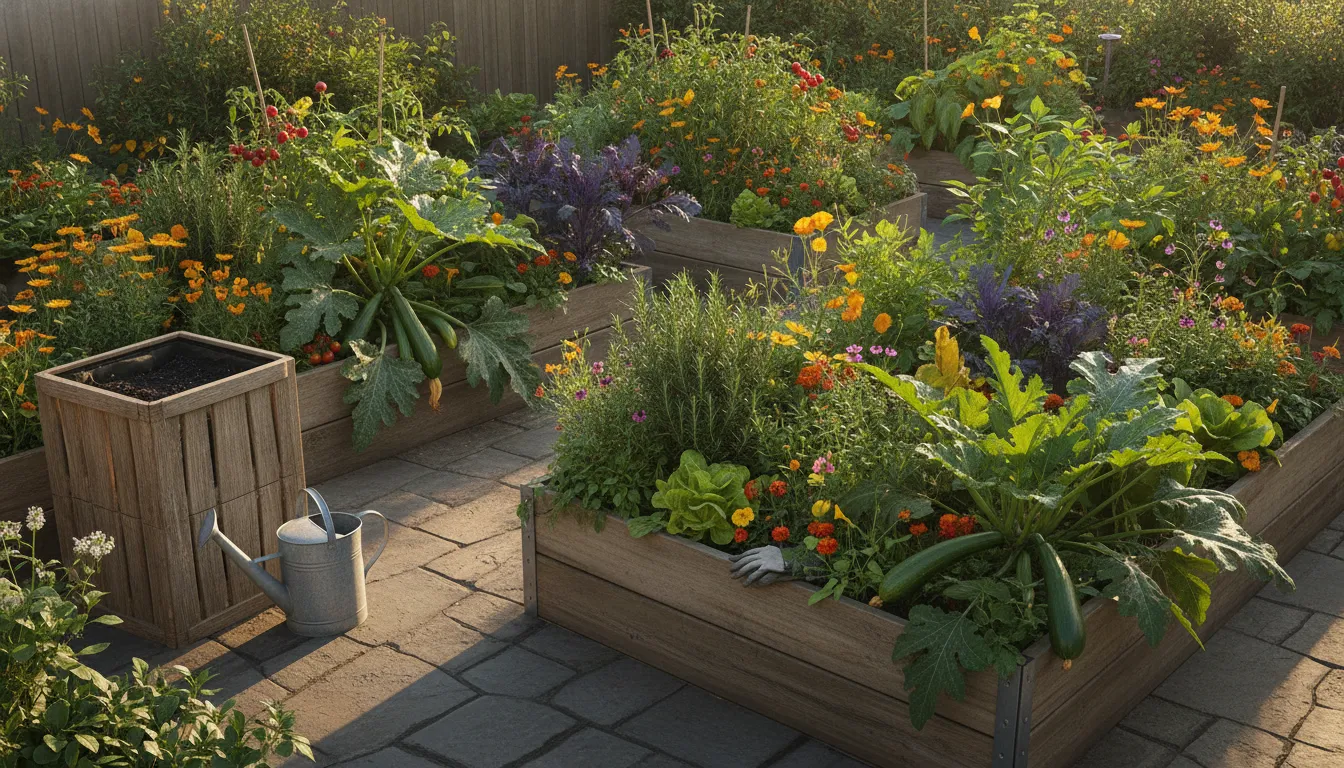
Planting at home won’t solve the climate crisis alone. But it’s one of the most concrete, enjoyable, and immediate gestures that anyone can adopt to live more consciously. With each lettuce harvested from your own pot, you save money, reduce discarded packaging, and learn, in practice, that it’s possible to produce instead of just consume.
Start small. A pot of chives on the windowsill is already a real beginning. Over time, you’ll want more pots, more varieties, perhaps a composter or even a rainwater reuse system. Just like a seed, interest in cultivation tends to grow when it receives attention and care.
If you want to take other steps toward a more sustainable lifestyle, also see how to make your own natural homemade deodorant—another simple way to reduce your footprint without sacrificing comfort. The planet thanks you. And so does your green window.
