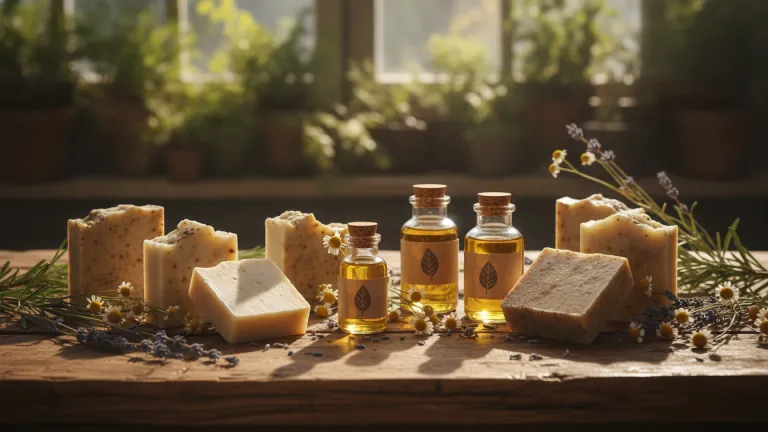
Homemade Soap from Used Cooking Oil: Easy and Sustainable
Have you ever stopped to think about what happens to that leftover frying oil in your pan after preparing dinner? For most households, it goes straight down the kitchen drain — and this seemingly small action causes a much bigger environmental impact than it appears. A single liter of improperly disposed cooking oil can contaminate up to a thousand liters of water, according to environmental agency data. Multiplied by millions of homes, this number becomes a serious problem for rivers, streams, and water treatment plants.
The good news is that there’s a simple, economical alternative with decades of tradition: turning used oil into homemade soap. The process is accessible, requires few ingredients, and can be done in any kitchen. Besides preventing water contamination, you’ll also produce an effective cleaning product that replaces industrialized soap — less plastic packaging in the trash, less money spent, more awareness in daily life.
In this article, you’ll find everything you need to know to start today: how the chemical reaction works (without complications), the necessary materials, a detailed step-by-step guide, safety tips, and creative ways to use and share your soap. Let’s transform waste into a resource together.
Why Cooking Oil Is Such a Problematic Waste
Used vegetable oil is classified as special waste in many countries. When disposed of down the drain or toilet, it forms an impermeable layer in pipes and water bodies, reducing oxygenation capacity and harming aquatic life. At sewage treatment plants, it overloads systems and increases operational costs.
Household cooking oil waste generation is significant globally, but its selective collection rate remains low in many municipalities. While environmental policies encourage reverse logistics for oils and fats, and many cities and supermarkets now offer collection points, home transformation into soap remains one of the most practical and immediate ways to properly dispose of this material — especially in regions where collection points are scarce.
Turning oil into soap isn’t just a symbolic gesture. It’s circular: you close a loop, prevent real damage, and generate a useful product. It’s the concept of circular economy applied in your kitchen.
The Chemistry Behind Homemade Soap (Explained Simply)
Soap is produced through a reaction called saponification, known for millennia — the ancient Romans already used it. It occurs when an oil or fat (which is a triglyceride) reacts with a strong base, such as sodium hydroxide (NaOH), commonly called lye or caustic soda.
The result of this reaction is two products:
- Soap (fatty acid salts), which is the cleaning agent
- Glycerin, a natural byproduct with moisturizing properties
In home practice, the glycerin stays incorporated in the homemade soap, making it gentler on the skin than many industrial soaps, which typically remove the glycerin to sell separately.
It’s important to understand that the final product contains no free caustic soda when the recipe is correctly balanced. The lye reacts completely with the oil during curing. Therefore, following the correct proportions is essential — both for the soap’s effectiveness and for safety.
Necessary Materials and Ingredients
Before starting, gather everything in advance. Working in an organized manner makes the process safer and more efficient.
Ingredients:
- 1 liter of used vegetable oil (strained and free of food residue)
- 200 g of lye flakes (NaOH — available at hardware stores and some supermarkets)
- 400 ml of cold water (preferably filtered)
- Optional: soap fragrance (lavender, orange, etc.), shredded coconut, honey, or other natural additives
Utensils:
- Bucket or sturdy plastic container (minimum 3 liters)
- Wooden or rigid plastic spoon or spatula (never aluminum — lye reacts with this metal)
- Kitchen scale
- Mold for shaping the soap (opened long-life milk cartons work very well)
- Thick rubber gloves
- Safety goggles
- Apron
> Important tip: never use aluminum or zinc utensils in contact with caustic soda. The reaction is intense and can damage materials and release gases.
Step by Step: How to Make Homemade Soap with Used Oil
Follow the steps below carefully, especially those related to safety.
- Prepare the environment. Work in a ventilated area, preferably outside or with open windows. Put on gloves and safety goggles before handling the caustic soda.
- Strain the used oil. Pass the oil through a fine strainer or cloth to remove food residue. The oil should be at room temperature — neither too hot nor too cold.
- Dissolve the lye in water. In a sturdy plastic container, add the cold water first, then gradually add the caustic soda, stirring slowly. Attention: never pour water over the lye — always the opposite. The mixture will heat up considerably (it can exceed 80°C/176°F) and release vapor. This is normal. Keep your face away and avoid inhaling.
- Wait for cooling. Let the lye solution cool until it reaches approximately 40°C to 50°C (104°F to 122°F). The oil should also be in this temperature range. Using a kitchen thermometer helps a lot, but it’s not mandatory — just wait 20 to 30 minutes.
- Mix the lye into the oil. Pour the lye solution slowly over the oil, stirring constantly in the same direction. Continue stirring for about 20 to 30 minutes, until the mixture reaches the point called “trace” — when it becomes slightly thick, with the consistency of thin porridge, and when passing the spoon leaves a visible trail on the surface.
- Add extras (optional). If desired, add a few drops of fragrance or other natural ingredients and mix well.
- Pour into molds. Transfer the mixture to your chosen molds and cover with paper or cloth. Wrap with a thick cloth to maintain heat, as saponification continues in the first hours.
- Wait for curing. After 24 to 48 hours, the soap will already be solid and can be unmolded and cut. However, ideally let it cure for 4 to 6 weeks in a dry, ventilated place. During this period, the reaction completes, the pH reduces, and the soap becomes gentler and more effective.
Safety Tips You Cannot Ignore
Caustic soda is an effective chemical product, but it requires respect. There’s no reason for fear — only for attention.
- Never let children or pets in the work area during preparation
- In case of lye contact with skin or eyes, immediately wash with large amounts of running water for at least 15 minutes and seek medical attention
- Don’t use the soap before the curing period — the pH may still be too high for skin contact
- Label the molds with the preparation date and store out of children’s reach during curing
- Dispose of caustic soda packaging according to manufacturer’s instructions
How to Use, Store, and Share Your Soap
After curing, you’ll have versatile soap bars with good durability. Here’s how to make the most of them:
Practical uses:
- Hand-wash clothes or grate for machine use (without synthetic fabric softener)
- General cleaning of floors, tiles, and household surfaces
- Washing dishes (especially greasy pans)
- Cleaning sidewalks and outdoor areas
Storage:
- Store in a dry, ventilated place, away from moisture
- Well-cured bars last months to over a year
- Avoid sealing airtight — the soap needs to “breathe”
Sharing:
- Homemade soap makes an excellent sustainable gift
- Neighborhood groups, churches, community associations, and schools can organize production gatherings — building community and properly disposing of collective oil
This is a great way to take the practice beyond your home. As we described in Small Sustainable Habits, Big Real Impact, changes that start individually gain strength when they become collective.
Comparison: Homemade Soap vs Industrial Soap
| Criteria | Homemade Soap with Recycled Oil | Conventional Industrial Soap |
|---|---|---|
| Waste reused | Yes (used oil) | No |
| Plastic packaging | None | Yes |
| Chemical additives | Minimal | Often several |
| Cost per unit | Very low | Variable (usually higher) |
| Natural glycerin | Kept in formula | Usually removed |
| Preparation time | A few hours + curing | Not applicable |
Conclusion: A Simple Gesture with Real Consequences
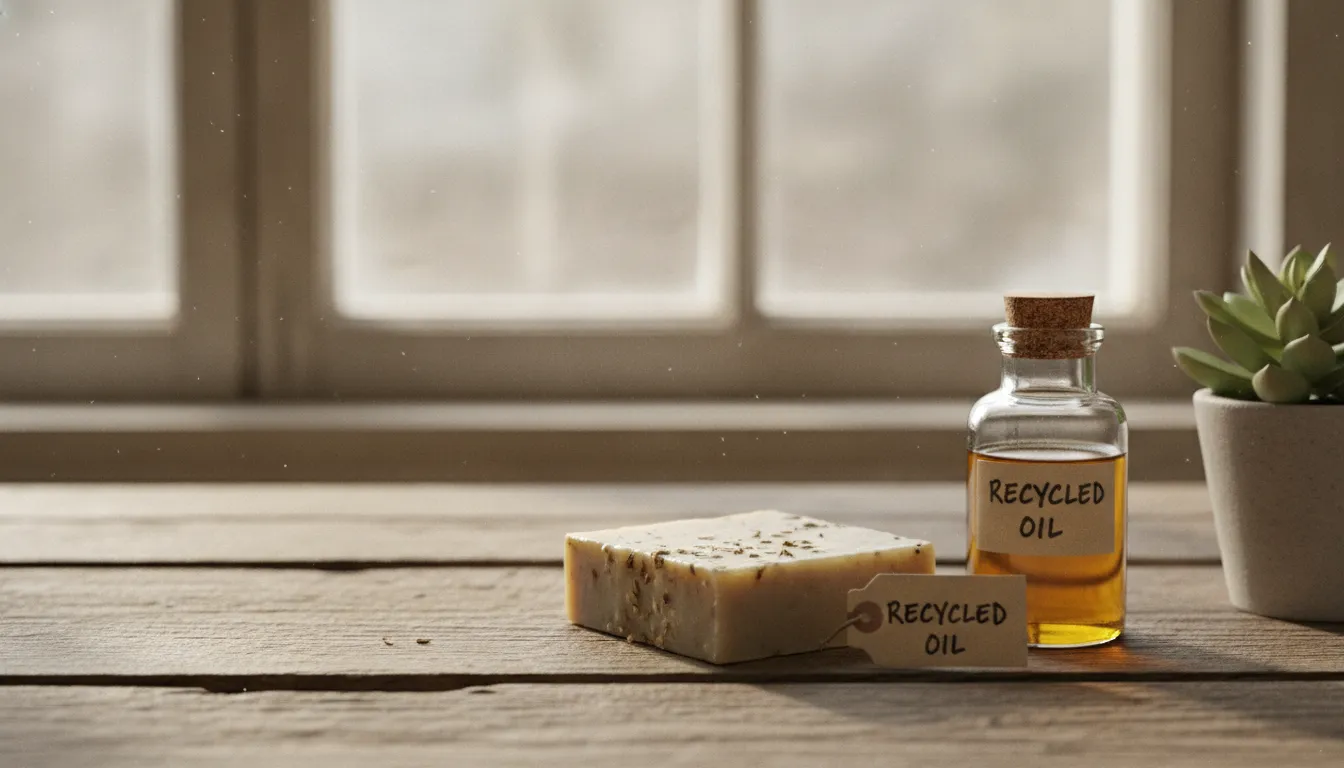
Making soap with used oil doesn’t require expertise, a laboratory, or large investments. It only requires a bit of organization, attention to safety instructions, and the willingness to experiment. In return, you eliminate a polluting waste, reduce plastic packaging consumption, save on the household budget, and produce something genuinely useful.
In 2026, with environmental challenges increasingly present in everyday life, this type of practice represents exactly the path we need: concrete, accessible solutions that anyone can adopt today — without waiting for major external transformations.
Start small: collect the oil from your next frying sessions, research a place to buy caustic soda near you, and set aside an afternoon for your first batch. You’ll be surprised by the result — and by how satisfying it is to transform something that would be discarded into something that cleans, cares, and still cares for the planet.
