How to Build an Affordable DIY Compost Bin at Home
Have you ever wondered what happens to fruit peels, coffee grounds, and vegetable scraps that end up in your trash every day? In most Brazilian households, these materials go straight to the landfill, where they decompose improperly and release methane—a greenhouse gas with a much higher warming potential than CO₂. The good news is that there’s a simple, affordable alternative you can set up today: a DIY compost bin.
Composting at home is one of the most tangible and immediate actions anyone can take to reduce their environmental impact. Besides diverting organic waste from landfills, the process produces high-quality natural fertilizer—often called the “black gold” of gardeners—that can nourish plants, vegetable gardens, and lawns without chemical fertilizers. Best of all, it doesn’t require much space or money.
In this comprehensive guide, you’ll learn how to build an affordable DIY compost bin from scratch, understand what can and cannot be composted, avoid common mistakes, and ultimately harvest amazing compost for your plants. Ready to start? Let’s go!
Why Building a DIY Compost Bin is Worth It
Brazil generates a significant amount of solid waste annually, with the organic fraction representing the largest portion of household waste—industry estimates suggest that more than half of household trash consists of food scraps and biodegradable materials. When this material goes to the landfill without proper treatment, it decomposes anaerobically (without oxygen) and produces biogas, primarily composed of methane.
From an environmental perspective, diverting organic waste from landfills and turning it into compost is one of the most impactful actions an ordinary citizen can take. Practically speaking, you save on fertilizer purchases and enrich the soil in your garden, balcony, or vegetable patch. If you’ve ever been interested in growing herbs at home, for example, homemade compost will make a significant difference in the quality of your cultivation—check out our Beginner’s Guide to Growing Herbs at Home.
Composting is also an excellent project to involve children and teach, in a practical way, concepts of natural cycles, environmental responsibility, and healthy eating.
What You’ll Need: Cheap and Accessible Materials
The simplest compost bin in the world can be made with a bucket or plastic box you already have at home. There’s no need to buy anything fancy to get started.
Container Options for Your DIY Compost Bin
Empty paint bucket (20 liters): easy to get for free at construction sites or hardware stores. Just wash it well.
Plastic box with lid (organizer type): found in dollar stores or markets for low prices.
Plastic drum of 50 to 100 liters: ideal for those with a backyard who want to compost more volume.
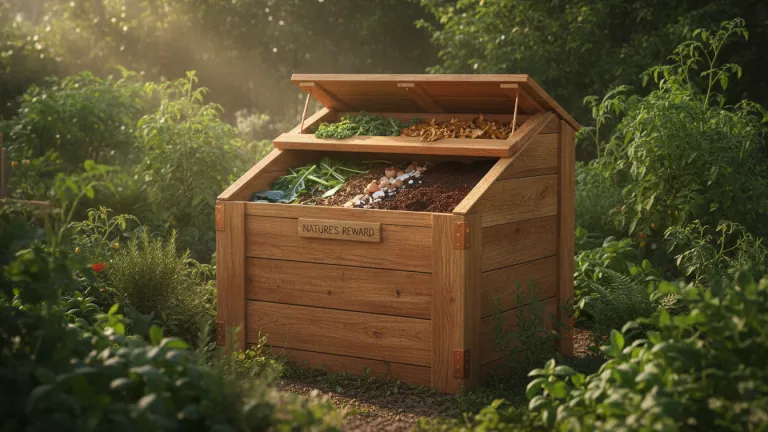
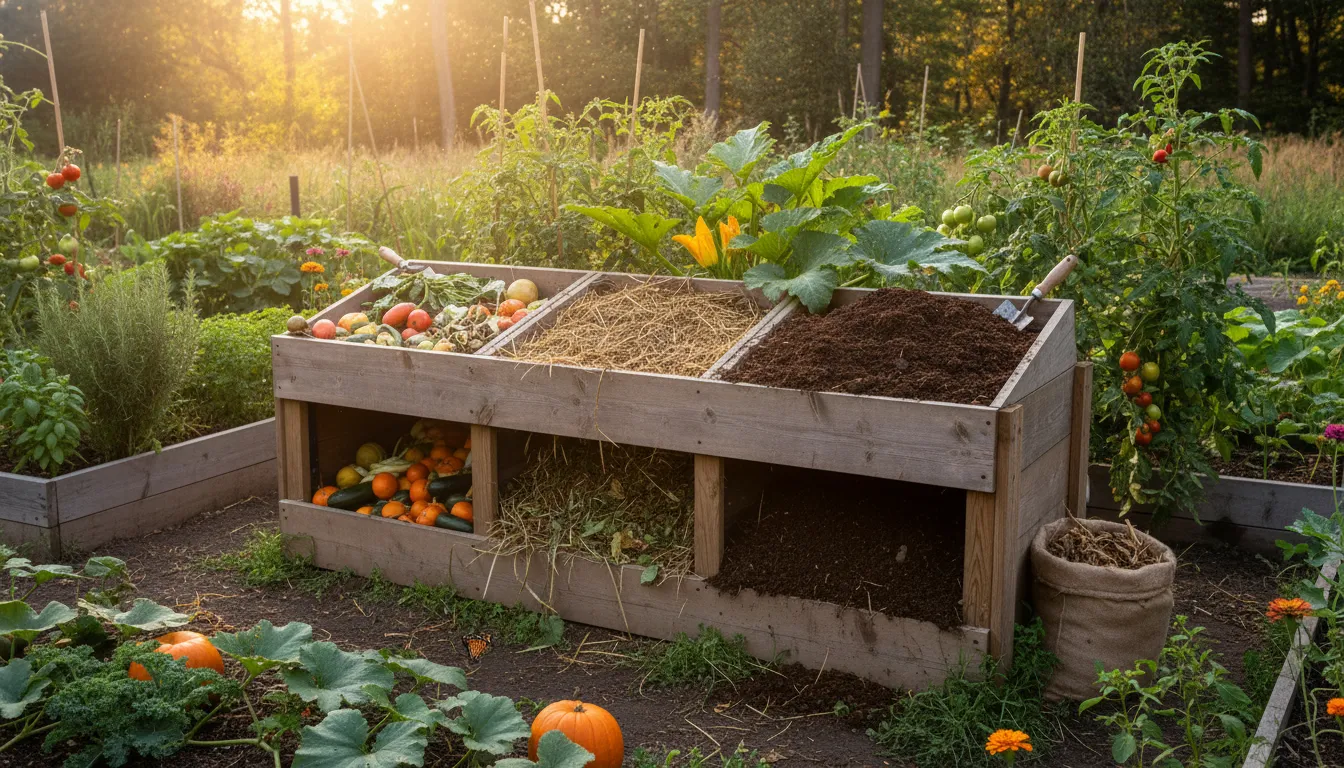
Wooden pallet boxes: great for outdoor areas, allow good aeration and can be stacked in layers.
Other Necessary Materials
Drill or heated nail (to make ventilation holes)
Tray or dish to collect leachate (liquid that drains)
Tap or valve for drainage (optional but recommended)
Dry leaves, cardboard, or sawdust (dry/brown materials)
Food scraps (wet/green materials)
Estimated total cost: between $0 and $30, depending on what you already have at home.
How to Assemble Your DIY Compost Bin Step by Step
Here’s the simplest and most effective method for beginners:
Choose the container. Grab a bucket or box with a lid. The minimum recommended size for home use is 15 to 20 liters.
Make ventilation holes. Use a drill or heated nail to make 8 to 15 holes on the sides and lid of the container. Aerobic composting needs oxygen—without holes, the process turns into putrefaction with a bad smell.
Prepare the base. Place a 5 to 7 cm layer of dry material at the bottom: dry leaves, shredded cardboard, sawdust, or straw. This layer absorbs moisture and starts the balance of the compost.
Add wet organic waste. Fruit peels, vegetables, coffee grounds, tea bags, salad scraps. Spread in an even layer.
Cover with dry material. Whenever you add wet (green) material, cover it with a layer of dry (brown) material in the same proportion or a bit more. This alternation is the secret to odor-free compost.
Close and wait. Seal the compost bin. Every 2 to 3 days, open and stir the contents with a stick, wooden spoon, or similar object for aeration.
Position correctly. Place the compost bin in a partially shaded area, away from direct intense sunlight. In apartments, the balcony or under the kitchen sink works well.
Collect the leachate. The dark liquid that accumulates at the bottom (called leachate or biofertilizer) should be diluted in water (approximately 1 part leachate to 10 parts water) and used as liquid fertilizer for plants.
Wait for maturation. Under ideal moisture and temperature conditions, the compost is ready between 30 and 90 days. Mature compost looks like dark soil, smells like forest, and has a homogeneous texture.
What Can and Cannot Go into the Compost Bin
This is one of the most common questions for beginners. The general rule is simple: plant-based material not industrially processed is welcome.
What Can Go In (Green and Brown Materials)
Green materials (wet, rich in nitrogen):
Fruit and vegetable peels
Salad scraps and raw vegetables
Coffee grounds and paper filter
Tea bags (without metal staples)
Eggshells (great calcium source)
Grass clippings and green leaves
Brown materials (dry, rich in carbon):
Dry leaves
Shredded cardboard and non-glossy paper
Untreated wood sawdust
Straw
Egg cartons
What Should NOT Go In
Meat, fish, and seafood (attract pests and generate bad odor)
Dairy and whole eggs
Oils and fats
Pet feces (dog and cat may contain pathogens)
Diseased or fungus-infected plants
Treated wood or paints
Synthetic materials, plastics, or metals
Common Mistakes in DIY Composting and How to Avoid Them
Many people give up on composting due to small problems that have easy solutions. Here are the most frequent ones:
Problem
Probable Cause
Solution
Strong rotten smell
Excess wet material, lack of air
Add dry material and stir
Ammonia smell
Excess green/nitrogen material
Add cardboard or dry leaves
Compost too dry and not progressing
Lack of moisture
Lightly spray water and mix
Fly infestation
Lid not sealed properly or meat scraps
Check the lid; do not add animal proteins
Process too slow
Pieces too large
Chop or shred waste before adding
The key is the balance between green and brown, moisture, and aeration. When these four elements are balanced, composting almost takes care of itself.
Composting in an Apartment: Yes, It’s Possible
Living in an apartment is no barrier to composting. Today, there are compact, sealed, and virtually odorless models that fit under the sink or on the balcony.
Tips for apartment dwellers:
Use smaller containers (5 to 10 liters) and empty them more frequently.
The bokashi method, of Japanese origin, is ideal for small spaces: it uses bran inoculated with effective microorganisms (EM) to ferment waste quickly, without odor, in a completely sealed container.
Exchange compost with neighbors who have gardens or take it to a community compost bin in your neighborhood or building.
Always maintain the proper proportion of dry material to control odor.
Many condominiums in cities like São Paulo, Curitiba, and Belo Horizonte have implemented collective compost bins in recent years. Check if your building has one—or propose creating one.
What to Do with Finished Compost
Mature compost is a complete organic fertilizer, rich in nutrients and beneficial microorganisms. You can use it in various ways:
As mulch: spread around plants to retain moisture and suppress weeds.
Mixed with substrate: incorporate into potting soil at a 20 to 30% ratio to enrich the soil.
For vegetable gardens and lawns: apply in planting holes or as maintenance fertilization.
As a gift: quality homemade compost is a much-appreciated gift for anyone with plants or a garden.
If you grow herbs or have a small home garden, compost will transform your plants’ productivity. And if you don’t have a garden yet, maybe this is the perfect motivation to start!
Conclusion: Your Compost Bin, Your Real Impact
Building an affordable DIY compost bin is one of those simple gestures that seem small but have a real and measurable effect: less organic waste in landfills, fewer methane emissions, less need for chemical fertilizers, and more life in your plant’s soil. It’s a chain of benefits that starts in your kitchen and extends to the environment.
And the best part? You don’t need special skills, a lot of money, or much space. You just need an old bucket, a few holes, and the willingness to turn “waste” into a resource.
Start today. Grab a container you already have, make the holes, add the first fruit peels, and cover with a dry leaf. It’s already done. The rest is just maintenance.
Take care of your compost bin, take care of your garden, take care of the planet—one step at a time.
Para fornecer as melhores experiências, usamos tecnologias como cookies para armazenar e/ou acessar informações do dispositivo. O consentimento para essas tecnologias nos permitirá processar dados como comportamento de navegação ou IDs exclusivos neste site. Não consentir ou retirar o consentimento pode afetar negativamente certos recursos e funções.
Funcional
Always active
O armazenamento ou acesso técnico é estritamente necessário para a finalidade legítima de permitir a utilização de um serviço específico explicitamente solicitado pelo assinante ou utilizador, ou com a finalidade exclusiva de efetuar a transmissão de uma comunicação através de uma rede de comunicações eletrónicas.
Preferências
O armazenamento ou acesso técnico é necessário para o propósito legítimo de armazenar preferências que não são solicitadas pelo assinante ou usuário.
Estatísticas
O armazenamento ou acesso técnico que é usado exclusivamente para fins estatísticos.O armazenamento técnico ou acesso que é usado exclusivamente para fins estatísticos anônimos. Sem uma intimação, conformidade voluntária por parte de seu provedor de serviços de Internet ou registros adicionais de terceiros, as informações armazenadas ou recuperadas apenas para esse fim geralmente não podem ser usadas para identificá-lo.
Marketing
O armazenamento ou acesso técnico é necessário para criar perfis de usuário para enviar publicidade ou para rastrear o usuário em um site ou em vários sites para fins de marketing semelhantes.
 Back To Top