
Why Turn Used Oil into Homemade Soap?
Have you ever stopped to think about what happens to cooking oil after you finish frying that chicken or those weekend fries? For many people, the answer is still pouring it down the bathroom sink or kitchen drain — and this seemingly harmless habit causes enormous environmental damage. A single liter of improperly disposed vegetable oil can contaminate up to one thousand liters of water, according to environmental agency data. Additionally, oil forms a film that prevents water oxygenation, harming rivers, lakes, and sewage systems.
The good news is that there’s an elegant, economical, and accessible solution to this problem: turning used oil into homemade soap. With simple ingredients, a free afternoon, and a bit of attention to safety instructions, you can repurpose something that would be discarded and still create an efficient cleaning product for home use. It’s the practical definition of circular economy happening in your kitchen.
In this article, we’ll show you how to make homemade soap step by step, explain the real benefits of this practice for your wallet and the planet, and give tips to turn this gesture into a lasting sustainable habit. Let’s get started!
The Real Problem of Improper Oil Disposal
Many countries are major consumers of vegetable oil. Domestic and industrial use generates an enormous volume of waste each year, but collection infrastructure still doesn’t reach all municipalities. Many city governments offer used oil collection points — called eco-points — but public participation is still low in various regions.
When oil goes down the drain, it hardens in pipes, causes clogs, and overloads sewage treatment plants. At treatment stations, it forms a greasy layer that hinders the biological water treatment process. In streets and rivers, it can cause fish deaths, obstruct drainage channels, and increase flooding risk during rainy seasons.
Recycling oil into soap is one of the oldest and most proven alternatives for dealing with this waste. It doesn’t require industrial equipment, doesn’t generate toxic byproducts, and can be done on a domestic scale. It’s therefore one of the most direct and accessible actions an ordinary person can take to reduce their environmental impact — and still save on grocery bills.
Ingredients and Materials Needed for Homemade Soap
Before anything else, it’s important to gather everything you’ll need. The basic recipe for homemade soap with used oil takes only three main ingredients.
Ingredients for recycled oil soap
- Used vegetable oil (soybean, sunflower, corn, or canola) — 1 liter
- Caustic soda (sodium hydroxide — NaOH) — approximately 200 g for solid soap (the exact amount varies depending on oil type; see the safety note below)
- Water — 400 ml
Materials needed
- Plastic or stainless steel container for mixing (never aluminum — it reacts with lye)
- Wooden spoon or silicone spatula
- Resistant rubber gloves
- Safety goggles
- Molds for shaping the soap (plastic containers, milk cartons, cake molds)
- Kitchen scale
- Culinary thermometer (optional but helpful)
> Safety note — read before starting: Caustic soda is a corrosive product that causes severe burns on contact with skin and eyes. Always work in a ventilated environment, wearing gloves and goggles. Never add water to lye — always add lye to water, slowly. Keep children and pets away during preparation.
Step by Step: How to Make Homemade Soap with Used Oil
The soap-making process involves a chemical reaction called saponification: caustic soda reacts with the fatty acids in oil and produces soap (fatty acid salt) and glycerin. The final result contains no free lye — as long as the proportion is correct, the product is safe for household use.
- Filter the used oil. Pass the oil through a fine sieve or cloth to remove food residue. The cleaner the oil, the better the quality of the final soap.
- Measure ingredients precisely. Use the scale to weigh the caustic soda. The proportion indicated here is for 1 liter of mixed oil (soybean/canola/sunflower). If using another type of fat — such as animal lard — the proportion changes. Research online saponification calculators to adjust.
- Prepare the lye solution. In a resistant container, place the 400 ml of cold water first. Then, slowly and carefully, add the caustic soda to the water, stirring with the spatula. The mixture will heat up significantly — this is normal. Let it cool to about 40–50 °C.
- Heat the oil slightly. The oil should also be warm, in the same temperature range as the lye solution (40–50 °C). If the oil is too cold, the soap may not form properly.
- Mix the oil with the lye solution. Pour the lye solution onto the oil, gradually, stirring constantly in circular motions. Continue stirring for 20 to 40 minutes, until the mixture reaches “trace” — when it thickens and leaves visible marks on the surface, with a texture similar to thick cream.
- Add optionals (if desired). At this point, you can incorporate a few drops of essential oil (lavender, orange, or mint work well), honey, extra glycerin, or fine oatmeal to customize the soap.
- Pour into molds. Transfer the mixture to your chosen molds. Cover with cloth or cardboard and leave in a protected place for 24 to 48 hours, without disturbing.
- Unmold and cure the soap. After the first 48 hours, carefully unmold. The soap will still be soft. Let it cure in a dry, ventilated place for at least 4 weeks before use. Curing finalizes saponification and makes the soap firmer, milder, and longer-lasting.
How Much Do You Save with Homemade Soap?
The production cost of homemade soap is significantly lower than equivalent industrialized soaps, especially if you already have the oil at home (which would be discarded anyway). Caustic soda is sold in supermarkets and hardware stores, usually in 500 g or 1 kg packages at affordable prices.
With 1 liter of oil and the other ingredients, you can produce about 1.2 to 1.5 kg of solid soap. This volume lasts several weeks of household use, depending on family size. Additionally, homemade soap with vegetable oil is efficient for washing clothes, cleaning floors and surfaces — not just hands.
The savings aren’t just financial. By repurposing oil, you avoid the environmental cost of improper disposal and also stop buying plastic packaging from industrialized products. If you want to learn other ways to reduce environmental impact in personal care without sacrificing practicality, check out our article on Sustainable Bathroom Products: Are They Worth It?.
Practical Tips to Improve Your Homemade Soap
After a few productions, you’ll start to notice what works best for your routine. Here are tips that make a difference:
- Store used oil in PET bottles with caps, in a cool, dark place, until you have enough quantity for a production.
- Mix oil types (soybean, sunflower, canola) without problems — just avoid using coconut or palm oil without adjusting the lye proportion, as they have different saponification profiles.
- Don’t use rancid or excessively burnt oil — the soap will have an unpleasant smell and inferior quality.
- Make liquid soap using potassium hydroxide (KOH) instead of solid caustic soda — the result is a soft soap, ideal for bathroom use or as a detergent.
- Share the surplus with neighbors, friends, or community groups. Many community centers and schools love receiving this type of product.
- Label your productions with the date and ingredients used — this helps with quality control and curing time.
- Use spent coffee grounds as an exfoliant in the soap mixture: besides a pleasant smell, it helps remove stains from hands after outdoor activities.
How to Scale This Habit in Your Community
Making homemade soap individually is already great, but the impact grows when the practice expands to the community. In various municipalities, groups of neighbors, residents’ associations, and cooperatives already organize soap-making collective events, where each family contributes oil collected throughout the month and everyone leaves with portions of the final product.
These initiatives also serve as awareness points about proper waste disposal, circular economy, and domestic autonomy. If you want to engage in collective environmental impact actions, see how Cleanup Events: How to Participate and Make a Difference can be a powerful starting point in your city.
Another idea is to propose the project in schools, churches, or community centers. With proper safety guidance, homemade soap workshops are educational and practical activities that engage adults and young people at the same time.
Conclusion: A Simple Gesture with Real Impact
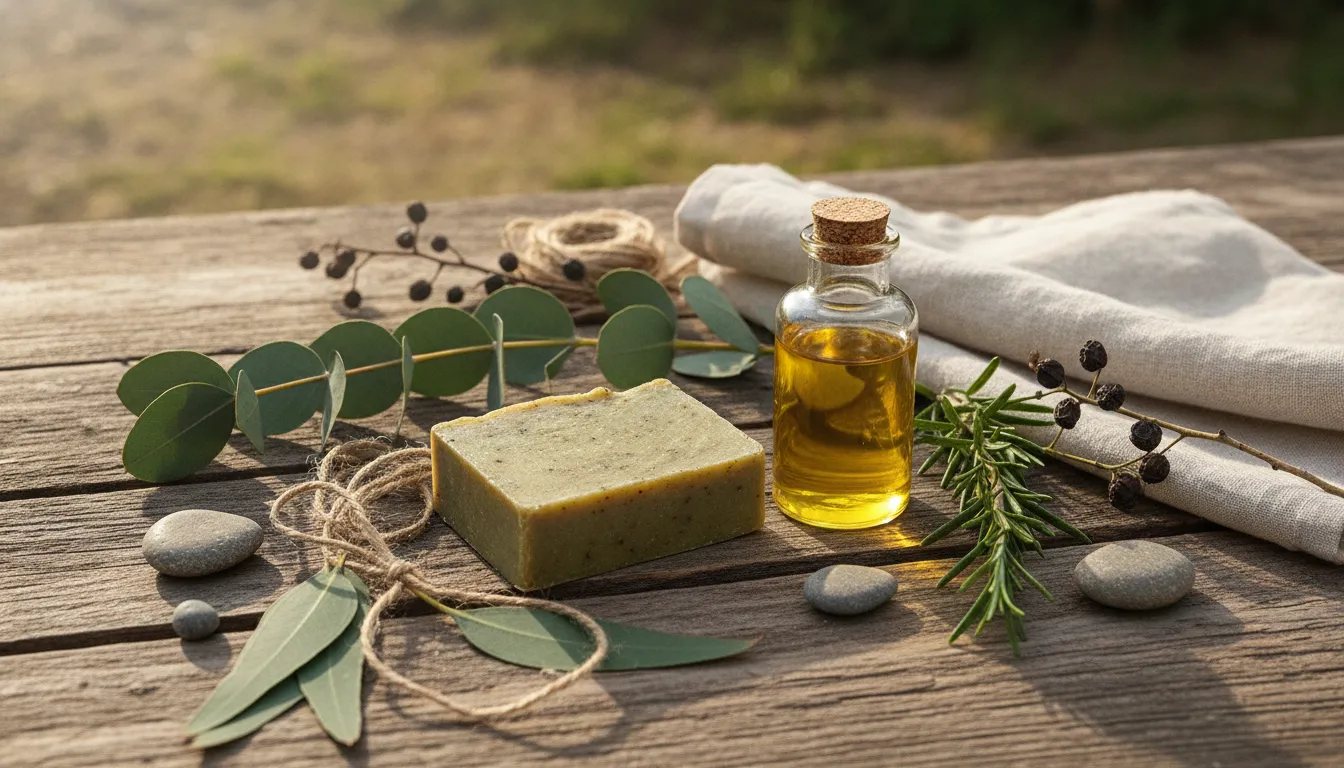
Turning used cooking oil into homemade soap is one of those gestures that seem small but carry great meaning: you close a cycle, avoid problematic waste, save money, and still create something useful with your own hands. You don’t need to be a chemistry expert or have sophisticated equipment — just a little time, care, and willingness to experiment.
With the cost of living pressuring household budgets and environmental awareness growing everywhere, practices like this gain even more relevance. Each liter of oil that stops going down the drain and becomes soap is a concrete choice in favor of cleaner rivers, less clogged pipes, and a lighter grocery bill.
Start with a small production, learn from the process, and when you feel confident, share with those around you. The planet thanks you — and so does your wallet.
