Why Building a Cheap DIY Compost Bin Is Worth Every Penny
Did you know that a significant portion of waste sent to landfills could be transformed into nutrient-rich fertilizer for plants? Organic waste — fruit peels, coffee grounds, vegetable scraps — represents a substantial share of household garbage. When buried in landfills without access to oxygen, these materials decompose anaerobically and release methane, a gas with global warming potential far greater than CO₂. The good news is there’s a simple, affordable solution that anyone can implement today.
Home composting transforms this problem into a resource. Instead of sending your organic waste far away, you convert it into humus — a dark compound rich in nutrients and virtually indistinguishable from forest soil. The result can be used in pots, vegetable gardens, landscaping, and even donated to neighbors or schools. Best of all: setting up an efficient compost bin at home doesn’t require any sophisticated products or large outdoor space.
If you live in an apartment, don’t worry — there’s a specific model for your situation, and we already have a dedicated guide on apartment composting: step-by-step guide. In this article, we’ll focus on options for those with a backyard, spacious balcony, or any outdoor corner, showing how to build your compost bin with accessible materials and keep everything running odor-free.
What Is Composting and Why Does It Matter
Composting is the controlled decomposition process of organic matter through microorganisms, worms, and other living beings. The final product — compost or humus — is a complete natural fertilizer capable of improving soil structure, increasing water retention capacity, and providing nutrients gradually to plants.
From an environmental standpoint, the benefits are concrete. By diverting organic waste from landfills, you reduce leachate generation (a highly polluting liquid that can contaminate groundwater) and decrease greenhouse gas emissions from anaerobic decomposition. Additionally, homemade compost replaces industrialized chemical fertilizers, whose production has a high carbon footprint.
In Brazil, the National Solid Waste Policy (Law No. 12,305/2010) already recognizes composting as one of the priority forms of organic waste treatment. Nevertheless, household adoption remains modest — which makes every home compost bin a relevant act of collective responsibility.
What Materials You Can (and Cannot) Compost
Before setting up your compost bin, it’s essential to understand what goes in and what stays out. The basic rule involves balancing materials rich in carbon (called “dry” or “brown”) and materials rich in nitrogen (the “wet” or “green”).
Materials that can go into your cheap DIY compost bin
Green materials (rich in nitrogen):
- Fruit and vegetable peels and scraps
- Coffee grounds and paper filters
- Tea bags and leaves
- Freshly cut grass and green leaves
- Eggshells (neutral, but rich in calcium)
Brown materials (rich in carbon):
- Dry leaves
- Non-laminated cardboard, torn into small pieces
- Newspaper (without too much colored ink)
- Sawdust and wood shavings without varnish
- Straw and dry grass
What should NOT go in
- Meat, fish, and dairy (attract pests and cause odor)
- Oils and fats in large quantities
- Feces from carnivorous animals (dogs and cats)
- Synthetic materials, plastics, or metals
- Diseased plants or those treated with excessive pesticides
The ideal ratio is approximately two parts dry material for each part of wet material. This balance maintains proper moisture, prevents bad odors, and accelerates decomposition.
Types of Cheap DIY Compost Bins: Choose Yours
There’s no single model. The choice depends on available space, the volume of waste generated, and your experience level. Here are the most accessible options:
| Type | Estimated cost | Space needed | Difficulty |
|---|---|---|---|
| Wooden crate compost bin | $0 to $6 | Small backyard | Easy |
| Plastic drum compost bin | $4 to $12 | Balcony or backyard | Easy |
| Brick or pallet compost bin | $0 to $10 | Medium backyard | Moderate |
| Worm bin (vermicomposting) | $6 to $16 | Any covered area | Moderate |
The values above are estimates based on materials found at markets, hardware stores, and online donation groups — and may vary by region. In many cases, the actual cost is zero if you repurpose materials you already have at home.
How to Build a Compost Bin with Wooden Crates: Step by Step
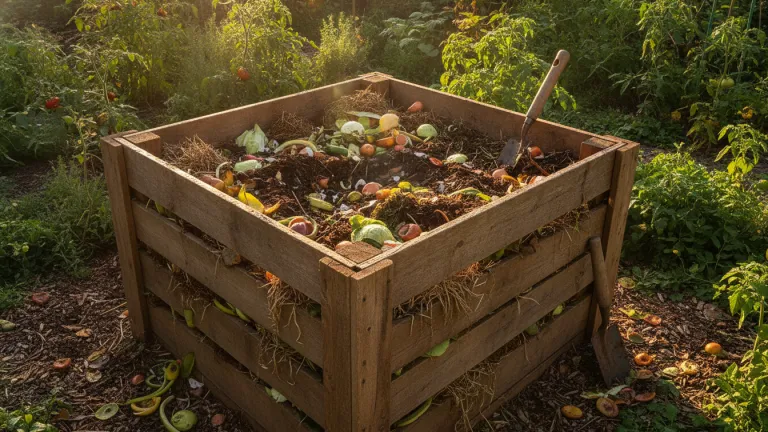
This is the most popular model because it combines low cost, good aeration, and ease of construction. You can use market crates (often donated for free by vendors), old pallets, or discarded boards.
What you’ll need:
- 3 to 4 wooden crates (or a cut pallet)
- Nails or screws
- Shade cloth or fine mesh (optional, to seal the bottom)
- An improvised lid (piece of wood, fabric, sturdy cardboard)
Step by step:
- Choose the location: Prefer a shaded or semi-shaded spot, away from windows and doors. Contact with bare soil facilitates the entry of worms and other beneficial organisms.
- Assemble the structure: Join the crates to form an open box. If you only have one crate, use it as is — it’s enough to get started. Ideally, have at least two compartments: one actively in use and another “resting” for maturation.
- Prepare the bottom: Place a layer of dry leaves, torn cardboard, or sawdust at the bottom, about 2 to 4 inches thick. This layer absorbs excess liquid and ensures initial aeration.
- Start the process: Add organic waste in alternating layers: one layer of wet material (kitchen scraps), then a layer of dry material (leaves or cardboard). Repeat whenever you add new material.
- Maintain proper moisture: The pile should have the moisture of a “wrung-out sponge” — damp to the touch but not dripping water. If too dry, water lightly. If too wet, add more dry material.
- Turn regularly: With a shovel or garden fork, mix the materials every 3 to 7 days. This oxygenates the pile, accelerates decomposition, and prevents bad odors.
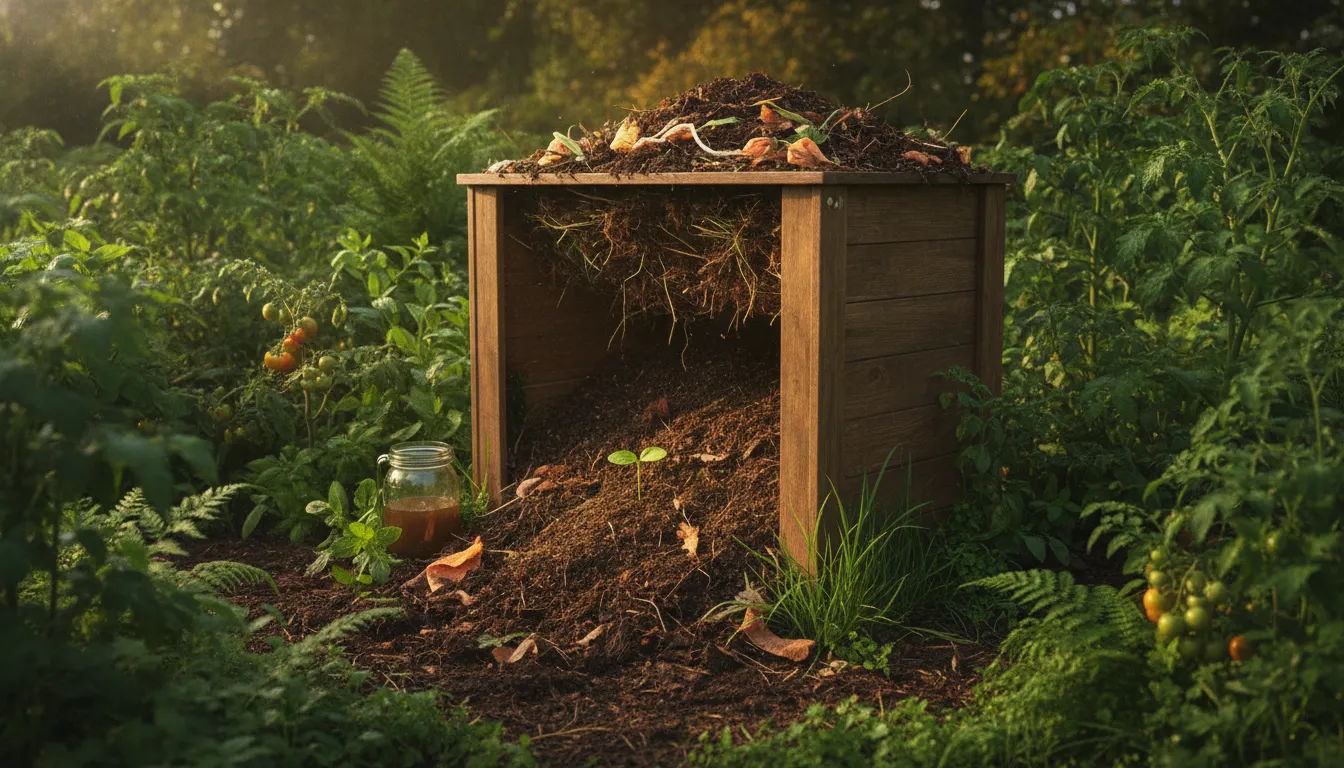
- Wait for maturation: Depending on weather conditions and turning frequency, the compost will be ready in 2 to 4 months. The sign that it’s ready is when the material has a dark color, smells like wet earth, and has uniform texture.
How to Avoid the Most Common Problems
Even with the best intentions, some difficulties may arise at first. Here’s how to solve them:
- Bad odor: Usually indicates excess wet material or lack of aeration. Add dry material and turn the pile.
- Presence of flies: Bury kitchen scraps in the center of the pile and always cover with dry material. Avoid adding meat or dairy scraps.
- Pile doesn’t heat up: Heat is a sign that microorganisms are active. If there’s no heat, you may need more nitrogen (add more green material) or moisture (water lightly).
- Process too slow: Cut materials into smaller pieces before adding — this increases surface area and speeds up decomposition.
- Animals trying to get in: Reinforce the sides with mesh or use a well-secured lid.
How to Use Finished Compost
Mature compost is a gift for any plant. Here are the most practical ways to use it:
- In pots and planters: Mix up to 30% compost with potting substrate to enrich the soil.
- In vegetable gardens: Apply a 1 to 2-inch layer over the bed before planting and lightly incorporate into the soil.
- As mulch: Spread over the soil surface around plants to retain moisture and protect roots.
- Share it: If you produce more than you use, donate to neighbors, schools, community squares, or urban gardening groups. Many municipalities have organic input exchange networks.
If you’re investing in healthier eating and want to close the loop with even more awareness, it’s worth checking out our analysis on are organic foods worth it in 2026 — after all, producing your own fertilizer is a way to support that choice at even lower cost.
Conclusion: Your Compost Bin Is the Start of a Cycle
Building a cheap DIY compost bin isn’t just a symbolic gesture — it’s a real change in the lifecycle of your waste. With few materials, a small outdoor corner, and some consistency, you transform trash into resources, contribute to soil health, and even save money on fertilizer for your plants.
The most important thing is to start, even if simply. A single market crate, some dry leaves from the garden, and the week’s scraps are already enough to take the first step. Over time, the process becomes automatic — a natural part of your household routine, like separating recyclables from organic waste.
Share this idea with neighbors, family, and friends. Every compost bin that goes into operation is a small concrete victory for the environment — and perhaps more importantly, proof that caring for the planet doesn’t have to be complicated or expensive.
