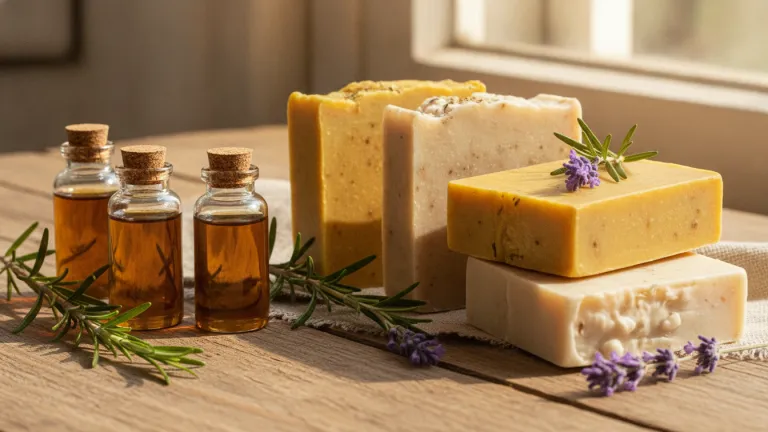
Why Used Cooking Oil Is a Serious Problem
You fried potatoes, prepared some delicious breaded chicken, and now you’re staring at that pan with dark, used oil. What do you do with it? Pour it down the sink drain? Into the toilet? Store it in a bottle and hope to find a collection point someday? This scene repeats itself in millions of homes every day, and how we dispose of cooking oil has real consequences for the environment — and for your water bill.
Improper disposal of used vegetable oil is one of the invisible villains of household pollution. When poured down the sink or toilet, the oil forms an impermeable film in the pipes, contributes to clogs, overloads sewage treatment plants, and when it reaches rivers and lakes, compromises water oxygenation and harms aquatic life. A practical, economical, and increasingly popular alternative is to transform this oil into homemade soap. But is it really worth it?
In this article, you’ll discover how to make soap from used oil, what the real benefits (and honest limitations) of this practice are, and why it fits so well into a more conscious lifestyle. Spoiler: yes, it’s worth it — but with some important precautions.
The Real Impact of Disposed Cooking Oil on the Environment
Before talking about the solution, it’s worth understanding the scale of the problem. Brazil is one of the largest consumers of vegetable oil in the world, and a large portion of this oil — used in home frying, snack bars, and restaurants — still ends up improperly disposed: down the drain, in regular trash, or in vacant lots.
From an environmental standpoint, the impact is significant. One liter of oil has the potential to contaminate up to 25,000 liters of water, according to data widely shared by sanitation agencies and environmental organizations. When this oil reaches bodies of water, it forms a layer that prevents sunlight from entering and reduces dissolved oxygen levels, harming fish, aquatic plants, and the entire local ecological chain.
In cities, the problem manifests differently: clogged sewage networks, pest proliferation, increased maintenance costs for the sanitation system — expenses that are ultimately passed on to the population. That’s why reusing used oil is much more than a trend: it’s an action with direct impact on public and environmental health.
What Is Saponification (and Why It Works)
Homemade soap from used oil is a product of saponification, a classic chemical reaction that occurs when fats (or oils) react with a strong base, such as caustic soda (sodium hydroxide, NaOH). The result is soap — technically, a fatty acid salt — and glycerol (glycerin), a natural byproduct with moisturizing properties.
This reaction has been known for centuries. The Romans already used a rudimentary version of this process, and for a long time soap was handcrafted at home using animal fat and ashes. Today, with easy access to caustic soda and technical knowledge, anyone can safely reproduce this process.
The key point is that used vegetable oil — from soybean, sunflower, canola, corn — is an excellent input for saponification, as long as it’s not extremely degraded or mixed with solid food residues. The fresher and more filtered the oil, the better the final result.
Homemade Soap from Used Oil: Safe Step-by-Step Guide
Before starting, an important note: caustic soda is a highly corrosive product. It causes burns on contact with skin and eyes and releases toxic vapor when mixed with water. Always use protective equipment and work in a well-ventilated area.
Materials needed:
- 1 liter of used vegetable oil (filtered, without solid residues)
- 180 g of caustic soda (NaOH, 99% purity)
- 400 ml of cold water (preferably filtered or mineral)
- Chemical-resistant rubber gloves
- Safety goggles
- Apron
- Resistant plastic or stainless steel container (never aluminum)
- Plastic or wooden spoon or spatula
- Mold (milk cartons, ice cream containers, silicone molds)
- Culinary thermometer (recommended)
Step by step:
- Filter the used oil with a strainer or clean cloth to remove food scraps. Discard solids in organic waste.
- Put on your PPE (gloves, goggles, apron) before any handling.
- Prepare the lye solution: in a well-ventilated area, slowly add the caustic soda to cold water — never the reverse. The mixture will heat up significantly and release vapors. Stir carefully until completely dissolved. Let it cool until it reaches between 40°C and 50°C (104°F-122°F).
- Heat the oil in a water bath to the same temperature range (40°C to 50°C). Similar temperatures between the two liquids favor the reaction.
- Add the lye solution to the oil slowly, stirring always in one direction, with constant movements. This process can take 20 to 40 minutes by hand, or less with the help of an immersion blender (use in short pulses).
- Wait for “trace”: the mixture becomes like thin porridge, leaving marks on the surface when you lift the spoon. This is the sign that saponification is progressing.
- Pour into molds and cover with a cloth to maintain heat and favor curing.
- Wait for curing: remove from molds after 24 to 48 hours and let the soap cure for at least 4 weeks in a dry, airy place, away from direct sunlight. During curing, the soap’s pH normalizes and it becomes safe for use.
- Test the pH before using: a well-cured soap has a pH between 8 and 10. Soaps that are too alkaline (above 12) need more curing time.
Is It Worth It? The Real Benefits of Making Soap at Home
The short answer is yes — and for several reasons that go beyond the romanticism of “do it yourself.”
Environmental benefits:
- Proper destination for oil: instead of going to the sewer, the oil becomes a useful product.
- Reduction of plastic packaging: you stop buying industrialized soap in plastic packaging.
- Lower household carbon footprint: fewer industrialized products purchased means less transportation and production.
Economic benefits:
- Caustic soda is found in hardware stores at an affordable price. With one liter of oil and other supplies, you can produce an amount of soap equivalent to several bars sold in stores.
- The soap produced can be used to wash clothes, dishes, clean floors and surfaces.
Practical benefits:
- You can customize the soap with natural essences, like lavender or mint.
- The glycerin naturally produced during saponification makes the soap more moisturizing than many industrialized products that have glycerin removed and sold separately.
This type of initiative connects perfectly to the concept of Zero Waste: what it is and where to start today, which proposes rethinking the life cycle of products we use daily.
Limitations and Precautions: What This Soap Doesn’t Do
Being honest about limitations is as important as celebrating benefits.
- It doesn’t replace enzymatic detergents for tough stains: oil soap is effective for general cleaning, but may not perform as well as industrialized products with synthetic surfactants on heavy grease or protein stains.
- Heavily degraded oils affect quality: oil reused many times, with very dark coloring and strong rancid odor, produces inferior quality soap with an unpleasant smell.
- Caustic soda demands respect: accidents with caustic soda cause severe burns. Children and pets should stay away from the process.
- The process takes time: between making, resting, and curing, you wait at least a month to use the soap. It’s not an immediate solution.
- Dosage matters: using wrong proportions of soda can result in soap with very high pH (harsh on skin) or with excess free oil (soft and inefficient soap). Always use saponification calculators available online to adjust quantities according to the type of oil.
How to Organize Oil Collection at Home
A simple habit makes all the difference: set aside a clean container with a lid — a 2-liter PET bottle works very well — to accumulate oil after use. Let the oil cool completely before straining and transferring to the bottle.
Practical tips to maintain the routine:
- Label the bottle with the collection start date.
- Store in a dry place, away from sunlight.
- When you accumulate about 1 liter, you already have enough for a basic soap recipe.
- If you don’t want to make the soap, look for oil collection points in your municipality — many cooperatives, supermarkets, and schools participate in reverse logistics programs.
Incorporating this habit into everyday life is part of a larger mindset shift, as we discussed in the article about less waste at home starts with small habits.
Conclusion: A Small Choice with Big Impact
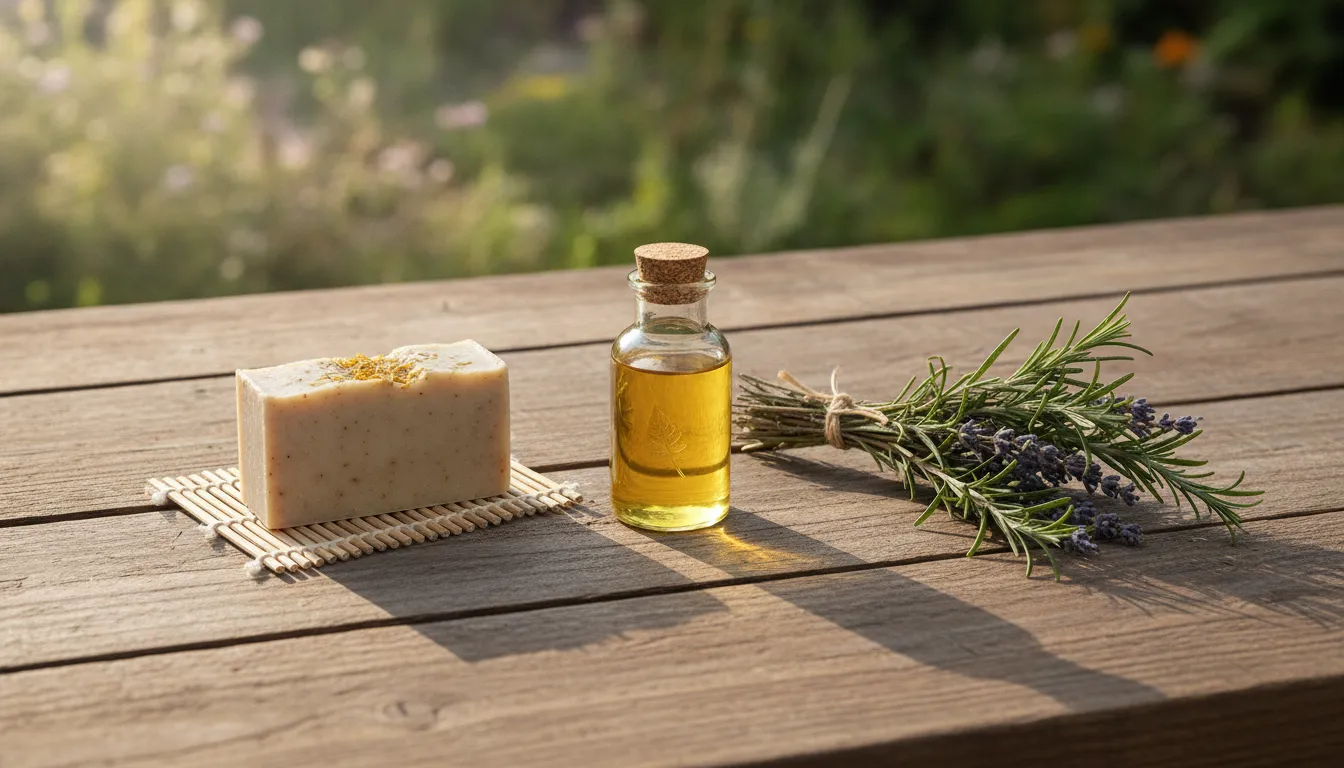
Making soap from used cooking oil won’t solve the environmental crisis by itself. No individual action does that. But it’s one of those practices that combines economy, practicality, and environmental responsibility in a way that’s hard to ignore once you understand the process.
You transform a problematic waste into a useful product, reduce your dependence on plastic packaging, save money, and prevent liters of oil from contaminating the sewage system or water bodies. It’s the definition of circular economy applied to the kitchen.
If you’ve never made soap before, start with a small recipe — half a liter of oil — to familiarize yourself with the process and safety precautions. Gradually, you’ll adjust proportions, maybe add essences, maybe teach someone in your family. And next time you finish frying, you’ll look at that oil with different eyes: not as waste, but as raw material waiting to be transformed.
Your kitchen can be the starting point for a cleaner cycle. Start today.
