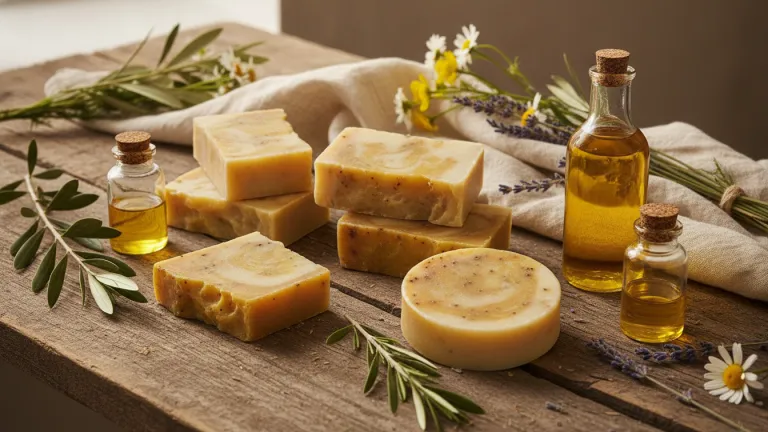
Why Reusing Cooking Oil Goes Beyond Saving Money
Have you ever stopped to think about what happens to that dark oil left over after frying potatoes or chicken? In most households, it goes straight down the sink or toilet — and this seemingly harmless habit causes serious damage. A single liter of improperly disposed cooking oil can contaminate up to one thousand liters of water, according to environmental research data. Multiply that by millions of households and you’ll get a real sense of the problem.
It’s estimated that residential vegetable oil consumption generates a significant volume of waste each year, and much of it still doesn’t have proper disposal. Collection points exist in many cities, but they aren’t always convenient or well-known to the public. This is where homemade soap from used cooking oil emerges as an elegant solution: it transforms a polluting waste into a useful product, reduces spending on cleaning supplies, and prevents oil from reaching rivers and the sewage system.
The good news is that making soap at home doesn’t require advanced scientific knowledge or expensive equipment. With a few accessible ingredients, some attention to measurements, and safety precautions, anyone can produce an efficient, economical soap that’s much more sustainable than industrial versions. Let’s go through the step-by-step process — and also the “why” behind each stage.
The Real Problem of Discarded Cooking Oil
Used vegetable oil is classified as solid waste in many countries’ environmental policies, meaning it cannot be disposed of in water bodies or the sewage network. Yet improper disposal remains routine.
When oil reaches sewage systems, it forms a greasy layer over the water, hinders oxygen flow, and harms aquatic life. In treatment plants, it increases the cost and complexity of processing. In rivers and streams, it contributes to fish mortality and the proliferation of disease vectors.
Some municipalities and cooperatives maintain used oil collection programs to convert it into biodiesel — an excellent alternative. But while these programs haven’t reached every corner of the globe, homemade soap-making is one of the most accessible ways to properly dispose of this waste at home. And, as you’ll see, the final result is surprisingly good.
What Is Saponification (and Why It Works)
Soap is the product of a chemical reaction called saponification. In it, an oil or fat (composed of triglycerides) reacts with a strong base — in the case of homemade soap, sodium hydroxide, commercially known as lye — and produces glycerol and fatty acid salts, which is exactly what we call soap.
This reaction has been known for centuries: ancient civilizations already produced soap by combining animal fats with alkaline ashes. The modern version with lye is more controlled, safe, and efficient.
The final result — when the proportions are correct — is a product with an alkaline pH capable of removing grease, dirt, and bacteria from surfaces and fabrics. It’s not magic: it’s basic chemistry applied practically.
Ingredients and Materials Needed for Homemade Soap
Before starting, gather everything you’ll need. Organization is essential to ensure safety and consistent results.
Ingredients:
- 1 liter of used vegetable oil (any type: soybean, sunflower, canola, corn — as long as it’s filtered and doesn’t have a strong rancid smell)
- 200 g of lye (sodium hydroxide — purchased at hardware stores, pharmacies, or supermarkets)
- 500 ml of cold water (preferably filtered or mineral)
- Optional: 1 cup of alcohol (helps lighten the soap and improves texture)
- Optional: fragrance or essential oil of your choice (lavender, orange, clove) — for scenting
Materials:
- Bucket or resistant plastic container (don’t use aluminum — lye reacts with it)
- Long plastic or wooden spoon or spatula
- Kitchen scale (to measure lye precisely)
- Mold for shaping the soap (milk carton, ice cream container, cake pan)
- Rubber gloves, safety goggles, and mask (mandatory safety items)
- Apron or clothes that can be sacrificed
Step by Step: How to Make Homemade Soap with Used Oil
Follow each step carefully, especially those involving lye. Read the entire tutorial before starting.
- Filter the used oil. Pass it through a clean cloth or fine strainer to remove food residue. Oil with too much debris can compromise the result and smell of the soap.
- Prepare the environment. Work in a ventilated area — outdoors is ideal. Put on gloves, goggles, and mask before opening the lye.
- Dissolve the lye in water. Always add lye to water, never the reverse. Slowly add the 200 g of lye to the 500 ml of cold water, stirring carefully. The mixture will heat up considerably (can reach 80°C/176°F) and release fumes — don’t lean over the container. Wait until it cools to about 40°C/104°F before continuing.
- Warm the oil slightly. The oil should be lukewarm (around 40°C/104°F), not boiling. You can heat it briefly on the stove or use a double boiler. If it’s at room temperature on a warm day, it may not be necessary.
- Mix the lye into the oil. Pour the lye solution slowly over the oil, stirring constantly. Use circular and steady movements.
- Stir until reaching “trace.” Trace is the moment when the mixture thickens and, when lifting the spatula, the trail left behind takes time to disappear — like a medium-consistency cream. It can take 15 minutes to an hour of manual stirring (or less with a hand mixer, used carefully).
- Add the optional ingredients. If using alcohol, fragrance, or other additives (oatmeal for exfoliating soap, for example), add now and mix well.
- Pour into molds. Cover with a cloth or plastic and leave in a draft-free location for 24 to 48 hours.
- Unmold and cure. After 48 hours, unmold the soap. It will still be relatively soft. Cut into bars and let cure for at least 4 weeks in an airy location, away from moisture. Complete curing makes the soap harder, more efficient, and gentler on the skin.
- Test before using on skin. After curing, you can do a quick test: touch a damp piece with the tip of your tongue. If it stings, there’s still active lye — let it cure a few more days. If it doesn’t sting, it’s ready.
Practical Tips for Better and Safer Soap
- Never use aluminum or galvanized containers — lye reacts with these metals and can cause accidents.
- Keep children and pets away during preparation.
- In case of lye contact with skin, wash immediately with plenty of running water for at least 15 minutes.
- Very burnt or rancid frying oils produce soap with a bad smell. Prefer oils with up to 3 to 4 uses.
- Mixing different types of vegetable oil is allowed — it doesn’t affect soap quality.
- Homemade soap tends to have more glycerin than industrial ones (which usually extract it to sell separately), making it more moisturizing for the skin.
- Store finished bars in a dry, airy place — they last many months without problems.
How Much You Save (and How Much Pollution You Prevent)
Homemade soap isn’t just sustainable: it’s also economical. The main costs are lye (sold in 1 kg packages at affordable prices in hardware stores) and optional items like fragrance. The oil, which would be discarded, costs nothing.
With 1 liter of oil, 200 g of lye, and 500 ml of water, you can produce approximately 1.5 kg of soap, an amount equivalent to several bars of soap sold commercially. Depending on the brand and region, this represents real savings in the household budget — especially for families that use bar soap for washing clothes, dishes, and surfaces.
From an environmental standpoint, each liter of oil that goes into the soap recipe is a liter that won’t end up down the drain. And, unlike many industrial cleaning products, homemade vegetable soap is biodegradable and free of aggressive synthetic components. If you want other ways to be eco-friendly without spending much, homemade soap-making is a great starting point.
Creative Variations: From Kitchen Soap to Bathroom Soap
After mastering the basic recipe, you can adapt the soap for different uses:
- Exfoliating soap: add fine oatmeal or brown sugar when reaching trace.
- Scented soap: use 10 to 20 ml of lavender, orange, or peppermint essential oil.
- Dishwashing soap: keep the basic recipe — it works very well in liquid form, dissolving pieces in hot water.
- Liquid soap: replace sodium hydroxide with potassium hydroxide (KOH) in appropriate proportions to achieve liquid consistency.
- Clay soap: add a spoonful of green or pink clay for facial soap with adsorbent properties.
Each variation opens possibilities for customization and even sustainable handmade gifts for friends and family.
Conclusion: A Small Change with Real Impact
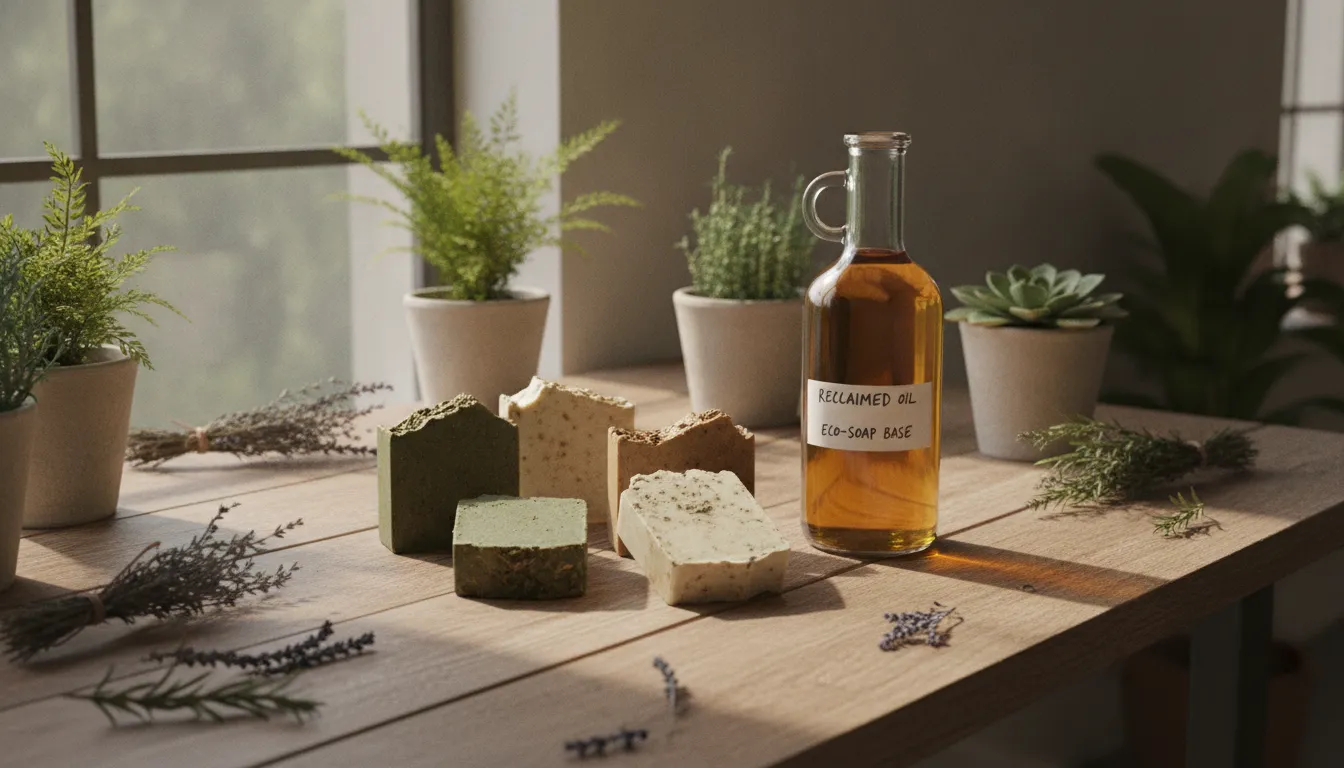
Making soap at home with used oil is one of those gestures that, when combined with other habits — like reducing food waste in daily life and consuming more consciously — build a genuinely more sustainable routine. It’s not about perfection: it’s about practical substitutions within anyone’s reach.
You don’t need to change everything at once. Start with the next bottle of used oil stored in your kitchen. Gather the materials, read the tutorial calmly, invite someone from the family to participate — and in a few weeks you’ll have bars of soap made by you, with an ingredient that would have been improperly discarded.
This is the type of action that makes sense today: simple, accessible, economical, and with concrete environmental benefits. The planet thanks you — and so does your wallet.
