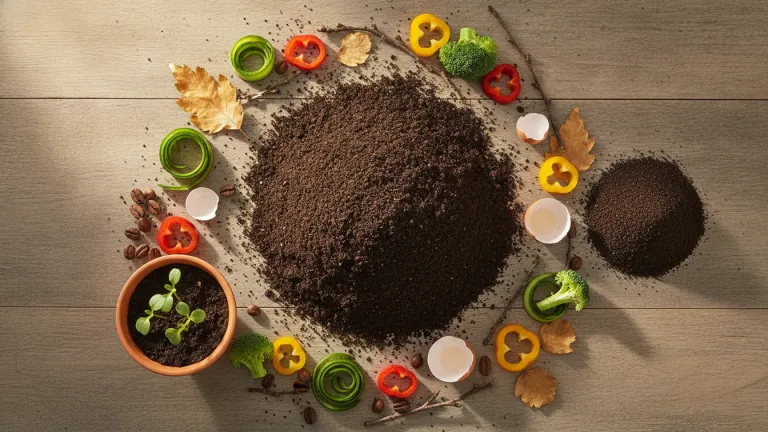
Have you ever stopped to think about what happens to the banana peels, coffee grounds, and dry leaves you discard every week? In most homes, this material goes straight into regular trash, heads to landfills, and becomes part of a much bigger problem than it seems. In Brazil, organic waste represents more than half of the total volume of household garbage generated, according to data from the Solid Waste Overview in Brazil, published by Abrelpe. When this material decomposes in landfills without oxygen, it releases methane — a gas with global warming potential dozens of times greater than CO₂ over a 20-year horizon, as highlighted by the IPCC.
The good news is that there’s a simple, free, and extraordinarily effective alternative within anyone’s reach: home composting. Transforming organic scraps into nutrient-rich fertilizer is one of the most concrete actions an urban or rural resident can take to reduce their environmental impact — while also gaining a high-quality natural fertilizer for plants, vegetable gardens, and landscaping. It’s a cycle that nature has known for billions of years; we just need to learn to replicate it at home.
In this article, you’ll learn how composting works, which materials to use, how to build your own composter from scratch, and how to use the fertilizer you produce. Whether you live in an apartment or a house with a backyard, there’s a method adapted to your reality. Shall we begin?
What Is Composting and Why It Enriches the Soil
Composting is the biological process by which microorganisms — mainly bacteria and fungi — decompose organic matter under controlled conditions of moisture, temperature, and aeration. The final product is organic compost, a dark, crumbly substance with a smell of wet earth, called humus or mature compost.
From an agronomic perspective, organic compost is an exceptional soil conditioner. According to Embrapa, incorporating organic matter into soil improves its physical structure, increases water retention capacity, stimulates beneficial microbial activity, and provides essential nutrients such as nitrogen, phosphorus, and potassium gradually and in balance. Unlike synthetic chemical fertilizers, compost doesn’t “burn” roots and contributes to long-term soil health.
From an environmental perspective, home composting closes an important cycle: you remove from the waste stream material that should never have been waste, prevent methane emissions in landfills, and return nutrients to the soil from which they came. It’s sustainability applied in the kitchen.
What Can and Cannot Go Into the Composter
One of the most common questions from beginners is about which waste is suitable for composting. The general rule involves balancing two groups of materials: nitrogen-rich (wet, “greens”) and carbon-rich (dry, “browns”).
Nitrogen-rich materials — the “greens”
- Fruit and vegetable peels and scraps
- Coffee grounds and paper filters
- Natural tea bags
- Eggshells (they don’t speed up decomposition but enrich with calcium)
- Fresh grass clippings
- Flowers and plants without pesticides
Carbon-rich materials — the “browns”
- Dry leaves
- Cardboard and untreated paper, torn into small pieces
- Sawdust and untreated wood shavings
- Straw and dry husks
- Newspaper (in small amounts)
What should not go into a home composter
- Meat, fish, and dairy products (attract pests and cause bad odors)
- Large amounts of oils and fats
- Feces from carnivorous animals
- Diseased plants or those with aggressive fungi
- Synthetic materials, plastics, or items with toxic inks
- Excessive citrus fruits (can acidify the compost and slow decomposition)
The ideal balance is approximately 2 parts carbon-rich material to 1 part nitrogen-rich material, by volume. This ensures efficient decomposition without bad odors.
How to Build Your Home Composter: Step by Step
There are various composter models, but the most accessible for beginners is the stackable bin composter, very popular in apartments. For those with a backyard, an outdoor pile is an even simpler alternative. Here’s how to build the bin model:
Materials needed:
- 3 plastic bins with lids (storage bins work well, with capacity between 20 and 50 liters)
- Drill or hot nail to make holes
- Support (bricks or feet to separate the bin from the floor)
- Sawdust or soil as an initial layer
Step by step:
- Drill holes in the bins: make approximately 0.5 cm holes in the bottom and sides of two of the three bins (the third will serve as a leachate collector at the base). The holes ensure aeration and drainage.
- Set up the layers: place the drilled bin on top of the collector (without holes). Add a thin layer of soil or sawdust at the bottom — this activates the microorganisms.
- Start feeding: add your organic waste in thin layers, always covering wet material with dry material (leaves, sawdust, or cardboard). Never leave waste exposed without covering.
- Maintain proper moisture: the compost should be moist like a slightly squeezed sponge. If it’s dry, spray water. If it’s waterlogged, add more dry material.
- Turn periodically: at least once a week, mix the contents to aerate and speed up decomposition. A garden fork or long-handled spoon works well.
- Use the second bin: when the first is full, start using the second bin stacked on top of the first. Microorganisms naturally migrate between them.
- Harvest the compost: after 60 to 90 days (depending on temperature and management), the material at the bottom of the first bin will be transformed into mature compost — dark, without strong odor, and with an earthy texture.
The leachate that drains into the collector bin is a nutrient-rich liquid. Diluted in water (1 part leachate to 10 parts water), it’s an excellent liquid fertilizer for watering plants.
Apartment Composting: It’s Totally Possible
Many people believe that composting is exclusive to those with a garden or large property. This is a myth. The stackable bin model described above was developed precisely for small spaces and can be placed on the balcony, in the laundry area, or even under the kitchen sink.
Another option for apartments is vermicomposting, which uses worms (especially the species Eisenia fetida, the red California worm) to speed up decomposition. The worms produce an even more nutrient-rich compost called worm castings or vermicompost. The process occurs in small bins, almost odorless when well managed, and is extremely efficient.
For those who don’t have space even for bins, there’s the option of participating in community composting collectives, present in many Brazilian cities. Simply save organic waste and take it periodically to the collection point. This practice has grown significantly in large cities, with municipal initiatives and civil society organizations facilitating access.
If you want to discover other ways to reduce your environmental impact in daily life, also check out our article on Sustainability in Daily Life: Where to Start?.
How to Use Finished Compost in Your Plants and Gardens
After all the work, the most rewarding part arrives: using the fertilizer you produced yourself. Mature compost has the appearance of dark soil, homogeneous texture, and a pleasant forest smell — no unpleasant odor.
Application methods
- Pots and plants in general: mix 30% compost with 70% substrate or soil. This improves water retention and provides nutrients for months.
- Vegetable garden beds: incorporate a 3 to 5 cm layer of compost to the soil surface before planting. Turn lightly to mix with the soil.
- Mulching: spread compost around plants as cover. This protects the soil from evaporation and releases nutrients gradually.
- Fertigation with leachate: as mentioned, diluted in water, leachate is a practical liquid fertilizer for weekly watering.
- Seedling preparation: compost mixed with soil is an excellent substrate for germinating seeds and developing seedlings.
An important tip: compost should only be used when fully mature — without recognizable pieces of waste and without excessive internal heat. Compost still in the decomposition process can harm plant roots.
Common Mistakes and How to Avoid Them
Even with good intentions, some frequent mistakes can hinder the process. Knowing them in advance saves frustration:
- Strong bad odor: almost always a sign of excess wet material or lack of aeration. Add dry material and turn the compost.
- Presence of unwanted insects: may indicate that meat scraps or fat were added, or that the compost is too wet. Avoid these materials and cover waste well.
- Compost too dry with no decomposition: lack of moisture or excess carbon-rich material. Spray water and add more fruit and vegetable scraps.
- Process too slow: low temperature (common in winter), lack of turning, or pieces too large. Cut waste into smaller pieces before adding to the composter.
- Excess citrus: orange, lemon, and passion fruit in large amounts acidify the environment and hinder decomposition. Use in moderation.
The Real Impact of Your Composter
It’s difficult to measure exactly how much waste each household stops sending to landfills, because this varies greatly with family size and eating habits. But what is known, based on data from Abrelpe and the Ministry of Environment, is that the organic fraction is the largest part of Brazilian household waste — and that most of this material still goes to landfills.
Every family that adopts composting removes a significant portion of their waste from the conventional trash flow, reduces greenhouse gas emissions, and produces an agricultural input that replaces industrial fertilizers. When this practice is multiplied by thousands or millions of households, the collective impact is significant.
Furthermore, as pointed out in Preserve the Environment with Simple Choices, the most lasting changes usually start at home, with habits that become automatic over time. Composting is exactly that: a small action at first, but transformative in practice.
Conclusion: Start with What You Have Today
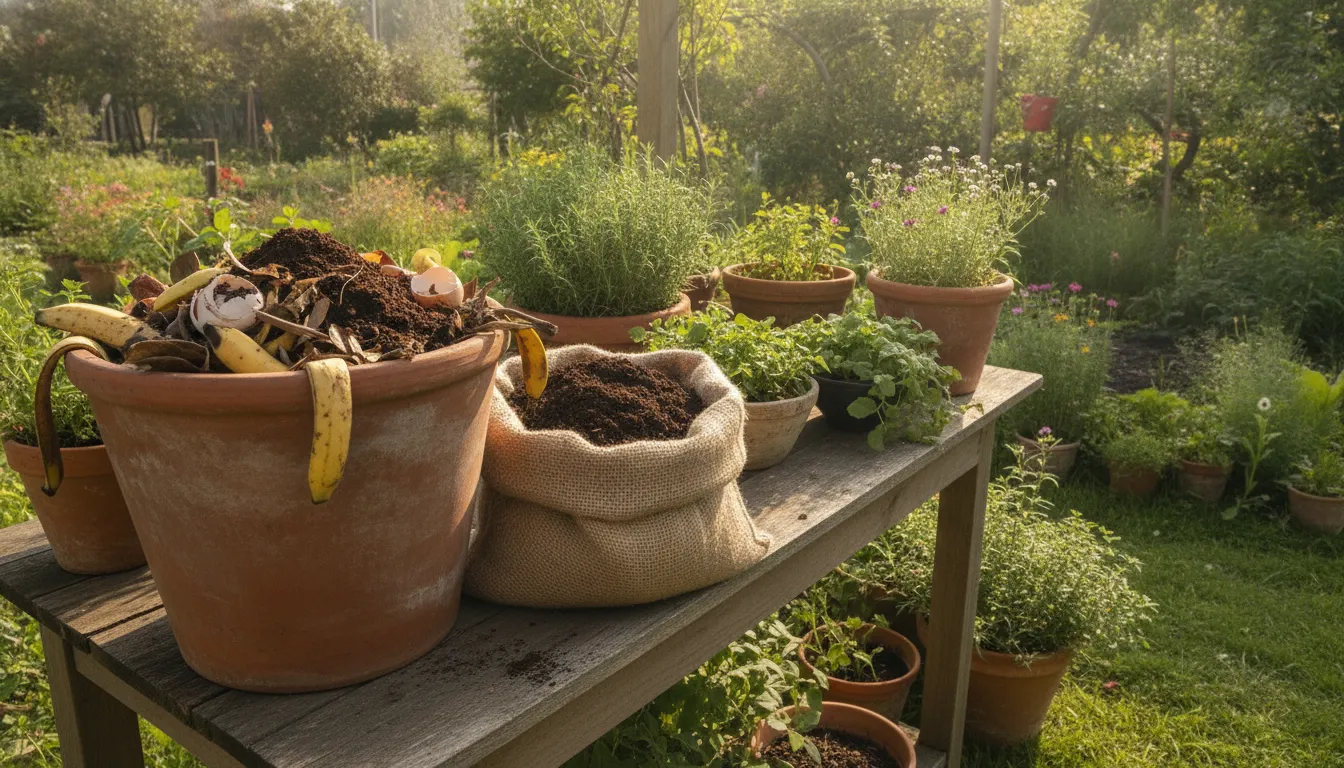
You don’t need a large space, expensive equipment, or deep technical knowledge to start composting. Three plastic bins, a handful of dry leaves, and the scraps from your next meal are enough to begin the process. Over time, you’ll adjust the balance of materials, develop a routine, and harvest fertilizer that will make your plants visibly healthier.
Composting is one of the most direct bridges between what we do in the kitchen and what happens to the planet. It’s free, educational, and deeply satisfying. If you have children or live with kids, it’s also one of the best hands-on lessons in science and environmental education that exist.
Start this week. Set aside a small bin, gather some dry leaves, save the scraps from lunch, and take the first step. The soil in your city — and on the planet — will thank you.
