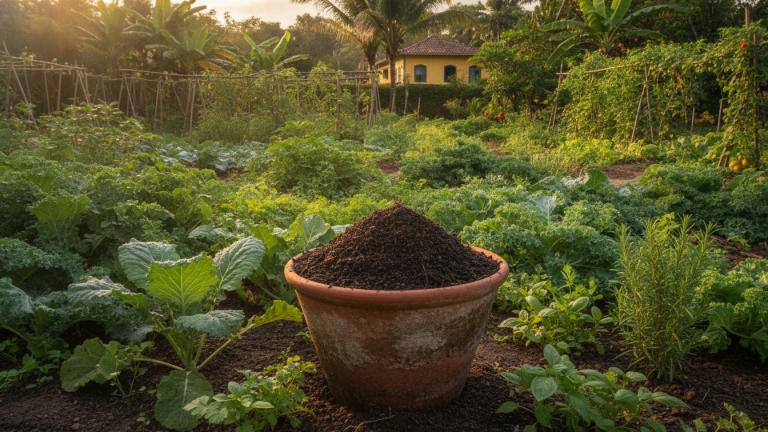
The free fertilizer already hiding in your organic waste
You throw away fruit peels, coffee grounds, and vegetable scraps every week, right? Now imagine transforming exactly that material into fertilizer so nutritious that Embrapa researchers have already documented significant increases in vegetable production with regular use. This fertilizer exists, is produced by worms, and has a name: worm castings, also called vermicompost.
The idea seems too simple to work, but the biology behind it is powerful. Worms digest organic matter and excrete a stabilized compound rich in nutrients and beneficial microorganisms that pure soil and conventional chemical fertilizers simply don’t offer in the same way. By the end of this article, you’ll know how to set up a worm bin at home, even in an apartment, and how to apply worm castings to make your garden much more productive.
If you’ve tried growing tomatoes in a pot and were frustrated with weak plants and low yields, the problem probably wasn’t sunlight or watering. It was the soil. And worm castings are exactly what was missing.
Why worm castings are different from regular compost
Homemade organic compost, the kind you make by piling food scraps in a composter, is already excellent. But worm castings go through one more process: the worm’s digestive tract. That’s not a detail.
Inside the worm’s body, organic matter is broken down into much smaller particles and mixed with enzymes and intestinal microorganisms. The result is a material with a granular structure, almost odorless, with pH close to neutral and concentrations of nutrients like nitrogen, phosphorus, and potassium in forms that plants can absorb much more easily. Embrapa documents that vermicompost has significantly higher microbial activity than conventional composts, which benefits soil health in the long term.
Another important point is the compost’s ability to improve the physical structure of soil. It increases water retention in sandy soils and improves drainage in clay soils. For those living in regions with irregular rainfall, like much of the Northeast and Midwest, this can make a real difference in plant survival between waterings.
How to set up your worm bin at home
You don’t need a yard. A worm bin fits on a balcony, in a laundry room, or even inside a ventilated cabinet. The initial investment is low and the return in fertilizer starts in just a few weeks.
Materials needed:
- 2 or 3 opaque plastic boxes with lids (can be tool boxes or recycled plastic organizers), 30 to 50 liters each
- Drill or heated nail to make holes
- California red worms (Eisenia fetida), sold at fishing shops or organic markets for around R$ 20 to R$ 40 per package in 2026
- Initial substrate: damp cardboard, dry leaves, or untreated sawdust
- Kitchen scraps
Time for the first batch of castings: between 60 and 90 days.
Total assembly cost: between R$ 50 and R$ 120, depending on what you already have at home.
Step-by-step assembly:
- Make small holes in the lid and sides of the top box for ventilation, and in the bottom for drainage of worm tea (the liquid released).
- Place the drilled box on top of another closed box, which will collect the worm tea.
- Line the bottom of the top box with damp cardboard in layers of 5 to 8 cm.
- Add the worms to the substrate and let them acclimate for 24 hours before offering food.
- Start depositing organic scraps in small quantities, burying them lightly in the substrate.
- Always cover with a thin layer of dry material (shredded cardboard, dry leaves) to prevent odor and flies.
- Keep the bin in a place without direct sunlight, with temperatures between 15°C and 30°C.
When the box is almost full and the material looks dark and granulated with no visible food scraps, the castings are ready for harvesting.
What worms eat and what they can’t eat
This is where most people make mistakes. California red worms accept a wide variety of organic scraps, but some materials harm the worm bin and can even kill the worms.
Can go in the worm bin:
- Fruit and vegetable peels (except citrus in large quantities)
- Coffee grounds and paper filters
- Tea bags
- Dry leaves and cardboard without colored ink
- Vegetable and salad scraps
- Crushed eggshells (helps regulate pH)
Can’t go in the worm bin:
- Meat, fish, and dairy (attract pests and create strong odors)
- Fatty foods
- Onion and garlic in large quantities (acidity harms worms)
- Feces from domestic animals taking deworming medication
- Material heavily treated with pesticides
If the bin starts to smell bad, it’s a sign of excess moisture or foods that shouldn’t be there. Remove the problematic material, add dry cardboard, and gently mix the contents.
How to apply worm castings to your garden for better results
Worm castings are considered a soil conditioner, not just a fertilizer. This means they improve the physical, chemical, and biological conditions of the soil all at once. How to apply varies depending on your goal.
For pots and raised beds:
- Mix 20% to 30% castings with soil when planting. If you have a 10-liter pot of soil, add 2 to 3 liters of castings.
- For already established plants, apply a layer of 1 to 2 cm on the soil surface around the plant, without direct contact with the stem.
For fast-growing vegetables (lettuce, arugula, chives):
- Reapplying castings every 30 to 45 days keeps the soil active and production constant.
Worm tea as liquid fertilizer:
The liquid collected in the lower box, worm tea, should be diluted before use in a ratio of 1 part worm tea to 10 parts water. Applied directly to the plant roots, it works as a fast-acting liquid fertilizer. Don’t overdo it: once a week is enough for most vegetables.
If you grow seasonal foods, worm castings will make an even bigger difference, because plants adapted to the local climate respond very well to the living soil that vermicompost helps build.
Common mistakes that slow down beginners
The first mistake is adding a large amount of food all at once. Worms process at their own pace. If food accumulates without being digested, it starts to ferment and the bin becomes an odor problem. Add scraps in thin layers a few times a week.
The second mistake is keeping the bin too wet. The substrate should be moist like a squeezed sponge, not waterlogged. If you squeeze a handful of substrate in your hand, only a few drops of water should come out. Excess liquid drowns the worms.
The third mistake is exposing the bin to direct sunlight or intense heat. In Brazilian cities with hot summers, like Cuiabá or Fortaleza, place the bin in a ventilated, shaded location. Worms at temperatures above 35°C die quickly.
The environmental impact of a small choice
Brazil generates an enormous amount of organic waste. According to Abrelpe data, urban solid waste in the country contains a significant portion of organic material, much of which ends up in landfills where it decomposes without oxygen, releasing methane, a gas with much greater warming potential than CO2. Giving a different destination to this material, even on a household scale, helps reduce this problem.
Composting or vermicomposting at home fits within the spirit of Law 12.305/2010, the National Solid Waste Policy, which provides for shared responsibility for the product lifecycle and encourages waste reduction at the source. When you transform your scraps into castings, you’re practicing exactly what the law prescribes, and still harvesting better tomatoes as a reward.
Just as invasive species can destabilize natural ecosystems, improper disposal of organics on a large scale disrupts the nutrient cycle of urban soil. You can learn more about how small choices affect larger systems by reading about invasive species and threats to biodiversity.
Frequently asked questions about worm castings
Can I set up a worm bin in an apartment without smell?
Yes. A well-managed worm bin has virtually no odor. The secret is not adding meat or dairy, maintaining the balance between wet and dry material, and not overloading the system with food. Many people keep worm bins under their kitchen sink without any issues.
How many worms do I need to get started?
A package with around 200 to 500 worms is enough to start. The population grows naturally as the environment becomes stable and food is offered regularly. In a few months, the worm population adjusts to the bin’s capacity.
Does worm casting completely replace chemical fertilizer?
For home gardens and yards, castings are usually sufficient as the primary source of nutrition when applied regularly. In larger operations or plants with specific nutritional demands, supplementation may be necessary. For the typical home garden with lettuce, tomatoes, herbs, and seasonings, castings work well.
Can worm tea be used neat on plants?
No. Undiluted worm tea is too concentrated and can burn plant roots. Always dilute it in the ratio of 1 to 10 parts water before applying. Proper dilution transforms worm tea into an excellent liquid fertilizer without risk of damage.
Start today with what you already have
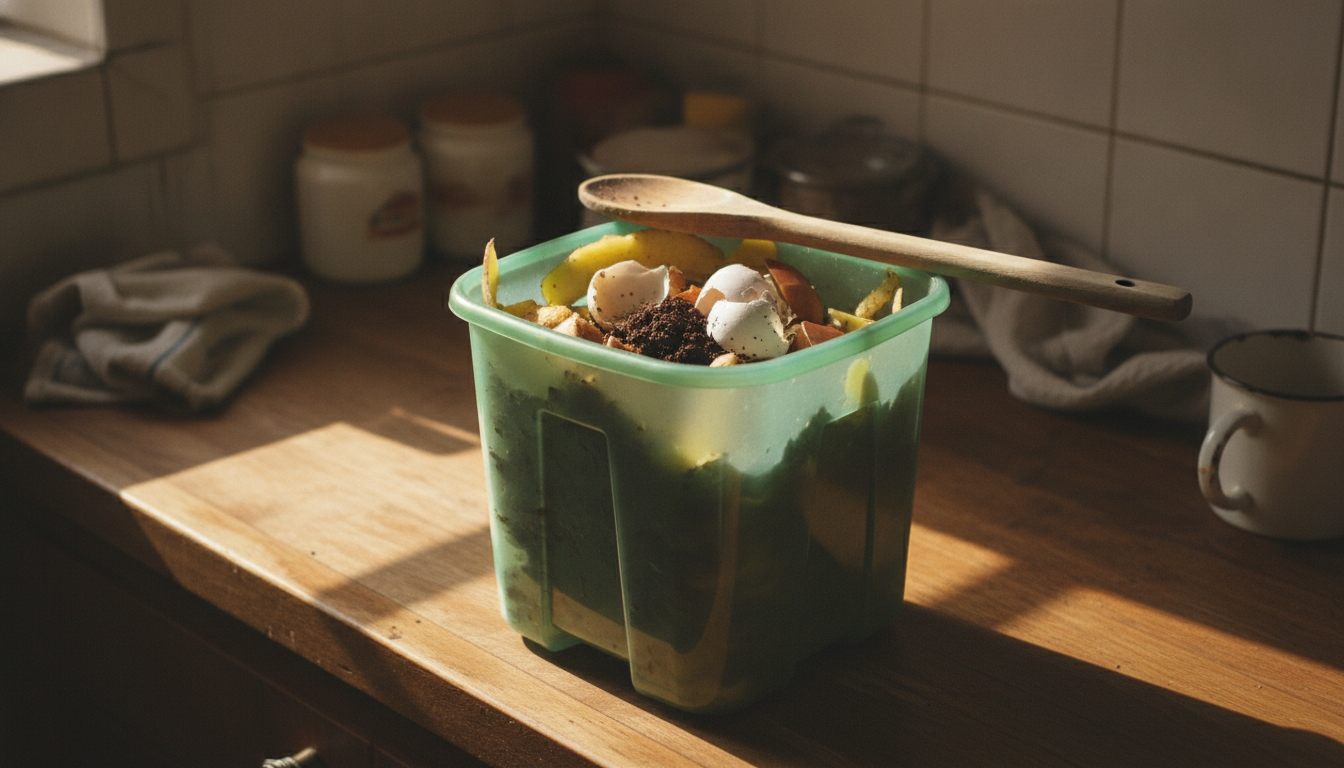
You don’t need to buy anything today to take the first step. Set aside an old plastic box you’re not using, make a few holes with a heated nail, and start saving this week’s fruit peels and coffee grounds. Once you have the basic worm bin set up, buy the worms and get everything moving.
In less than three months, you’ll have in your hands a fertilizer that improves soil with each application, costs almost nothing to produce, and transforms your organic waste into something that feeds life. Your garden will thank you, and so will the planet.
