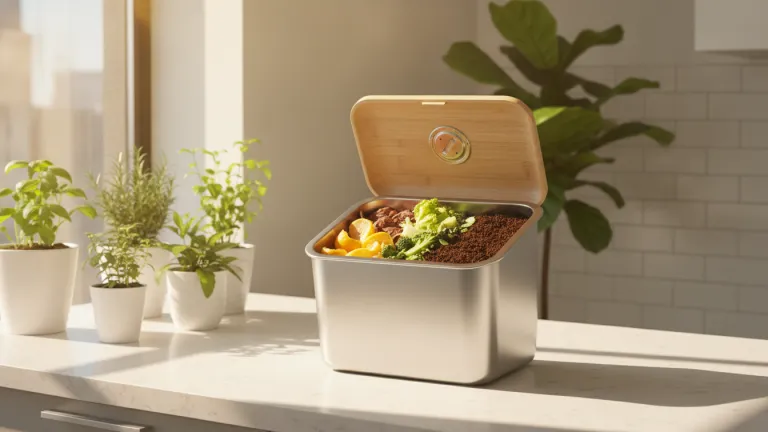
Apartment Composting: A Practical Step-by-Step Guide
Do you live in an apartment and think composting is only for people with backyards? This is one of the most common misconceptions when it comes to reducing organic waste — and also one of the easiest to debunk. Urban home composting is already a reality for thousands of city dwellers living in small spaces, and today’s available methods have made the process simpler, cleaner, and more accessible than ever.
Organic waste represents a significant portion of household garbage. When this material ends up in landfills without proper treatment, it decomposes anaerobically and releases methane — a gas with a global warming potential far greater than carbon dioxide, as recognized by the IPCC. Composting at home means removing this material from the destructive cycle and transforming it into something that nurtures life.
The good news is that you don’t need a garden, much space, or any special skills to get started. This guide was created to walk you through from zero to the moment you harvest your first finished compost — inside your apartment, without bad odors, without flies, and without complications.
Why Apartment Composting Makes a Real Difference
Before getting your hands dirty, it’s worth understanding why this small gesture has an impact that goes beyond your balcony.
When organic waste reaches the landfill, it doesn’t just “disappear.” It mixes with other materials, loses access to oxygen, and releases greenhouse gases for years. The methane generated in landfills is one of the contributors to climate change that has received the most attention from experts. If you want to better understand this mechanism, check out the article O Que Causa o Aquecimento Global, Explicado Simples.
On the other hand, the compost you produce at home — that dark, moist material with an earthy smell — is a natural fertilizer rich in nutrients. It can be used for apartment plants, container gardens, vertical gardens, or donated to neighbors, schools, community gardens, and compost collection points that exist in many cities.
Composting also reduces the number of garbage bags you use, decreases the weight of trash leaving your apartment, and can be the beginning of a much broader change in habits regarding your relationship with consumption and waste.
Composting Methods for Apartments
There is no “right way.” There’s the way that works best for your space, routine, and volume of waste. Here are the main options:
Worm Bin (Vermicomposting)
This is the favorite among apartment dwellers. Red wiggler worms (Eisenia fetida) transform organic waste into humus — an extremely high-quality compost — and liquid leachate, which can be diluted in water and used as liquid fertilizer for plants. These composters are compact, virtually odor-free when properly managed, and can be kept in the kitchen, laundry area, or balcony.
Bokashi
Bokashi is a Japanese method that uses effective microorganisms (EM) to ferment organic waste in a sealed bucket. It doesn’t produce final compost directly — the fermented material needs to be buried or mixed with soil to complete the process — but it’s extremely compact and even accepts waste that vermicomposting doesn’t handle well, such as small amounts of meat and dairy.
Three-Tier Compost Bin (Static)
Stackable composters with multiple trays are very common on the market and combine practicality with good capacity. They generally work with worms and dry material alternated with organic matter. They’re ideal for those with a balcony or laundry area with a bit more space.
How to Set Up Your Worm Bin Step by Step
This is the most recommended method for apartments because it’s compact, efficient, and virtually odorless. Here’s how to get started:
- Choose or build your composter. You can buy ready-made models (there are options in different sizes and prices at specialized online and physical stores) or build one using stackable plastic storage bins. If building, make small holes in the bottom of one bin for drainage and leave the bottom bin without holes to collect the leachate.
- Prepare the worm bedding. Place a moist layer of dry material in the main tray: shredded paper (without colored ink), torn cardboard, dry leaves, natural sawdust (without chemical treatment). Moisten without soaking — the ideal consistency is like a slightly damp sponge.
- Get red wiggler worms. You can buy them at fishing stores, urban farms, agroecological fairs, or composting groups on social media. The recommended initial quantity is about 200 to 500 grams for a small home composter.
- Start feeding gradually. In the first weeks, offer small amounts of waste and observe how the worms respond. They need time to adapt to their new environment.
- Always alternate with dry material. For each layer of organic waste, add a layer of dry material (paper, cardboard, leaves). This ratio is essential to prevent bad odors and excess moisture.
- Collect the leachate regularly. The liquid that drains to the bottom tray should be collected every few days. Dilute 1 part leachate to 10 parts water before using on plants.
- Wait for the compost to be ready. Under ideal conditions, worm castings are ready in two to four months. They have the appearance of dark, homogeneous soil, with no visible food pieces.
What Can and Cannot Go in the Composter
Knowing what to put in the composter is just as important as knowing how to set it up. Use this list as a reference:
Can:
- Fruit and vegetable peels
- Coffee grounds and paper filters
- Tea bags (without metal staples)
- Eggshells (crushing speeds up the process)
- Raw salad scraps
- Non-laminated paper and cardboard without colored printing
- Hair and nail clippings (in small amounts)
- Used paper napkins (without chemicals)
Cannot (in vermicomposting):
- Meat, fish, and dairy (attract pests and create odor)
- Heavily seasoned or oily foods
- Citrus in large quantities (can over-acidify the environment)
- Diseased plants or those with fungi
- Feces from carnivorous pets
- Materials with excessive pesticides
Solving the Most Common Problems
The Composter Smells Bad
Bad odor almost always indicates excess moisture or imbalance between green material (organic) and dry material. The solution is simple: add more dry material, mix the contents lightly, and stop feeding for a few days. If there are flies, always cover freshly added waste with dry material and check if the lid is sealed properly.
The Worms Are Escaping
Worms leaving the composter indicate that the environment is uncomfortable for them — it could be excess acidity, temperature too high, or inadequate moisture. Check if the composter is not exposed to direct sunlight and if the pH is not too acidic (excess citrus peels cause this). Adding a little hydrated lime or rock dust can help correct the pH.
The Process Is Too Slow
If the compost takes longer than expected, check if moisture is adequate, if there are enough worms, and if the waste pieces are small enough. Chopping or shredding food before adding it to the composter significantly speeds up decomposition.
What to Do with the Finished Compost
The most rewarding moment has arrived: using what you produced. Here are some practical ideas:
- Fertilize apartment plants and container gardens — mix compost with soil in a 1 to 3 ratio
- Gift neighbors and friends who have plants and gardens
- Donate to community gardens — many cities have initiatives that accept compost produced by residents
- Check drop-off points — some municipalities and recycling cooperatives have community composting programs
- Use in vertical gardens in your own apartment or in the building’s hallway
If you’re still taking your first steps toward reducing kitchen waste more broadly, it’s also worth reading about how to Substituir o Filme Plástico e Reduzir o Lixo na Cozinha — small changes that, together with composting, completely transform your home’s environmental footprint.
Condo Composting: Expanding the Impact
If your composter is already working well, why not bring the idea to the entire building? Collective composters in common areas are increasingly common in apartment buildings and represent a way to multiply impact without significantly increasing individual effort.
Some tips for proposing to the building manager and residents:
- Present data on the amount of organic waste generated in the building
- Show examples of other buildings that have already adopted the system
- Propose a pilot project with volunteer residents before scaling up
- Seek partnerships with municipal composting initiatives, which in many cities offer technical support and even equipment
Conclusion: Your Apartment Can Be Part of the Solution
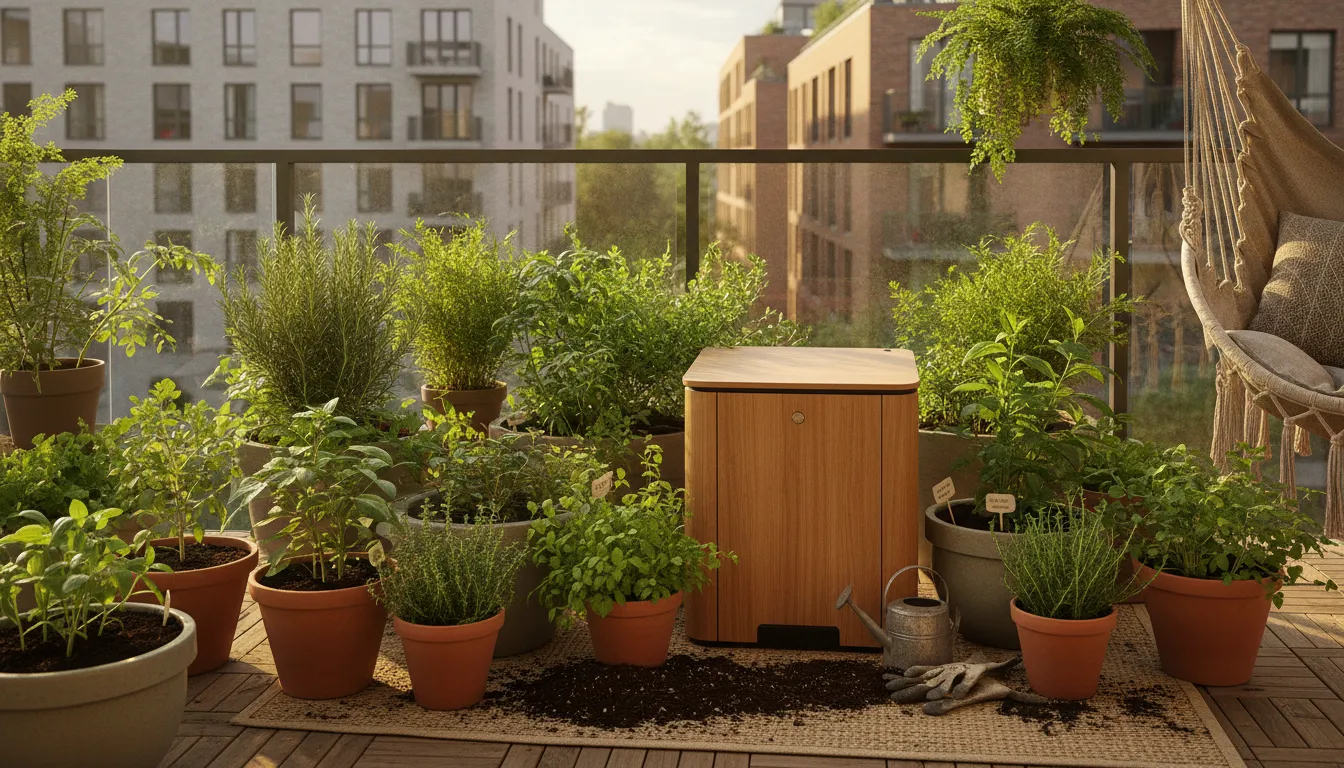
Composting in an apartment isn’t difficult, doesn’t smell bad when done correctly, and doesn’t require sacrifices. It only requires a little attention in the first months and the willingness to change a habit that, until now, meant throwing food away to become someone else’s problem — or the planet’s.
Every person who starts composting at home is, in a concrete and measurable way, reducing the amount of waste going to landfills, producing something that feeds plants and soils, and demonstrating that it’s possible to live well and with more environmental responsibility within an urban space.
Start small. Get a bin, buy some worms, save today’s banana peels. In a few months, you’ll look at that dark, fertile material you produced and understand, in a very tangible way, that caring for the planet starts in your kitchen.
