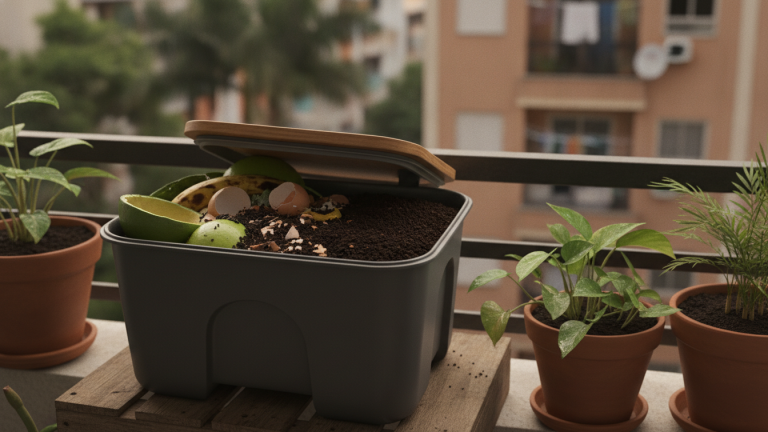
You throw away banana peels, coffee grounds, and vegetable scraps every week, and this material goes to the common trash, then to a landfill, where it produces methane for years. According to Abrelpe data, organic waste represents more than half of everything Brazilians discard in household garbage. It’s a lot of material that could become fertilizer and instead contributes to a collective problem.
The good news is that you don’t need a backyard, much space, or technical knowledge to change this story. A compost bin fits in a small apartment, doesn’t smell when set up correctly, and produces compost that makes any plant healthier. By the end of this guide, you’ll know exactly how to set up, maintain, and use yours.
Why composting at home makes a real difference
Brazil has a specific law addressing this. The National Solid Waste Policy, known as PNRS (Law 12.305/2010), establishes that organic waste should be managed separately and used whenever possible. In practice, most municipalities haven’t yet implemented comprehensive organic waste collection. In other words, what isn’t composted at home almost always goes to the landfill.
When organic matter decomposes without oxygen, as happens in landfills, it releases methane, a gas with much greater warming potential than carbon dioxide, according to IPCC reports. Composting at home avoids this cycle: the aerobic process (with air) transforms food scraps into humus cleanly and quickly.
From a practical standpoint, the gain is twofold. You reduce the volume of your organic waste, which means fewer plastic bags purchased per month, and you also produce free fertilizer for apartment plants. Anyone who grows herbs or vegetables at home knows how much quality compost makes a difference, and you can learn more about this topic in the article apartment garden: how to grow without a backyard.
Which type of compost bin to choose for an apartment
There are different formats, and each one works better for a particular type of resident. For small apartments, the three most viable options are the bucket compost bin, the worm bin, and the bokashi compost bin.
| Type | Initial cost | Space required | Time until compost is ready | Odor (if well managed) |
|---|---|---|---|---|
| Bucket compost bin | R$ 30 to R$ 80 | Medium (balcony or laundry area) | 2 to 4 months | Low |
| Worm bin | R$ 50 to R$ 150 | Small (bathroom or kitchen corner) | 30 to 60 days | Very low |
| Bokashi | R$ 20 to R$ 60 | Very small (under the sink) | 15 to 30 days (pre-fermentation) | Sour, not putrefactive |
If you live alone or as a couple and have little space, bokashi or a worm bin are usually the best starting points. If you have a balcony or utility area, the bucket compost bin is easier to manage. To compare these methods in greater depth, the article composting or worm bin: which to choose for home explains the differences step by step.
How to build a bucket compost bin: step by step
This is the most accessible model for beginners. You’ll use two common plastic buckets, one inside the other, to create a simple drainage system.
Materials needed:
- 2 plastic buckets with lids (20 liters each; can be recycled paint buckets or bought at the market for about R$ 15 to R$ 25 each)
- Drill or heated nail
- Sawdust, dry soil, shredded dry leaves, or torn cardboard (whatever you have on hand)
- Organic kitchen scraps
Assembly time: about 30 minutes.
Estimated total cost: between R$ 30 and R$ 60, depending on what you already have at home.
- Take the larger bucket and leave it without holes. It will function as a base and collect leachate (liquid that drains from decomposition).
- In the smaller bucket, make holes in the bottom with a drill or heated nail. These holes allow drainage and air circulation.
- Place the smaller bucket inside the larger one, supported on improvised feet (pieces of wood, small stones, or cut plastic bottles) to create a 5 to 10 centimeter gap between the two bottoms.
- Add a layer of dry material (sawdust, shredded leaves, or cardboard) about five centimeters deep to the bottom of the inner bucket. This layer is crucial: it absorbs moisture and prevents bad odors.
- Start adding organic scraps in thin layers, always covering with dry material in approximately a one-to-one ratio.
- Cap the bucket after each addition and keep the compost bin in an airy location, such as a balcony, utility area, or bathroom with a window.
- Every two or three days, gently stir the contents with a wooden spoon or garden fork to ensure aeration.
The leachate that accumulates in the outer bucket can be diluted in water (one part to ten parts) and used as liquid fertilizer for plants.
What can and cannot go in the compost bin
This is where most people make mistakes at first. Knowing what does and doesn’t go in the compost bin protects the process and prevents odors.
Can go in:
- Fruit and vegetable peels and scraps
- Coffee grounds and paper filters
- Tea bags (remove the metal staple)
- Eggshells (speed up decomposition)
- Leftover cooked rice, beans, pasta without greasy sauce
- Paper towels without chemicals, torn cardboard
- Dry leaves and plant trimmings
Should not go in:
- Meat, fish, and seafood (attract flies and deteriorate quickly)
- Dairy and cheese
- Very fatty foods or those with greasy sauces
- Large quantities of onion and garlic (inhibit microorganisms)
- Pet feces
- Paper with colored ink or plastic coating
The practical rule: if it rots quickly and smells bad outside the compost bin, it will do the same inside it. Always prefer fresh produce department items and dry waste.
Common mistakes and how to avoid each one
Too much moisture. The most frequent mistake. If the compost bin is waterlogged, it will smell. The solution is simple: immediately add more dry material, such as sawdust or shredded leaves, and avoid capping completely until it’s balanced.
Too little air. Compost that doesn’t receive oxygen becomes a mushy mass with an unpleasant smell. Stir the material regularly and don’t compact the layers too much.
Large pieces. The smaller the piece, the faster it decomposes. Chopping peels and scraps before adding them accelerates the process and prevents certain materials from sitting without decomposing for weeks.
Abandoning it in the heat. In hot cities like Fortaleza, Manaus, or Cuiabá, the compost bin works faster but also dries out more quickly. In that case, spray a little water when the material is very dry.
Waiting for it to be perfect before starting. Many people delay because they think they need a specific kit, a perfect location, or a course. Two paint buckets and sawdust from a lumber yard will do the trick.
Frequently asked questions about apartment composting
Does the compost bin really not smell?
When properly maintained, with the correct ratio of moist and dry material, the compost bin has a light odor of wet soil, similar to the smell of a forest after rain. Bad smell is always a sign that something is unbalanced, usually excess moisture or lack of air, and has a quick solution.
Can the condo prohibit the compost bin?
The PNRS encourages organic waste management, and composting at home is a legal practice. That said, each condo has its own internal regulations. The easiest path is to present the idea to the building manager with information about the process and show that there are no odors or pest attraction when done correctly. Many condos in large cities already have collective compost bins in the lobby.
How long until the compost is ready to use on plants?
It depends on the method and climate. In a well-managed bucket compost bin, in a warm climate, the compost is usually ready in two to three months. It’s ready when it has a dark color, uniform texture, and smells like soil, without being able to recognize the original materials anymore.
What do I do with the compost if I don’t have plants at home?
You can offer the compost to neighbors who have plants, to your neighborhood market, to community garden projects, or even to urban gardening groups that exist in many cities. Quality compost always finds a home.
Your first step: start this week
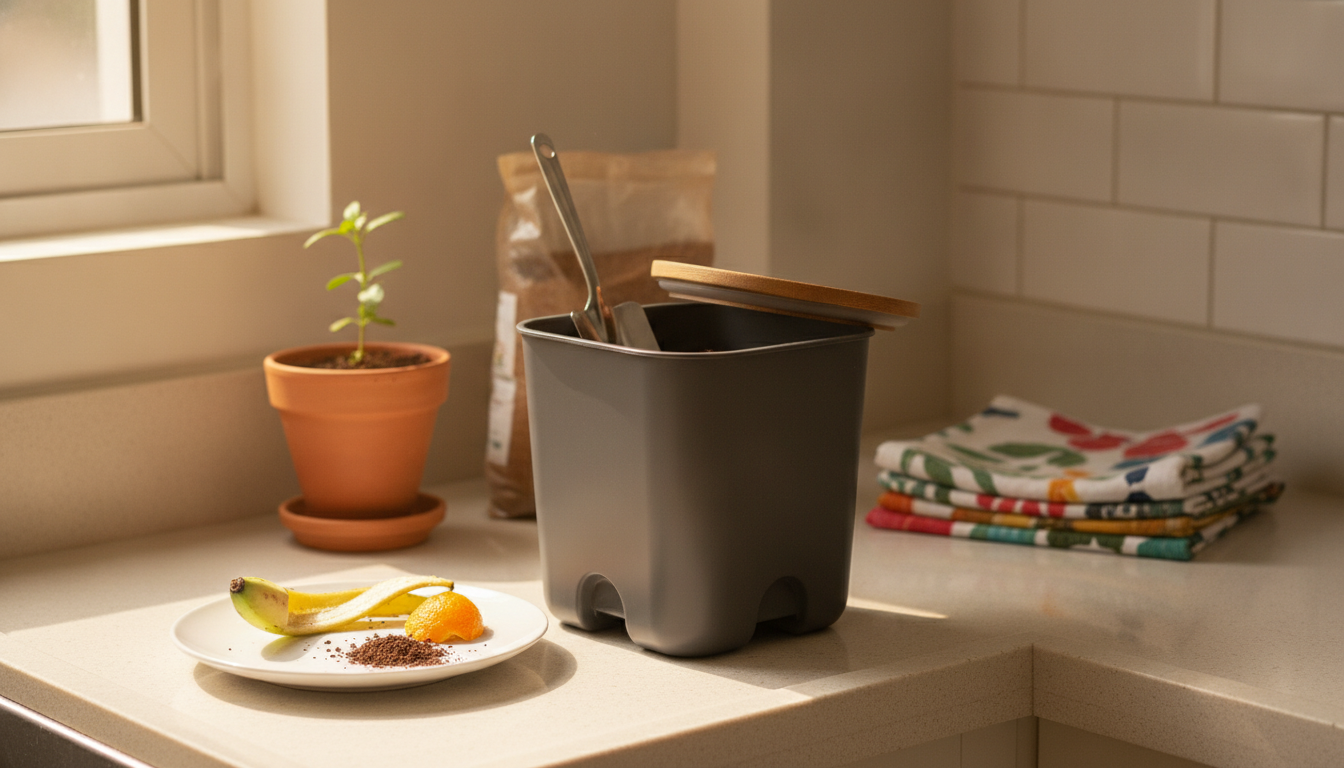
You don’t need to buy anything today to take your first step. Get two buckets you already have at home, an ice cream tub, any container with a lid, and start separating organic kitchen waste while you decide which model to build. This separation already changes your view of garbage.
When you’re ready to scale up, bokashi and worm bins are great next steps. What matters is getting out of zero. A small compost bin in a 40-square-meter apartment is already a real gesture of care for the place where you live.
