Why Your Organic Waste Is Worth More Than You Think
Did you know that more than half of what goes into your household trash is organic waste? According to Abrelpe data, organic residues account for approximately 45% to 50% of everything Brazilians discard. Much of this goes straight to landfills, where it rots without oxygen and releases methane, a gas with a much higher warming potential than CO2. The problem is real, but the solution literally fits inside your home.
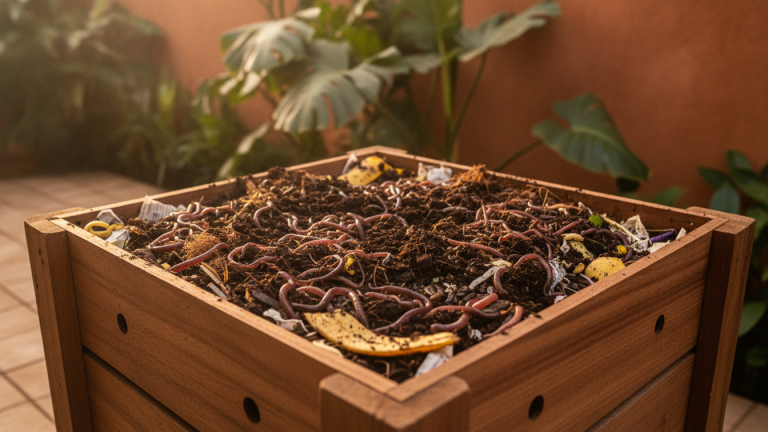
A home worm bin transforms fruit peels, coffee grounds, vegetable scraps, and other organic matter into humus, one of the best natural fertilizers that exist. And no, you don’t need a backyard, much experience, or a lot of money to start. This article will show you, step by step, how to set up a worm bin from scratch, avoid the most common mistakes, and see real results in just a few weeks.
If you’ve thought about making a compost bin but found it complicated, a worm bin can be even simpler. Worms do the heavy lifting, the process is faster than traditional composting, and the result is surprisingly high-quality fertilizer for your apartment vegetable garden or potted plants on the balcony.
What Is Vermicomposting and Why Does It Work So Well
Vermicomposting is the process of decomposing organic matter with the help of worms. Unlike conventional composting, which depends on high temperatures and frequent turning, a worm bin works at room temperature and in small spaces, even inside an apartment.
Worms ingest organic residues, digest the nutrients, and eliminate an extremely rich compound called worm humus or vermicompost. This humus contains nitrogen, phosphorus, and potassium in forms easily absorbed by plants, plus beneficial microorganisms that improve soil structure. Embrapa has extensively documented the agronomic benefits of vermicompost in both small and large-scale crops.
The process also generates leachate, a dark liquid that drains from decomposing waste. Diluted in water, it functions as a liquid fertilizer. It’s not rocket science: with the right setup, there’s no bad smell, no unwanted insects, and results in four to eight weeks.
Materials, Costs, and What You Need Before Starting
Before you start buying anything, it’s worth understanding what’s truly necessary. You can spend virtually nothing or invest in a more organized setup. Both options work.
Basic materials:
- 2 or 3 plastic bins with lids (can be tool boxes or sturdy plastic organizers)
- Drill or heated nail to make holes
- Initial substrate: mixture of soil, sawdust, and dry leaves
- Worms of the correct species (see below)
- Fine mesh or tulle to cover holes and prevent escape
| Option | Estimated Cost | Advantage |
|---|---|---|
| Reused plastic bins | R$ 0 to R$ 30 | Economical, reuses materials |
| Ready-made worm bin kit | R$ 150 to R$ 350 | Practical, comes assembled |
| Handmade wooden worm bin | R$ 50 to R$ 120 | Durable, aesthetically better |
The correct worm for home use is Eisenia fetida, popularly known as California red worm. It’s smaller, more active, and adapts better to enclosed spaces than common garden worms. You can find them for sale at urban gardens, composting groups on Facebook, or organic fairs. In many Brazilian cities, residents’ associations and recycling cooperatives also donate or sell them at symbolic prices.
Step-by-Step Guide to Building Your Worm Bin from Scratch
This tutorial considers the most accessible model: three stacked plastic bins, which you can find at any home goods store.
- Prepare the bins. Make approximately 5 mm holes in the bottom and sides of the two upper bins. The bottom bin has no holes: it collects the leachate.
- Assemble the structure. Stack the three bins. The bottom one stays without holes (collects liquid). The middle one is where the worms will initially live. The top one remains empty for now, ready to receive waste when the middle one is almost full.
- Prepare the initial substrate. Mix damp soil, sawdust, and shredded dry leaves in equal proportions. The substrate should be moist like a lightly squeezed sponge: damp but not dripping water. Place a layer of approximately 10 cm in the middle bin.
- Introduce the worms. For a small home worm bin, 200 to 500 grams of worms are sufficient to start. Place them on the substrate and cover lightly, without fully sealing. Let them adapt for 48 hours before adding food.
- Begin feeding. Add a small amount of organic waste, covered with dry substrate or shredded paper. The initial rule is simple: less is more. Worms take a few days to adapt to the new environment.
- Maintain moisture and ventilation. The environment should remain moist but aerated. If too dry, spritz water. If waterlogged, add paper or sawdust.
- Harvest the humus. In four to eight weeks, the material will transform into dark, crumbly compost. When the bin is almost full, begin feeding the top bin. Worms naturally migrate toward fresh food. After a few weeks, the middle bin will be ready for harvest.
What Can and Cannot Go Into Your Worm Bin
This is where most people make mistakes. Adding the wrong waste can kill worms, cause bad odor, or attract flies. The good news is the list of prohibited items is small.
Can go in:
- Fruit and vegetable peels (except citrus in excess)
- Coffee grounds and paper filters
- Tea bags
- Dry leaves and shredded garden clippings
- Damp paper and cardboard without colored ink
- Raw vegetable scraps
Cannot go in:
- Meat, fish, and dairy products (attract flies and cause bad odor)
- Fatty or heavily seasoned foods
- Garlic and onion in large quantities (harm worms)
- Excess citrus (orange, lemon) acidifies the environment
- Pet feces, except from rabbits and herbivores
- Any non-organic material: plastic, metal, glass
A practical tip: save weekly waste in a covered container in the refrigerator and feed the worm bin every two or three days. This prevents buildup and maintains the right feeding rhythm.
Common Mistakes and How to Fix Them Before They Become Problems
Even those who follow the step-by-step make mistakes at first. Knowing the most frequent errors saves time and prevents frustration.
Bad smell: almost always indicates excess moisture or anaerobic decomposition of food. Add shredded paper or sawdust, stir lightly, and reduce the amount of food for a few days.
Worms escaping or dead: may indicate temperature too high, excess acidity, or substrate too dry. California worms prefer temperatures between 15°C and 25°C. In hot cities like Manaus or Fortaleza, keep the worm bin in a ventilated, shaded location.
Presence of flies: sign that waste is exposed. Always cover food with dry substrate or paper. If larvae are already present, remove excess food and let the system rest for a few days.
Worm bin too dry: worms breathe through their skin and need moisture. Spritz chlorine-free water (or let tap water rest for 30 minutes before using) and cover with damp paper.
If you’re still unsure whether you prefer a worm bin or conventional composting, the differences between the two methods are well explained in this guide on small apartment composting, which also helps those without outdoor space.
What to Do With the Humus and Leachate Produced
Producing the fertilizer is only half the story. Knowing how to use what your worm bin generates is what completes the cycle intelligently.
Solid humus can be mixed directly into your potting soil at a ratio of one part humus to three or four parts soil. It improves soil structure, retains moisture, and provides slow-release nutrients. For potted plants, one tablespoon per pot every two months is sufficient.
Liquid leachate should always be diluted before use: the ratio recommended by Embrapa technicians is one part leachate to ten parts water. Use this liquid fertilizer once a week on your plants. Results are quick: greener leaves and more vigorous growth within weeks.
If you produce more humus than you use, share with neighbors, donate to your neighborhood community garden, or offer it free in local groups. By 2026, many Brazilian municipalities already include exchange points for inputs in community composting programs, especially in cities that have advanced in implementing the National Solid Waste Policy, Law 12.305/2010.
Frequently Asked Questions About Home Worm Bins
Does a worm bin smell bad?
When properly managed, a worm bin has the smell of damp soil, much like a garden after rain. Bad smell only appears when there’s excess moisture or when prohibited foods are added. Correcting these issues, the problem disappears in one or two days.
Can I make a worm bin in an apartment without a balcony?
Yes. The worm bin can go under the kitchen sink, in a ventilated cabinet, or anywhere in the house with some air circulation. The compact size of plastic bins makes this easy, and the process generates no noise or attracts pests when managed correctly.
How long does it take to produce the first humus?
Under ideal conditions of temperature (between 20°C and 25°C) and with regular feeding, the first humus harvests appear between four and eight weeks. In cooler climates, the process may take longer. Worm activity is noticeably higher in warmer months.
Can worms escape and spread throughout the house?
California worms only escape when the environment is inadequate for them. If the substrate has the right moisture, comfortable temperature, and available food, they stay put. Ensuring lids are properly fitted and holes are small enough solves any possibility of escape.
Start Today, With What You Already Have
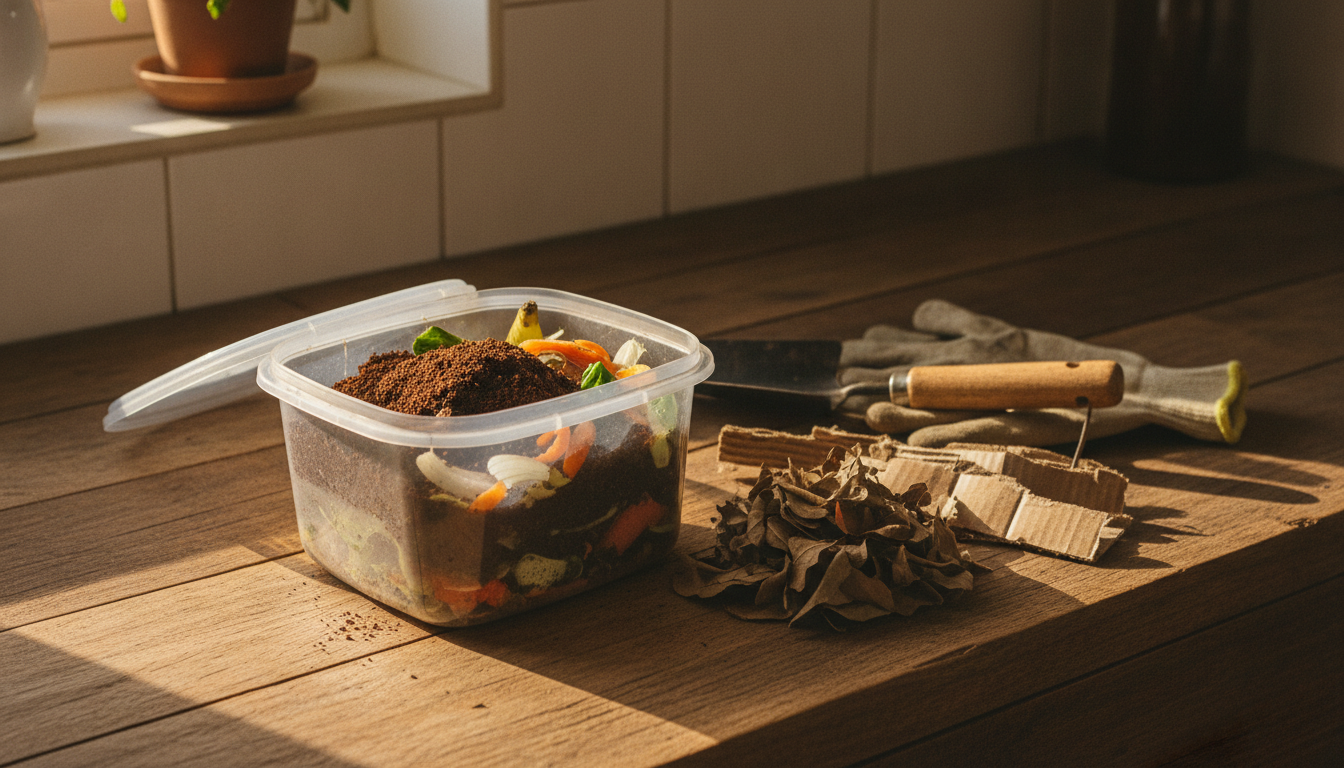
You don’t need to buy anything right now to take the first step. Separate a plastic bin you already have at home, set aside today’s organic waste in the refrigerator, and research composting groups in your city to get your first worms. In less than a week, you can have everything ready.
A worm bin is one of those changes that seems small but transforms how you see trash. What once went into a garbage bag becomes fertilizer for your plants. What once cost money in commercial fertilizer is now produced in your kitchen. Start small, observe the process, and adjust as you go. The worms do the hard part.
